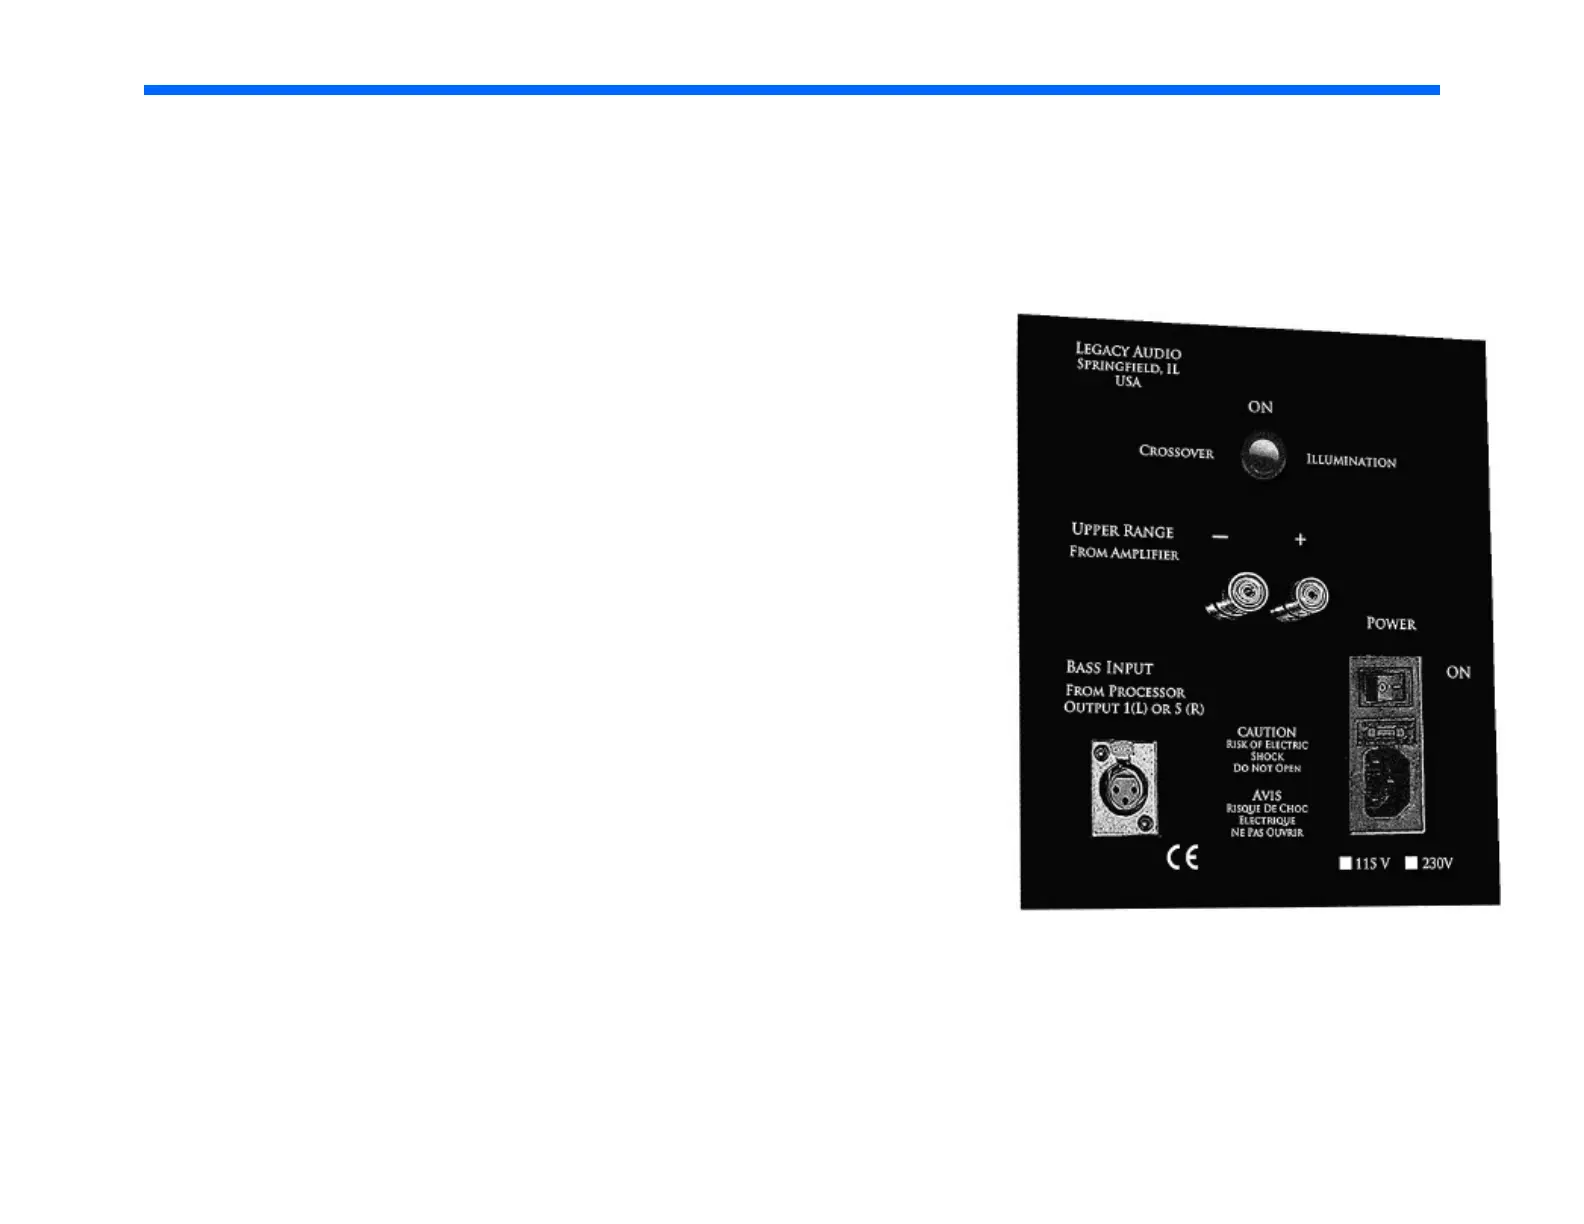
Connecting the Speakers
Connect the L, R speaker cables from each upper range amplifier channel
to the respective speaker’s +, - binding posts. You may use spades, bare
wire or locking banana pins. Be sure that no stray wires bridge between
the input posts to prevent electrical shorting and take care that correct po-
larity (+, -) is observed .
When wiring connections are completed as above, complete the AC connec-
tion to the external socket of the internal amplifiers of each Aeris speaker
by connecting the provided cord to the room wall plate, power strip or
power filtration unit. Power up the processor next via the rear panel
switch, and finally rock the I/O switch on the rear panel of the Aeris to the
“I” position to turn on the internal amplifiers. Note that these amplifiers are
green compliant, idling at a few watts. They will automatically turn them-
selves on when a music signal is present, providing up to total of 1000
watts of power to the woofers.
Crossover Illumination
Aeris benefits from premium Clarity capacitors, Kimber HF Silver wire and
custom wound copper coils. We have made it possible to view the internal
crossover and the dipolar midrange/midbass alignment by rocking the
Crossover Illumination switch to the ON position. A series of low-voltage,
long-life LEDs will allow viewing. To defeat the illumination feature, simple
rock the switch into the down position.
Speaker Connections
 Loading...
