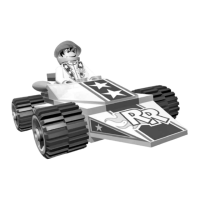
Car- and Character-Builders
To help you place bricks, there are two windows. On the right, you can see
a 3D model of your car; on the left, a top-down view. Use Left and Right
Arrow keys to cycle through the brick categories, and press Enter to
choose one. The bar at the top will change to show all the available LEGO
®
bricks in that category.
Rectangular Bricks Windscreens
Sloped Bricks Accessories
Assorted bricks
Use the same keys to choose a brick – it’ll appear in the two main
windows. Press Esc to cancel the brick and choose another, or press it
again to go back to the brick categories.
When you have selected a brick, use the Arrow keys to move it around,
and the 4 and 6 keys on the Number Pad to rotate it. The Car Builder works
just like real LEGO – bricks need studs to connect to; if a brick can’t
connect, it will bounce up and down. Press Enter to place the brick, and
it will appear in position. An identical brick is placed under your control.
Press the Esc key to move back up to the Brick Selection Bar at the top
and choose a different brick. Or, use the 2 and 8 keys on the number pad
to move bricks that have already been placed. The selected brick can be
moved in exactly the same way as a new brick. Finally, select the ✓ symbol
and press Enter to finish.
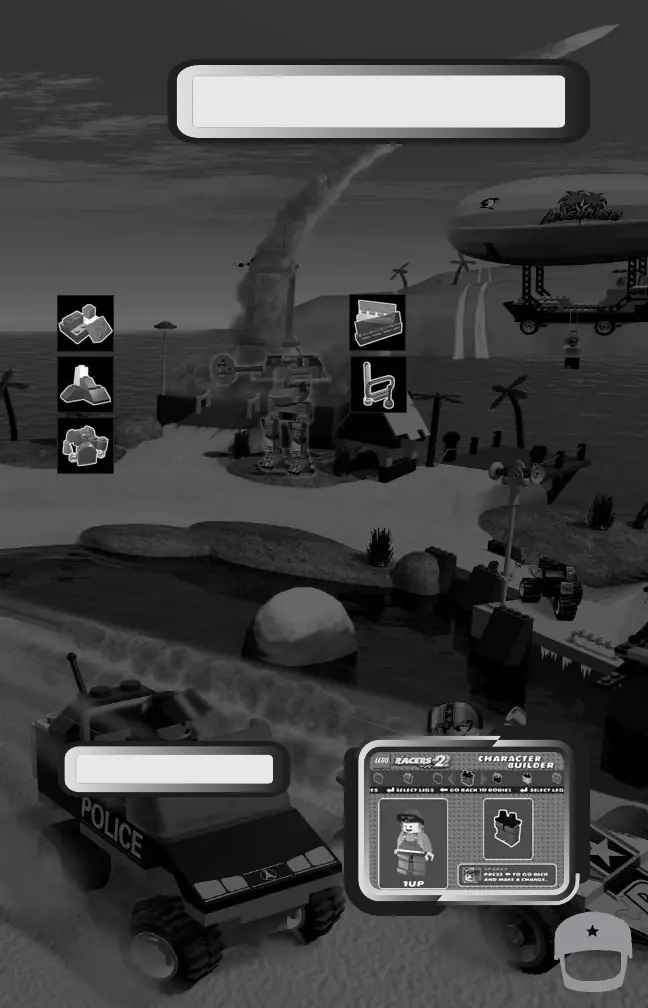
Character Builder
Here, you can design a LEGO
®
driver for
your car. It works in a similar way to the
Car Builder, and Sparky will again help
you through the process.
Start with a head for your driver. Use the
Left and Right Arrow keys to cycle
through the different faces, and press Enter to select it, or the Esc key
to go back. After pressing Enter, you’ll move on to the hat, then the
chest, and finally the legs.
9
 Loading...