46GB
5. USE
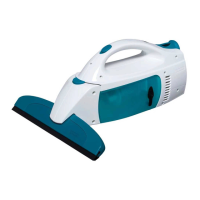
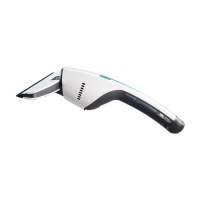
1. Suction clean the surface
• Clean the window as usual with water and a cleaning agent.
• Switch the window vacuum on by pushing the main power switch; the indicator light will be a steady green.
• Place the rubber lip of the device on the surface to be vacuumed and use light pressure to pull it from top to bottom across the
surface.
• Hard-to-reach surfaces can be suctioned either from top to bottom, sideways or upside down.
• If a windowsill or very wide window frames prevent or hinder a vacuuming to the bottom edge of the window pane, vacuum
across the pane once at the end of the vacuuming process.
NOTE: The powered-on device operates quietly in stand-by mode. The window cleaner generates its full power once the rubber lip
of the window cleaner is placed on the glass pane or is lightly pressed. The battery charge lasts longer due to this automatic power
control.
• After suction cleaning the window, power off the device by pressing the appliance switch.
2. Interrupting work
• Placethedeviceonitsbase(seegure2)andpoweritoffwhileitisnotinuse.
NOTE: If the window vacuum is not used for 2 minutes while it is switched on (no contact between rubber lip and a hard surface), the
devicewillswitchintosleepmode;theLEDwillashinred.Thevacuumfunctionwillbeactivatedautomaticallyoncetherubberlip
comes into contact with a window pane. To interrupt or stop work for a long period of time, always use the main power switch to shut
the device off.
Attention: do not continuously switch the device on and off as this can damage electronic components.
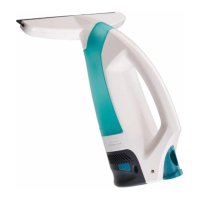
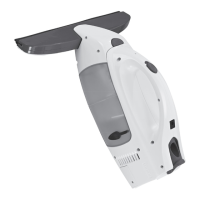
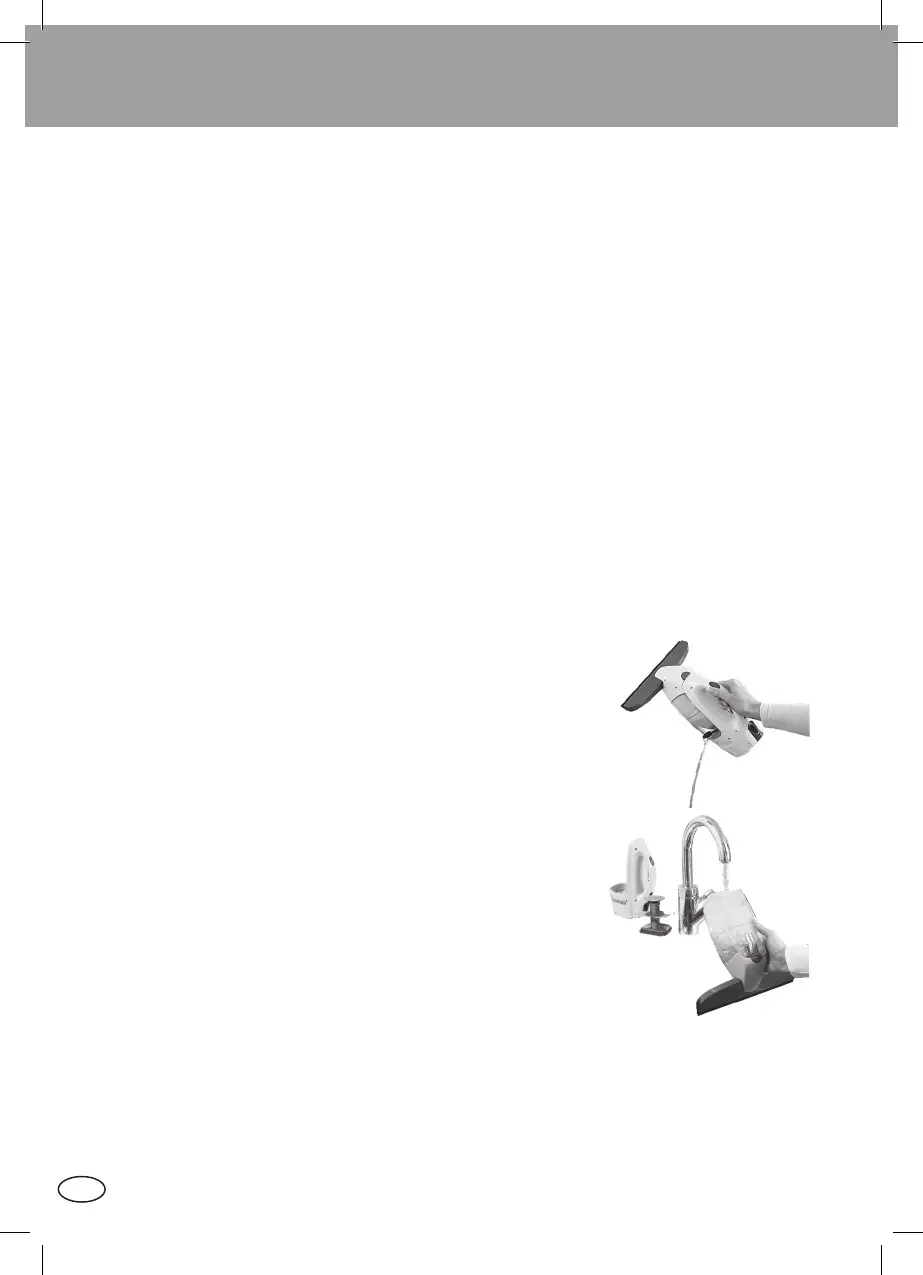
3. Emptying the container during work
• Ifthemaximumlllevel(marked„MAX“)ofthedirtywatertankhasbeenreached,thetankmustbeemptied.
NOTE: Ifthemaximumlllevelisexceeded,smallamountsofwatermayleakoutoftheventilationslotsifthedeviceistiltedtoofar.
Inordertoavoidthis,emptythetankbeforethemaximumlllevelisexceeded.
• Todothis,poweroffthedevice,openthesideclosureonthedirtywatertankandpourthewaterintoacontainerordrain(seegure
4.) Then close the tank again.
4. Ending work / cleaning the device
• Power off the device.
• Unlock the tank via the release button and remove it.
NOTE: The device cannot be powered on when the tank is unlocked.
• Remove the bottom cap from the tank and empty it through the opening in the base.
• Rinsethetankoutwithcleanwater(seegure5).
• Do not put any hard objects, such as a washing-up brush, into the tank as this may
cause damage.
• Allow the tank to dry before reassembly.
• Clean the rubber lip under running water.
• Re-charge the battery when you are done with the work.
CAUTION: The basic unit contains electrical components.
Therefore,donotcleanthebasicunitunderrunningwater!
NOTES
1. Do not use the window cleaner on rough surfaces.
2. Clean the device with a damp cloth.
3. Never submerge the device in water.
4. If your product does not work properly under normal conditions, please contact your dealer
with your proof of purchase.
Figure 4:
Emptying the tank
Figure 5:
Cleaning the tank
IM_Fenstersauger_51113_06-08-2014.indd 46 07.08.2014 09:44:04