Do you have a question about the Lekker Amsterdam Series and is the answer not in the manual?
Attaches the front fender to the fork using a nut and bolt, ensuring tyre clearance.
Secures the front fender stay to the fork using a 3 or 4mm Allen key.
Installs the disc brake rotor using six screws and a T25 Torx bit.
Positions the front wheel and tightens the wheel nut with a 15mm spanner.
Adjusts seatpost height and angle for optimal rider comfort and leg extension.
Attaches handlebars to the stem, centering bolts and aligning with the frame.
Installs the left pedal into the crank arm, identifying by indented lines.
Installs the right pedal, confirming correct thread direction to prevent damage.
| Wheel Size | 28 inches |
|---|---|
| Fork | Aluminium |
| Lights | Integrated front and rear LED lights |
| Frame Material | Aluminium |
| Lock | Frame lock included |
| Saddle | Comfort saddle |
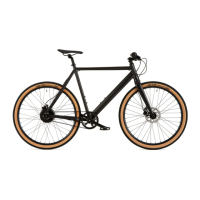
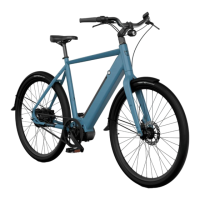
| Color Options | Black, Blue, Green |