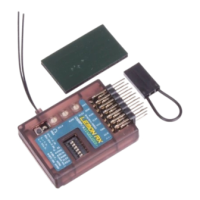
Lemon RX Stabilizer PLUS Receiver – Essential Instructions
Lemon Stab Plus Essential Instructions 2017 v.1a.doc Page 9
Special Options
Stabilizer Always-ON (Rebind)
By default, channel 5 (Gear) is dedicated to controlling Stabilizer mode (OFF, Gyro, Autolevel), so its pins are
basically not usable for other functions. Stabilizer Always-ON, however, allows channel 5 to be used to
control retractable landing gear or for other functions. Stabilizer Always-ON can be set to either Gyro mode
or Autolevel mode, but cannot be changed in flight. Hence, to verify a proper setup, it is recommended that
prior to setting Always-ON, your model be flown at least once with an off switch available.
To enable Stabilizer Always-ON:
1. With receiver and transmitter powered down, insert a bind plug in bind/channel 7 (B/A2).
2. Power up the receiver. Indicator 2 lights (Red/Green) should be flashing rapidly to signal Bind Mode.
3. Turn on the transmitter in Bind Mode (see instructions for your transmitter).
4. Wait for Indicator 1 (Green/Blue) to stop flashing and Indicator 2 (Red/Green) to show stabilizer mode.
This may take 20 seconds or more. Be patient.
5. Set the channel 5 (Gear) switch to either Autolevel mode (Red/Green alternately flashing slowly) or
Gyro mode (Green ON, Red OFF), according to your preference.
6. Press and hold the button (>1s) until the Indicator 1 Blue LED is ON, showing that Always-ON has been
selected. In this condition, channel 5 (Gear) no longer controls stabilizer mode and can be reassigned for
another purpose.
7. Power off and remove bind plug.
The Always-ON setting will be retained even when the receiver is powered off.
Changing Mode Order and Autolevel Setting (Bind Plug in channels 4, 5, 6)
A bind plug inserted across the signal pins of channels 4,5,6 will cause the Stabilizer PLUS to use the
blue/green Indicator 1 lights to display the current Stabilization Mode Order:
Default order: OFF/Gyro/Autolevel – Indicator 1 Green flashing
Alternate order: OFF/Autolevel/Gyro – Indicator 1 Blue flashing
The Stabilizer uses the Indicator 2 Red/Green lights to signal the Autolevel mode:
Beginner mode (default) limits the model’s bank and pitch angles – Indicator 2 Green flashing
Advanced mode gives the pilot a greater degree of control – Indicator 2 Red flashing.
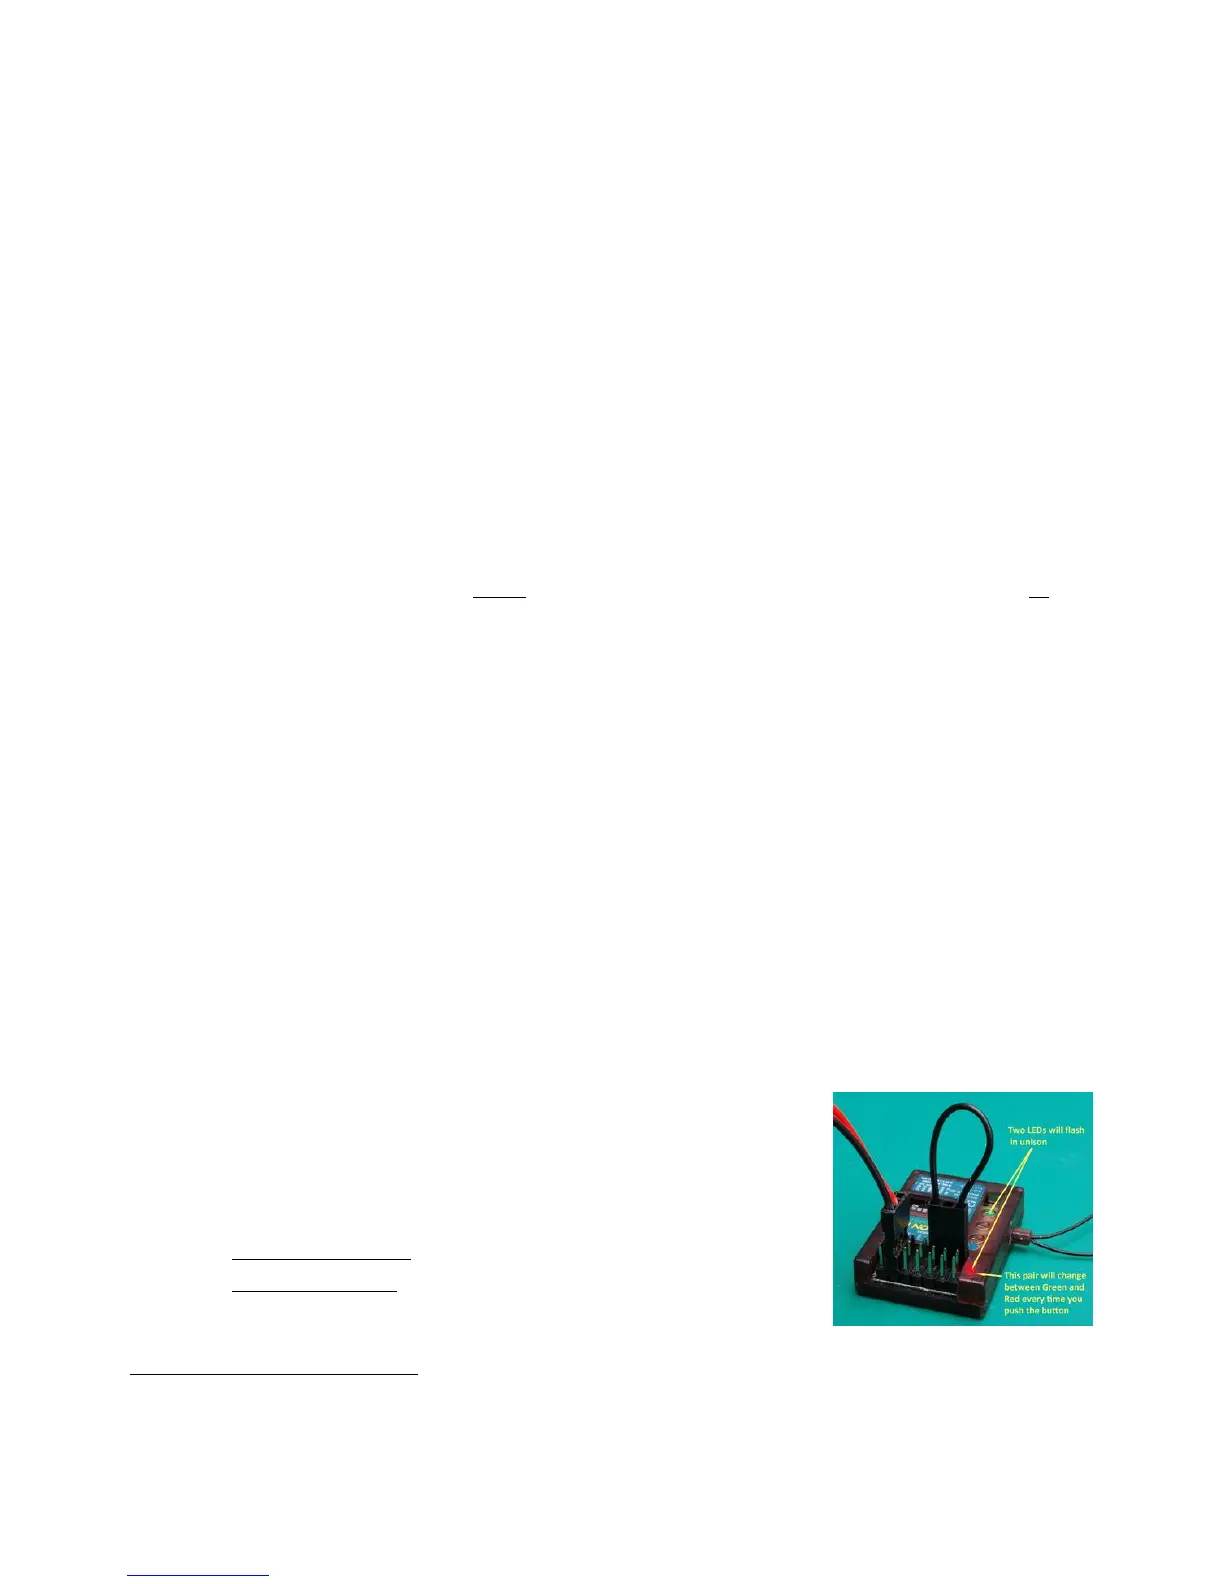
The Mode Order and Autolevel settings can be changed as follows:
1. With the Stab PLUS powered OFF, insert a bind plug across the signal
pins for channels 4, 5 and 6. The ESC or battery is connected to channel 1
as usual (or to other available channel pins). See picture.
2. Power up the receiver (the transmitter is not required for this operation).
3. Press the receiver button:
for more than 1 second to change the Stabilization Mode Order.
for less than 1 second to change the Autolevel mode.