• 5 •
0605
07
08 09
10
A
B
Installation, Operation and Maintenance Manual / ALLEGRA II-IOM-1901-E
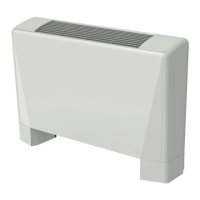
FAN COIL INSTALLATION
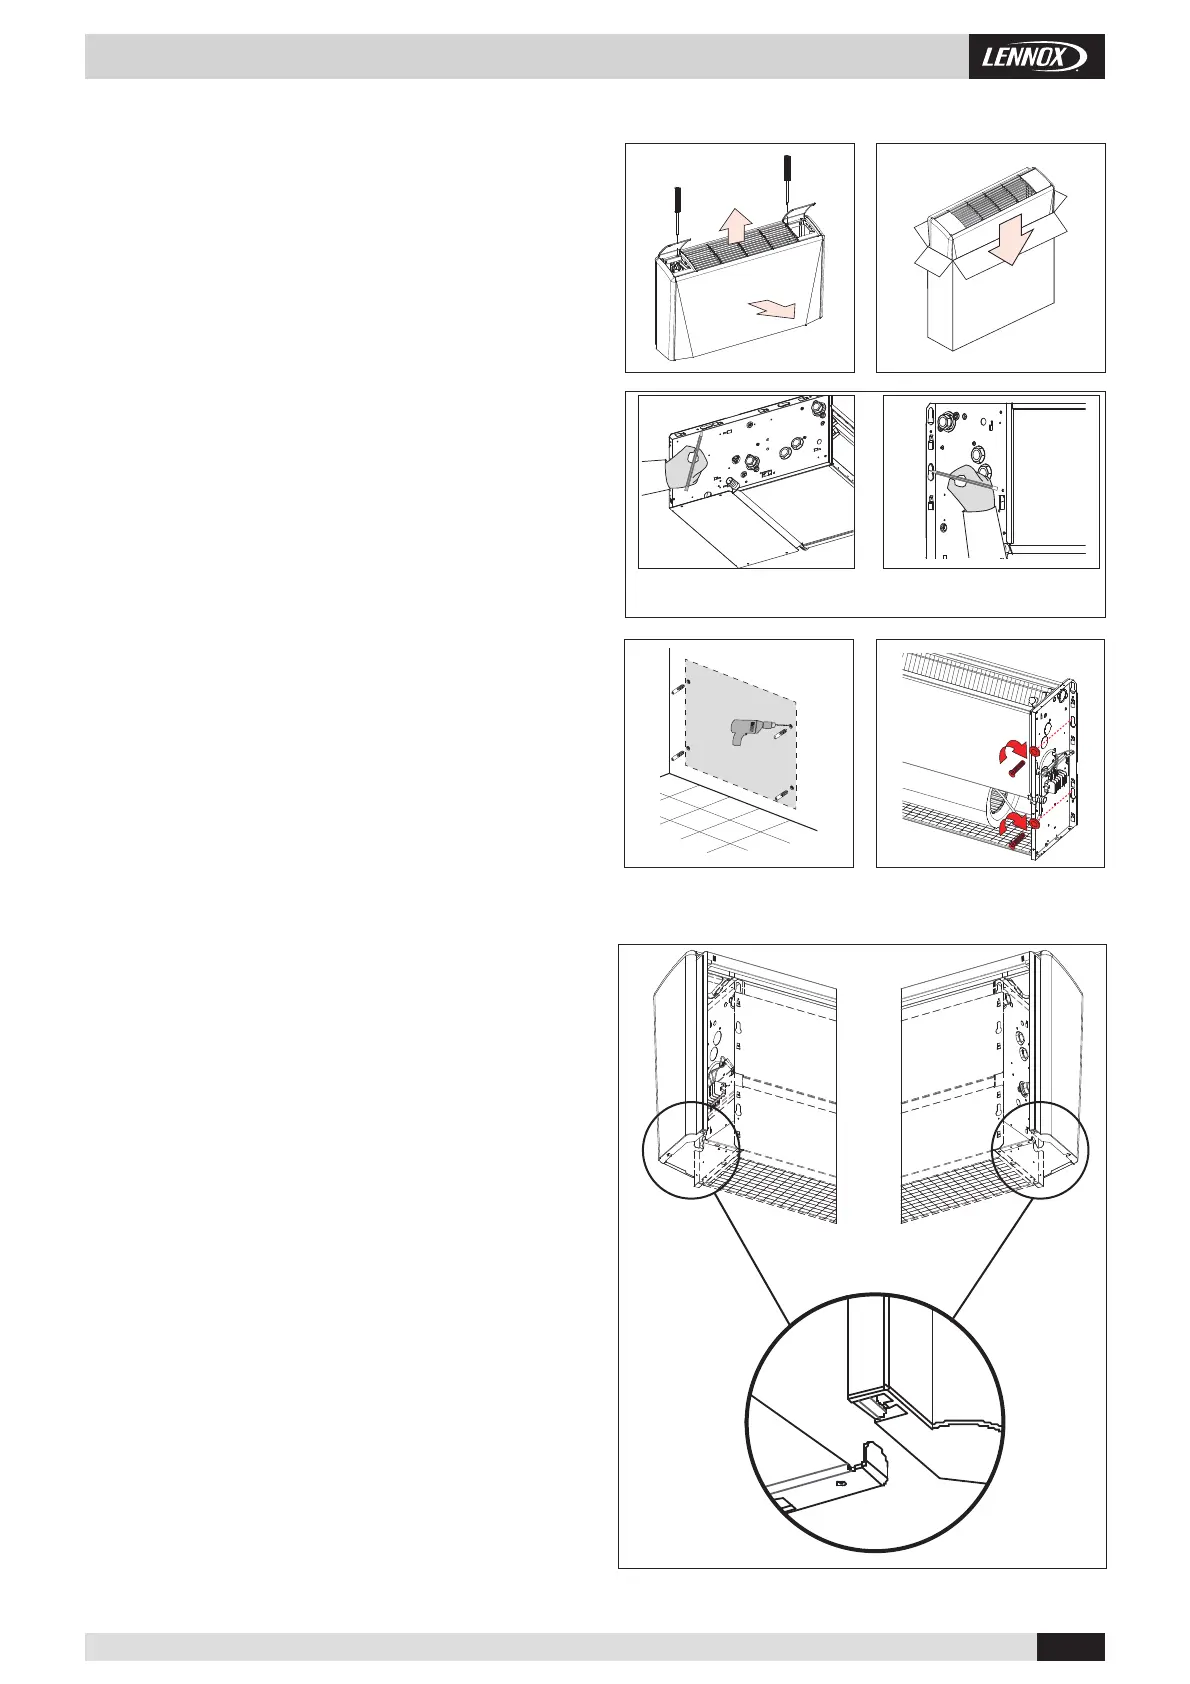
Before installing the appliance, remove the housing (if present). Raise
the fl aps covering the control panel and the water connections. Remove
the two screws fi xing the housing to the fan coil load-bearing structure.
Gipping the rear of the housing, remove it as shown in the Pic. 5 (NOTE:
be careful of the lugs on the front part of the load-bearing structure, as
shown in Pic.10).
Put the cabinet in the packing box to prevent it from being soiled or
damaged (Pic.6).
Horizontal version Vertical version
Offer the appliance up to the required point of installation and mark,
through the fi xing holes, the points on the wall where the holes should
be driller for the 4 screw anchors, as shown in Pic. 7.
Remove the appliance from the point of installation, drill the holes
where merked on the wall (see Pic. 8) and insert the screw anchors.
Place the appliance against the wall and fi x it by tightening the screws
into the anchors see (Pic. 9).
Carry out the water and electrical connections as described in the
relevant paragraphs.
To replace the housing.
Take the cabinet from the packing box. Standing in front of the fancoil, lift
cabinet, holding it by the sides, and tilt it (Pic. 10). Pivot the cabinet on its base
until it is aligned with the wall. Raise the fl aps covering the control panel and
water connections and tighten the two fi xing screws (Pic.5).
 Loading...