 Loading...
Do you have a question about the Lenovo G40-70 and is the answer not in the manual?
| Operating System | Windows 8.1 |
|---|---|
| Battery | 4-Cell Lithium-Ion |
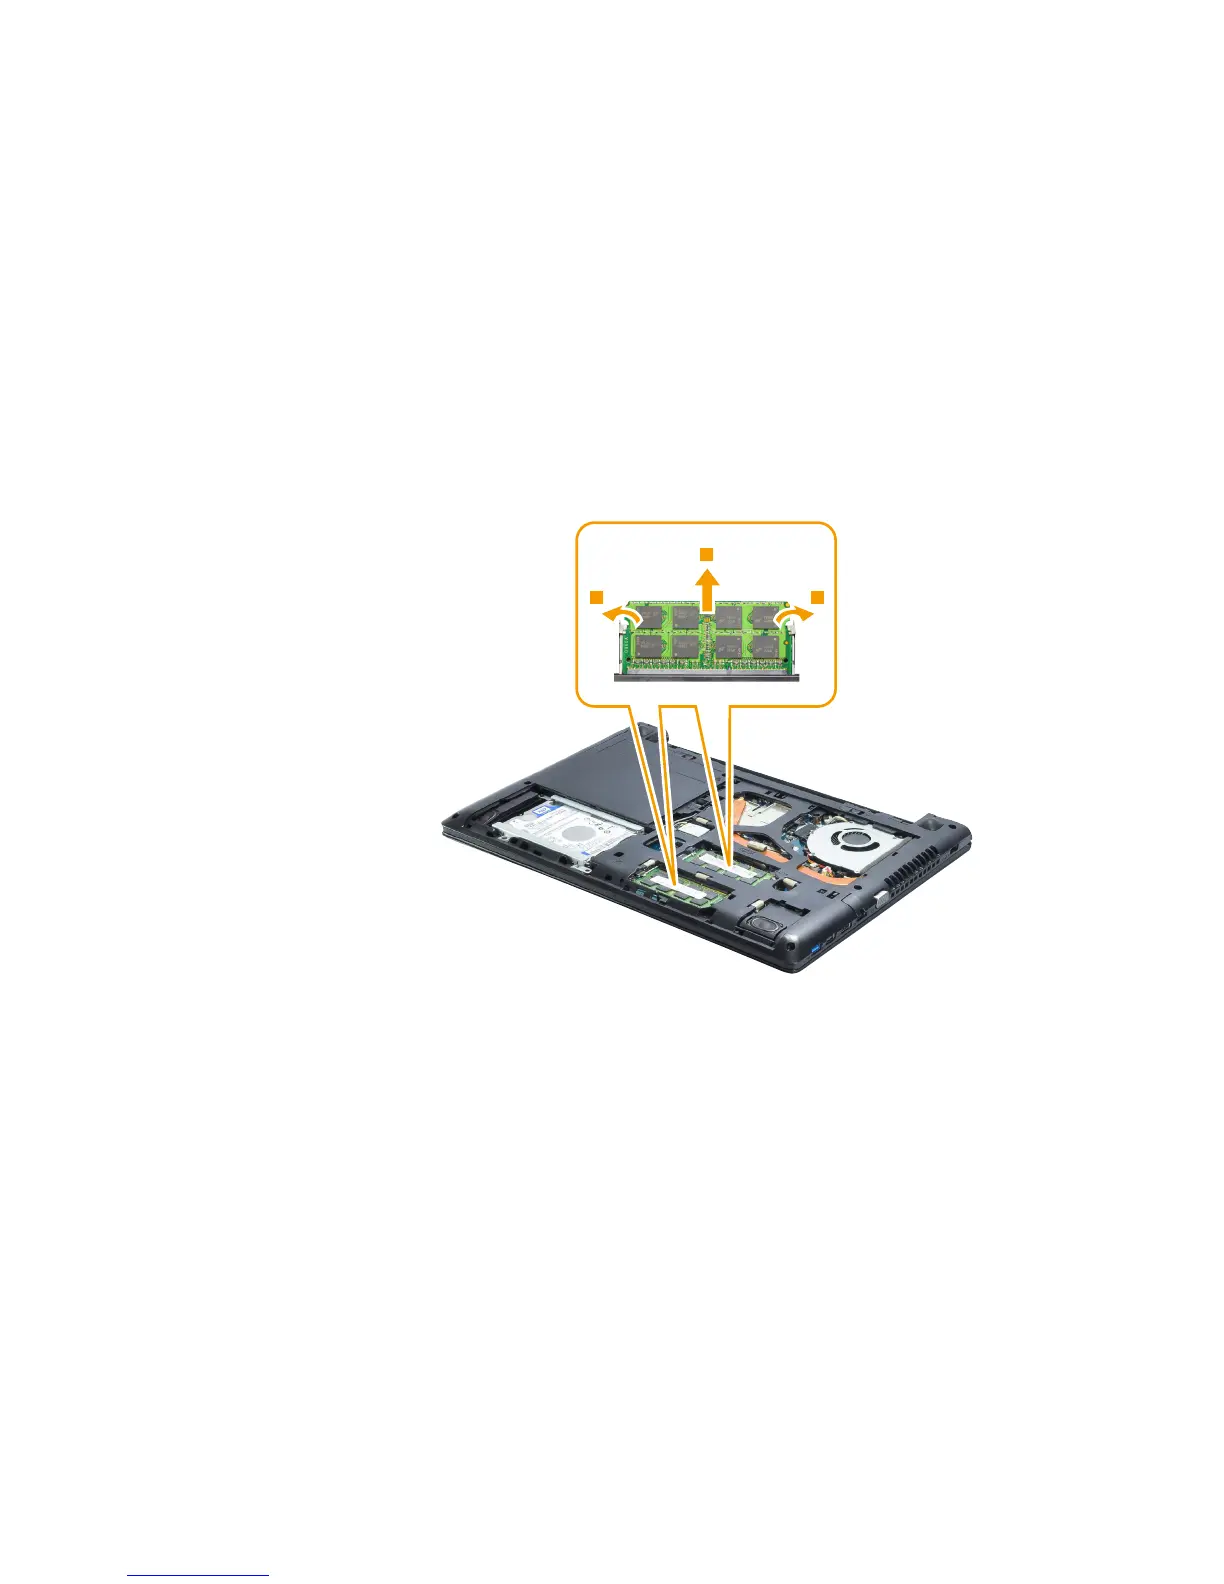
| RAM | Up to 8GB DDR3L |
| Storage | Up to 1TB HDD |
| Display | 14-inch HD (1366x768) display |
| Graphics | Integrated Intel HD Graphics |
| Weight | 2.1 kg (4.6 lbs) |
| Ports | 1 x USB 3.0, 2 x USB 2.0, HDMI, VGA, RJ-45 |
| Wireless | 802.11 b/g/n |
| Optical Drive | DVD RW Drive |
| Processor | Up to 4th Generation Intel Core i7 Processor |