Do you have a question about the Lenovo ThinkCentre M920 and is the answer not in the manual?
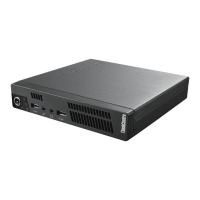
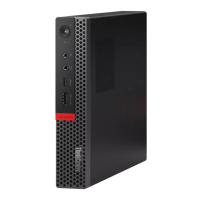
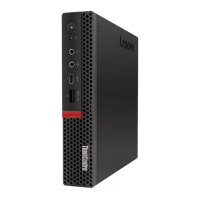
Details the front view of the computer, identifying all ports and indicators.
Details the rear view of the computer, identifying all ports and connectors.
Identifies key components and connectors on the computer's system board.
Explains the importance and location of the machine type and model label for identification.
Provides detailed technical specifications for the computer system's hardware.
Instructions on how to enable or disable the E-lock security feature via BIOS.
Explains how the padlock loop secures the computer cover against removal.
Instructions for attaching a Kensington-style cable lock to the computer's security slot.
Steps for attaching a general cable lock to secure the computer and its cables.
General precautions and important notes to read before performing any hardware replacements.
Precautions to prevent static-electricity damage to computer components during handling.
Explains Field Replaceable Units (FRUs) and Customer Replaceable Units (CRUs) for repairs.
Information on how to locate specific FRUs and CRUs within the computer system.
Step-by-step instructions for safely removing and replacing the computer's power cord.
Instructions for replacing external options such as the vertical stand and dust shield.
Detailed steps for safely removing the computer's outer cover to access internal components.
Instructions for removing and replacing the computer's front bezel for access or replacement.
Steps for safely removing and replacing the computer's optical drive.
Procedure to pivot the drive bay assembly upward and downward for component access.
Steps for removing and replacing the internal computer speaker component.
Instructions for replacing the illuminated red dot indicator on the computer.
Steps for removing and replacing the thermal sensor used for temperature monitoring.
Instructions for replacing front panel input/output options like power button and card reader.
Steps for replacing the primary 3.5-inch and 2.5-inch storage drives.
Instructions for safely removing and installing computer memory modules (RAM).
Steps for removing and replacing the heat sink and fan assembly for cooling.
Detailed procedure for safely removing and replacing the computer's microprocessor (CPU).
Instructions for installing or removing a PCI Express expansion card.
Steps for removing and replacing the E-lock security component from the system.
Instructions for replacing the computer cover presence switch.
Steps for safely removing and installing the computer's Wi-Fi card.
Instructions for replacing the computer's Wi-Fi antennas.
Procedure for replacing the coin-cell battery that maintains system date, time, and settings.
Steps for safely removing and replacing the M.2 storage drive.
Instructions for replacing the bracket that secures the M.2 storage drive.
Steps for safely removing and replacing the computer's power supply assembly.
Detailed procedure for safely removing and replacing the computer's system board.
Final steps for reassembling the computer after parts replacement and reconnecting cables.
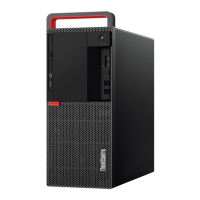
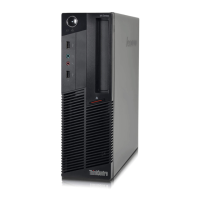
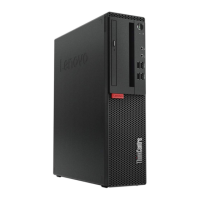
| Form Factor | Tower, Small Form Factor (SFF) |
|---|---|
| Ethernet | Gigabit Ethernet |
| Chipset | Intel Q370 |
| Memory | Up to 64GB DDR4 2666MHz |
| Graphics | Intel UHD Graphics 630 |
| Operating System | Windows 10 Pro |
| Ports | USB 3.1 Gen 1, USB 3.1 Gen 2, USB-C, DisplayPort, HDMI, VGA, Serial, Audio |
| Front Ports (Tower) | 2x USB 3.1 Gen 1 |
| Front Ports (SFF) | 2 x USB 3.1 Gen 1 |
| Rear Ports | 4 x USB 3.1 Gen 1, 2 x USB 2.0, DisplayPort, HDMI, VGA, Serial, Ethernet (RJ-45), Audio line-out |
| Networking | Intel Ethernet Connection I219 |