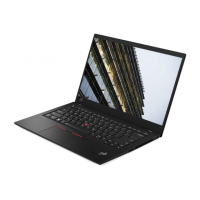
• Logic card to plastic
Turn an additional angle of 180 degrees after the screw head touches the surface of the logic card.
Notes:
• Ensure that you use the correct screw. It is recommended to use new screws for replacements. If you
have a torque screwdriver, tighten all screws firmly to the torque specified in the screw information table
for each step.
• Ensure torque screwdrivers are calibrated correctly following country specifications.
Sensor calibration
If your system board or LCD unit has been replaced, do the following to make sensor calibration:
1. Download the Windows Sensor Calibration Tool from
https://support.lenovo.com.
2. Extract the tool into a local driver, such as D:\WinCalibration.
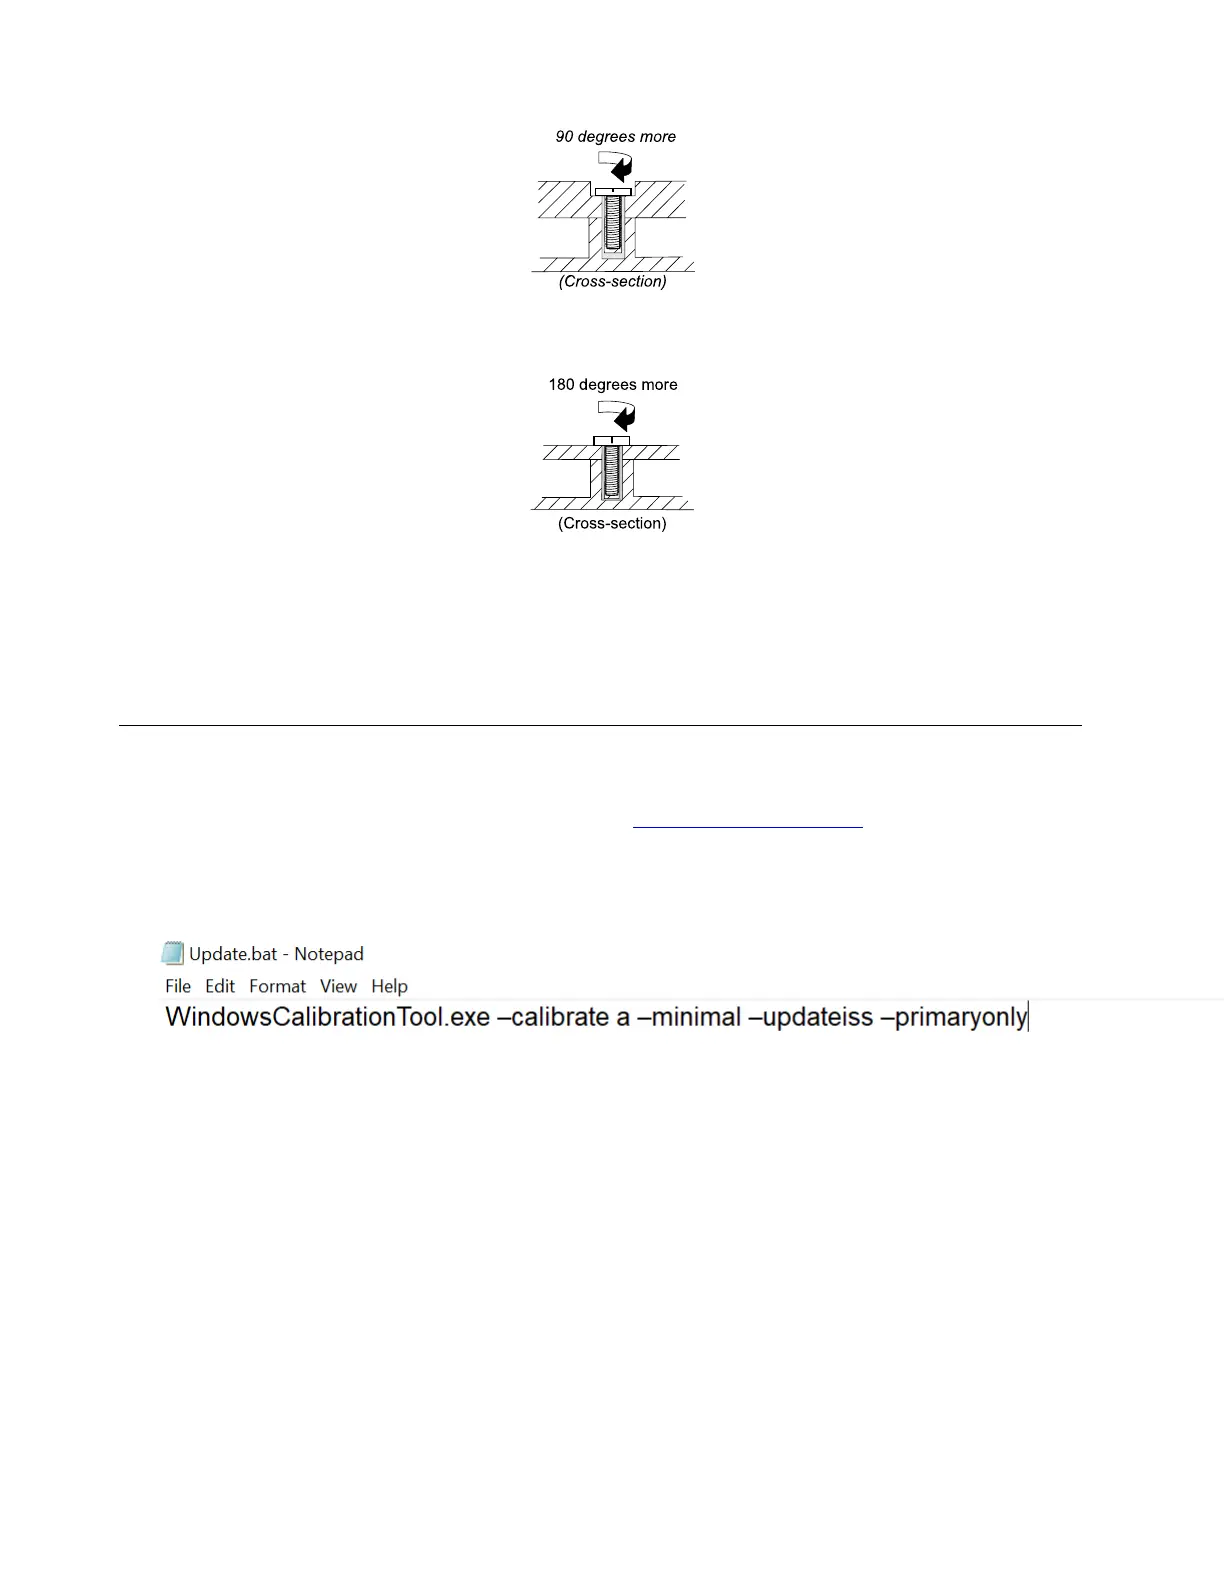
3. Type WindowsCalibrationTool.exe –calibrate a –minimal –updateiss –primaryonly to create a Update.bat
file as shown. Then, copy the file to the same folder of the Windows Sensor Calibration Tool.
4. Run the Update.bat file as Administrator.
5. Lay down the computer with the LCD panel facing up as shown and then follow the on-screen
instructions to start the calibration process.
58
ThinkPad X1 Carbon Gen 11 and X1 Yoga Gen 8 Hardware Maintenance Manual
 Loading...