Studio Frame
Step 11
Fasten VESA Hem Bars
to Central Cover
NOTE: This step is vital to prevent
bowing in the middle of your frame
With the frame and display mount in
place, lightly push up on the bottom of
the frame assembly to align holes in the
back of the central cover with the holes
at the bottom of both VESA Hem Bars
J . Install a #4-1/2” screw I into the
central cover through the VESA Hem Bar
and tighten into place.
Central Cover
J
J
I
I
Step 12
Connect USB Cable &
App USB Installation
Route sensor USB cable H through
channel in the back of the display to the
USB port in the bottom of your TV. Then,
gather cable slack and neatly tuck into
TV’s cable management area. Plug the
App Installation USB K into the USB
port on the side of your display. Your
Studio Frame installation is complete!
Now follow app installation guide to
install your Sony Art Frame Gallery.
H
K
NOTE: To gain full functionality of your Sony remote control, you will need to add an IR repeater to your installation.
Step 10
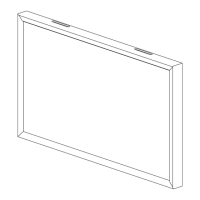
Place Frame onto Display
Place frame onto TV by hooking the
Display Clamps C on the top moulding
of the frame over the top of your display.
Then fasten your Frame Mount Brackets
D to the sides of your frame using the
M5 x 10mm Thumb Screws G . Adjust
Display Clamps and Frame Mount
Brackets to ensure the frame is tight
to the front & bottom of the display.
Tighten M5 x 10mm Philips Screws F
in the Frame Mount Brackets.
D
G
C
C
 Loading...