
J
jesussanchezSep 23, 2025
How to maximize flow rates with level 1 H-1200 115V Food Warmer?
- DDeanna MillerSep 23, 2025
To maximize flow rates with the Level 1® Food Warmer, use large bore needles or catheters.
How to maximize flow rates with level 1 H-1200 115V Food Warmer?
To maximize flow rates with the Level 1® Food Warmer, use large bore needles or catheters.
How to troubleshoot Level 1® Food Warmer when there is no power?
To address a Level 1® Food Warmer with no power, begin by ensuring the unit is properly plugged into a working MAINS receptacle and that the power switch is turned ON.
How to fix level 1 H-1200 115V hot cabinet?
If the Level 1® Food Warmer's hot cabinet is overheating, inspect the air inlet on the bottom of the unit. Clear any blockages or accumulated dust to ensure proper airflow.
What to do if level 1 H-1200 115V LED doesn’t light up during set up?
If the Level 1® Food Warmer's LED doesn’t light up during set up, first verify the unit is plugged into MAINS. If the LED still doesn't illuminate, discontinue use of the medical device and remove it from service.
How to install Level 1® Food Warmer heat exchanger?
If you are having difficulty installing the heat exchanger in your Level 1® Food Warmer, lubricate the O-Rings in the #1 and #2 block heat exchanger sockets with silicone lubricant, part # 80-04-002.
What type of stopcock should be used with level 1 H-1200 115V?
When using a stopcock with the Level 1® Food Warmer, use only Level 1® SC-3 (9 french inner diameter).
What to do if air trapped on filter screen of gas vent/filter assembly in level 1 H-1200 115V Food Warmer?
If air is trapped on the filter screen of the Gas Vent/Filter Assembly in your Level 1® Food Warmer, remove the Gas Vent/Filter Assembly and tap it against the cabinet of the Fluid Warmer to dislodge the air bubbles and allow them to vent. If this does not correct the problem, replace the Gas Vent/ Filter Assembly with a new one.
Why non-high flow extension lines should not be used in Level 1® Food Warmer?
When using the Level 1® Food Warmer, it is important to only use extension lines with an inner diameter of 0.13" (3.3mm) or larger, such as Level 1® X-36 or Y-30 extension sets.
What to do if level 1 H-1200 115V Food Warmer filter is clogged?
If the gas vent/filter assembly on your Level 1® Food Warmer becomes clogged, replace it with a new one.
Why is Level 1® Food Warmer compressor loud?
If the Level 1® Food Warmer compressor is loud, verify that the pneumatic tubing is fully seated into the fittings.
Lists conditions where the device should not be used, such as warming platelets or cryo-precipitates.
Critical safety alerts and potential hazards if instructions, warnings, or cautions are not followed.
Procedure for attaching the Air Detector/Clamp accessory to the unit.
Mandatory tests to ensure electrical safety before operating the device.
How the system detects air in the line and clamps it to prevent infusion.
Details the buttons for power control and alarm testing functions.
Explains the LCD and LEDs indicating temperature and operating status.
Describes the indicators for air detection, tubing status, and clamping.
Explains the lever for pressurization and the pressure gauge.
Details safety features that detect proper installation of disposable set components.
Explains the normal operating mode after setup and power-on.
System response when air is detected in the fluid path, clamping the line.
Device setting for delivering fluids under pressure via the chambers.
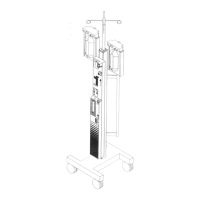
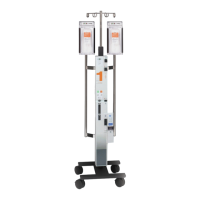
Step-by-step guide for preparing the device and installing the administration set.
Procedures for loading, pressurizing, and connecting the device for patient use.
Specific guidance for diagnosing and resolving issues related to slow fluid flow.
| Brand | level 1 |
|---|---|
| Model | H-1200 115V |
| Category | Food Warmer |
| Language | English |