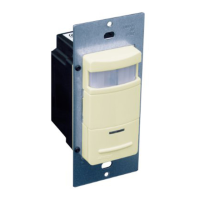
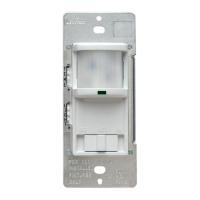
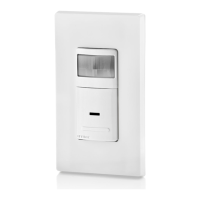
6. Perform the adjustments for the time-out and the light setting (refer to Time Delay and Ambient Light sections).
If necessary, adjust the range control and the blinders to stop any unwanted activation of the lights.
NOTE: To avoid PERMANENT DAMAGE to the unit, be careful NOT TO OVERTURN the control knobs or levers when
setting Cat. No. ODS1
Ø
-IDx. The controls can be accessed by removing the wallplate and control panel cover. Use a
small straight blade screwdriver to adjust knobs and a finger to adjust the blinder levers.
NOTE: DO NOT press in on blinder levers or use excessive force (refer to figures 2 & 2A).
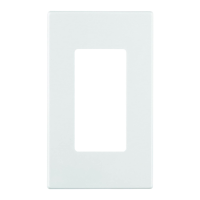
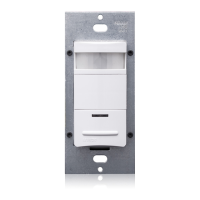
7. Attach the Control Panel cover, and a Decora
®
Wallplate (not included). INSTALLATION IS COMPLETE. Leave the
room and the lights will turn OFF after the selected time-out expires.
FEATURES
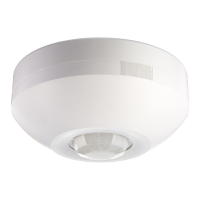
BLINDERS: The blinders can narrow the field-of-view of the device to prevent unwanted activation from traffic in adjacent
space. There are two blinders, and each operate independently. To operate the blinders, use a finger or small screwdriver
to move the blinder adjustment levers toward or away from the center of the device.
The blinder levers are found above the control knobs and below the text ‘BLINDERS’ on the control panel. With both
levers moved fully towards the center, the field-of-view is narrowed to 32° . With both levers moved fully away from the
center, the field-of-view is at a maximum 180° (refer to figure 2A).
TIME-DELAY: Cat. No. ODS1
Ø
-IDx will turn lights ON when motion is detected. When motion is no longer detected, the
Sensor Unit will wait a certain amount of time and then turn the lights OFF. This wait time is called ‘time-out’.
The “time-out” is selected from four (4) preset values. Pointing the arrow at one of the markings on the face chooses the
value of time. The following selections are available:
Face Marking Value of Time
(/) Slash Mark 30 second fixed time-out used for performing a walk-test.
1 10 minute time-out
2 20 minute time-out
3 30 minute time-out
The “time-out” is factory preset to ten (10) minutes. Refer to figure 2A.
NOTE: All time durations mentioned in the instructions are approximate within 10 seconds.
AMBIENT LIGHT: The Ambient Light Level is the amount of light present in a room without any artificial light added. If
there is already enough light in a room, the occupant may not need further artificial light. Cat. No. ODS1
Ø
-IDx has an
adjustment to keep the lights from turning ON if there is enough light already present.
The adjustment should be made
when the ambient light is at the level where artificial light is needed
. Follow these steps to make a more accurate
adjustment of the Light Control.
AMBIENT LIGHT SETTING:
1. With the lights ON, rotate the Time Control fully counter-clockwise (CCW) to set the time-out to the thirty (30) second
test mode (refer to figure 2A).
2. Rotate the Light Control fully CCW.
3. Cover the Sensor Unit with an opaque material, or leave the room and let the Sensor Unit time-out and turn the lights
OFF.
4. Rotate the Light Control clockwise (CW) SLOWLY, until the light turns ON. This is the setting for the current level of
light in the room.
5. Adjustments are finished.
Manual ON Mode: When the light control is in the fully CCW position the lights will never automatically turn ON. In this
mode the lights need to be manually turned ON by the push-button, and will turn OFF with the absence of motion.
If the light control is in the fully CW position, the lights will turn ON whenever motion is detected, even in full daylight.
Intermediate settings will cause the lights to turn ON only when the ambient light is below the level selected by the light
control.
NOTE: The ambient light in a room will change with the time of day and the season of the year.
RANGE: To decrease detection range and sensitivity, rotate the knob CCW (refer to figure 2A). The detection range can
be adjusted from 100% down to 36%.
TO OPERATE
PUSH-BUTTON: Cat. No. ODS10-IDx has a push-button switch that will toggle the lights (refer to figure 2). If the lights
are OFF, the lights will turn ON when the button is pressed, and remain ON in the presence of motion. In the absence of
motion, the Sensor Unit will time-out and turn the lights OFF.
If the lights are ON, the lights will turn OFF when the button is pressed. The lights will stay OFF regardless of motion
detected, until the time-out expires. After the time-out expires, the lights will turn ON with the next detected motion. This
is useful for slide or film presentations.
NOTES:
• The Motion Indicator LED will blink every 2 seconds while motion is detected.
• In Manual-On mode, the button must be pressed to turn the lights ON. In the absence of motion, the unit will time-out
and turn the lights OFF.
• If Manual-On mode is desired, keep the Light knob in the fully counter-clockwise (CCW) position.
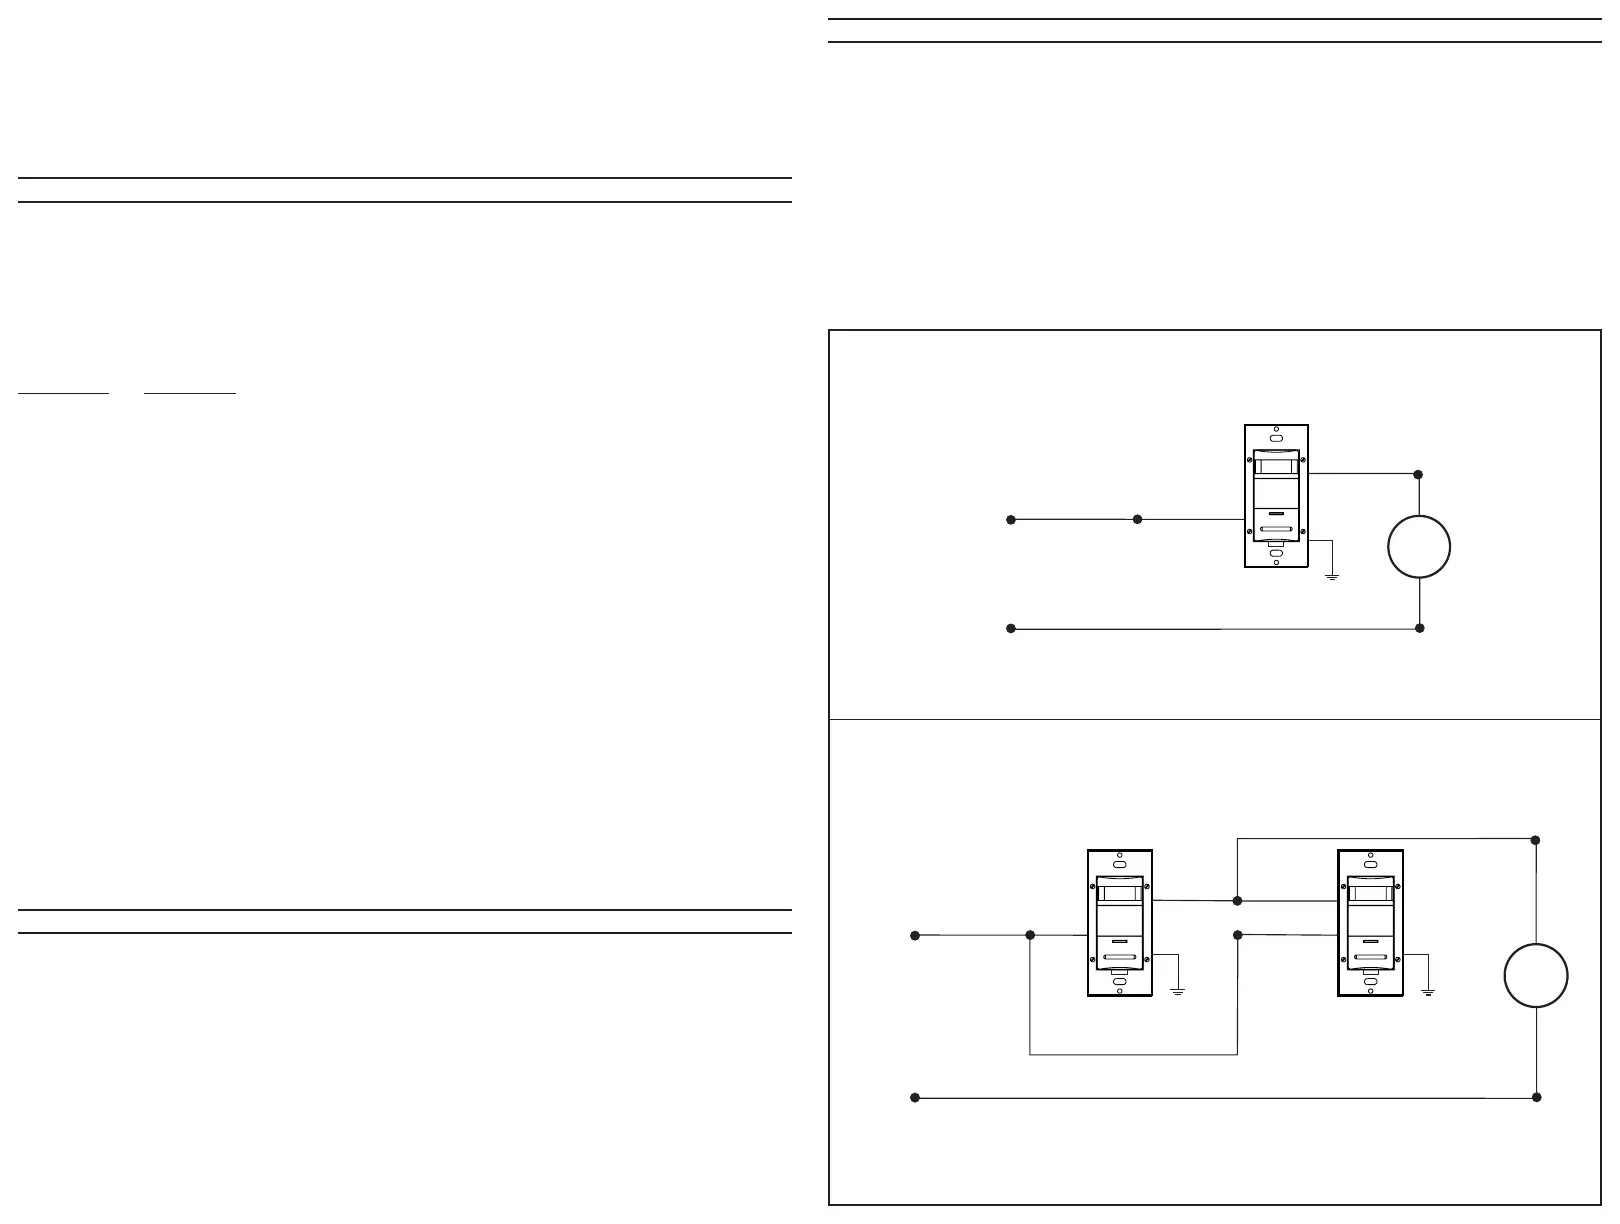
Hot (Black)
Neutral (White)
Load
Sensor
Black
Black
White
Blue
Green
Ground
Line
120/277VAC, 60Hz
Wiring Diagram 1: Single Control Application
Hot (Black)
Neutral (White)
Load
Blue
Blue
Black
Green
Ground
Black
White
Black
Line
120/277VAC, 60Hz
Green
Ground
Sensor
Sensor
Wiring Diagram 2: Two Location Control Application
NOTE: Either Sensor can turn the lights ON. Either Sensor must time-out to OFF, or both manual
buttons must be pressed for the lights to turn OFF.
TROUBLESHOOTING GUIDE
1. If there is no response from the unit (the light never turns ON and the LED never blinks) 1 1/2 minutes after power is
applied, then uninstall device and verify there is a ground connection at the wallbox. If there is a ground connection,
verify wiring.
2. If the lights never turn ON, but the LED blinks, check if the Ambient Light Control Knob is pointed fully counter-
clockwise (CCW). Rotate it clockwise (CW) until the lights turn ON.
3. If the lights constantly stay ON, even when the room is unoccupied:
A. Check the Time setting. See how this time compares to how long the lights stay ON.
B. Try lowering the Range Control. Rotate the knob CCW about 30˚.
C. If the problem persists, try reducing again. Note: Do Not reduce so much that Cat. No. ODS1
Ø
-IDx cannot see
normal occupancy.
D.
Be sure to use the Blinders to block any unwanted hallway traffic.
E. Check for reflected heat/motion as Sensor Unit may be seeing motion through a window.
F. Check for adjacent HVAC and/or heater ducts.
4. For additional information call Leviton’s Technical Support Line.
DI-000-ODS10-02A


 To Previous Page
 Loading...