// Getting started
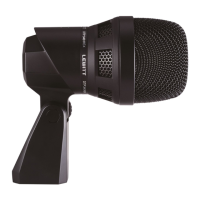
1 Connect your microphone to your mixing console, audio interface or microphone preamplier with a 3-pin XLR cable.
2 Set the input gain on your mixing console, preamp, etc. accordingly.
3 To ensure best sound quality, do not cover any part of the grille.
4 Rock!
// Please Note
// To ensure high sensitivity and best sound reproduction of the microphone, avoid exposing it to moisture, dust or extreme temperatures.
// When disconnecting the microphone cable, grasp the connector and do not pull the cable.
// Do not attempt to modify or x the microphone, as it would void your product warranty.
// The casing of the microphone can be cleaned easily using a wet cloth, never use alcohol or another solvent for cleaning.
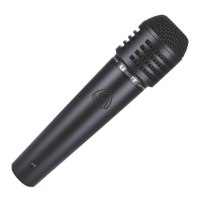
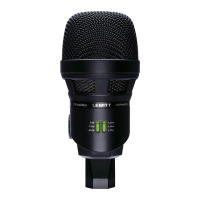
// Overview
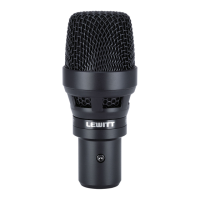
// Dynamic instrument microphone
// Cardioid polar pattern for effective isolation of the main sound source
// Tailored frequency response for instrument applications
// Integrated acoustic pop and windshield
// Solid full-metal, die-cast body
// Hardened steel mesh grille
// Gold plated & corrosion-resistant 3-pin XLR output connector
Top applications // Snare, guitar amps, brass and wind instruments
// MTP 440 DM
QUICKSTART GUIDE
LOUD
AND CLEAR
HIGHLY VERSATILE
DYNAMIC INSTRUMENT MICROPHONE
This device complies with Part 15 of the FCC Rules.
Operation is subject to the following two conditions:
(1) This device may not cause harmful interference, and
(2) This device must accept any interference received,
including interference that may cause undesired operation.