23
English
Step 4 – Setting the local city and the altitude
• Look up and note the code of the city found closest to your home. Please refer to the list of city
codes found at the end of the user manual.
• Determine and note the altitude of your town or city in meters (for example: Paris, 88 meters).
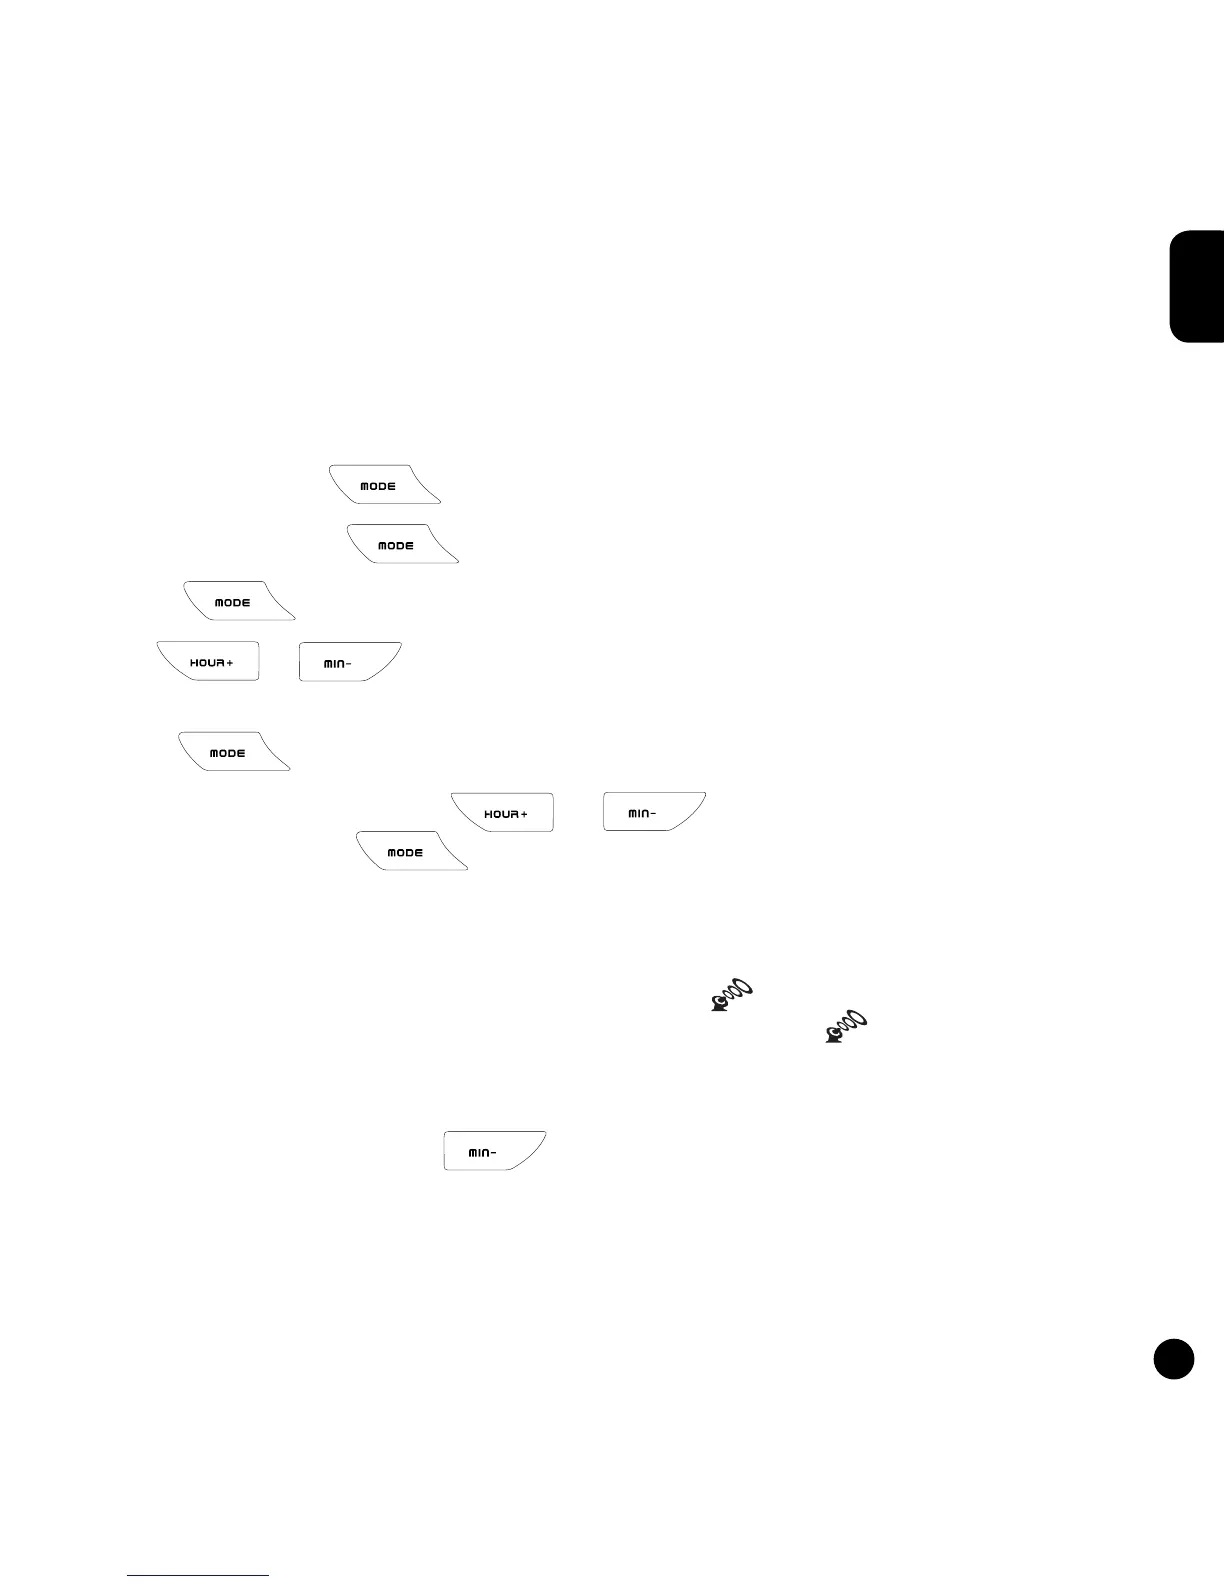
• Ensure that the weather station is in the Clock 1 mode ( is displayed to the right of the time).
You may also press the key several times until CLOCK 1 appears on the display screen.
• Press and hold down the key for 3 seconds. The time will begin to ash.
• Press the key 3 times. The city code will ash above the « CITY » indicator.
• Use the or keys to scroll through the city codes on the screen. This setting is
important as it will affect the time of the sunrise and the sunset.
• Press the key to conrm the city code.
• The altitude level ashes. Use the or keys to set the altitude of your town or
city (in meters). Press the key to validate all these settings.
Step 5 – Radio controlled clock
• Approximately 7 minutes after the batteries have been inserted, the main unit will launch its
search to nd the signal of the radio controlled clock. The icon will ash for a few minutes
while the search is underway. When the signal is received, the icon will stop ashing and will
remain still.
• Ensure that the main unit displays the exact time and date. If this is not so, launch the signal
search once more by holding the key down for 3 seconds.
Reminder: the SM1660 will only receive the signal if you live in Europe (within the France and
England time zones).
• Ensure that the main unit displays the outdoor temperatures and rate of humidity transmitted by
the sensor. Your new weather station is now ready for use.