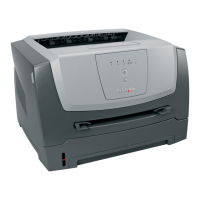
To replace the photoconductor kit:
1 Open the front door by pressing the button on the left side of the printer and lowering the front door.
2
Pull the photoconductor kit and toner cartridge together as a unit out of the printer by pulling on the toner cartridge
handle.
Note: The photoconductor kit and toner cartridge form a unit.
Place the unit on a flat, clean surface.
3
Press the button on the base of the photoconductor kit. Pull the toner cartridge up and out using the handle.
4 Unpack the new photoconductor kit.
Warning—Potential Damage:
Be careful not to touch the photoconductor drum. Doing so may affect the print
quality of future print jobs.
Maintaining the printer
9

 Loading...
