Do you have a question about the LF DuraWorx DWX0865-D and is the answer not in the manual?
Safety instructions and precautions for product use, including load limits and handling guidelines.
Instructions for checking parts and gathering tools before product assembly.
Connects the front axle assembly to the front frame using specific hardware.
Connects front struts to the front axle assembly and front frame using bolts and nuts.
Attaches rear struts to the rear axle assembly as depicted in the assembly diagram.
Connects the rear axle assembly to the rear frame, emphasizing correct orientation for dump lock function.
Secures the rear axle, struts, and frame to the main tray using specified hardware.
Joins the front and rear frame sections using hex bolts, nuts, and washers.
Mounts the dump lock mechanism to the tray, ensuring proper engagement with the rear frame.
Installs wheels onto axles using spacers, washers, and lock nuts, completing rolling functionality.
Connects the handle to the front axle assembly using a round head bolt, nut, and washer.
Instructions for operating the swivel handle mechanism, including securing it with cotter pins.
Details on how to release and lift the tray to its dumping position.
Procedure for lowering the tray and verifying the locking mechanism engages correctly.
Information regarding the accessory tray's limitations and proper usage, not as a seat.
| Brand | LF |
|---|---|
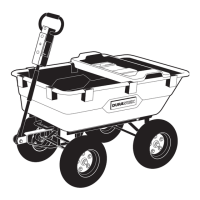
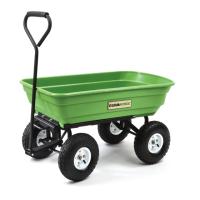
| Model | DuraWorx DWX0865-D |
| Category | Outdoor Cart |
| Language | English |