26
206-4177
(Optional) Set the Clock
Set the time on a Master TV’s clock. (If the time has already been copied
from a TV into the TLL-1100A clone programmer, you can set the Master TV’s
clock by copying the time from the clone programmer.) The TLL-1100A can
copy the current time to both a Master TV and to the clone’s internal clock—
accurate to within one minute.
Since the TLL-1100A’s time cannot be set directly, the current time needs to
be copied from an LG TV equipped with an enabled MPI port.
After the time is copied to the TLL-1100A clone programmer, the current time
will be maintained and can then be transferred to another TV. (This can be a
Master TV or another TV which has already had the features set up.)
Teach Master TV Setup to Target TV
1. When Learning is complete, disconnect the MPI cable from the Master TV.
2. Ensure the Target TV is in Pass-through Mode, and then use the Installer
Remote to enter the Target TV Installer Menu: Press MENU repeatedly until
the on-screen setup menus lock up, and then press 9-8-7-6 +
ENTER.
3. Set Installer Menu item 117 FACT DEFAULT to 001, and press ENTER.
When the value changes back to 0, press ENTER again to exit the
Installer Menu.
4. Tune/set the TV to an analog channel or Aux source, and then connect the
MPI cable to the MPI port on the Target TV. The Clone Selection Menu will
display on the TV screen.
5. Ensure the correct Memory CBank(X) is selected on the TLL-1100A.
6. Press 2 on the Installer Remote to select TEACH TO TV from the Clone
Selection Menu. Then, press ENTER to transfer the Master TV Setup to
the Target TV.
Teaching usually takes 3 to 4 minutes. “TEACHING IN PROGRESS” will
be displayed on the screen during Teaching. When the Teaching process is
complete, a “TEACHING COMPLETE” message will be displayed.
7. When Teaching is done, disconnect the MPI cable from the Target TV, turn
OFF the TV, and unplug the TV power cord for 15 seconds.
8. Reconnect the TV power cord, and turn ON the TV. The Master TV Setup
should be resident on the Target TV.
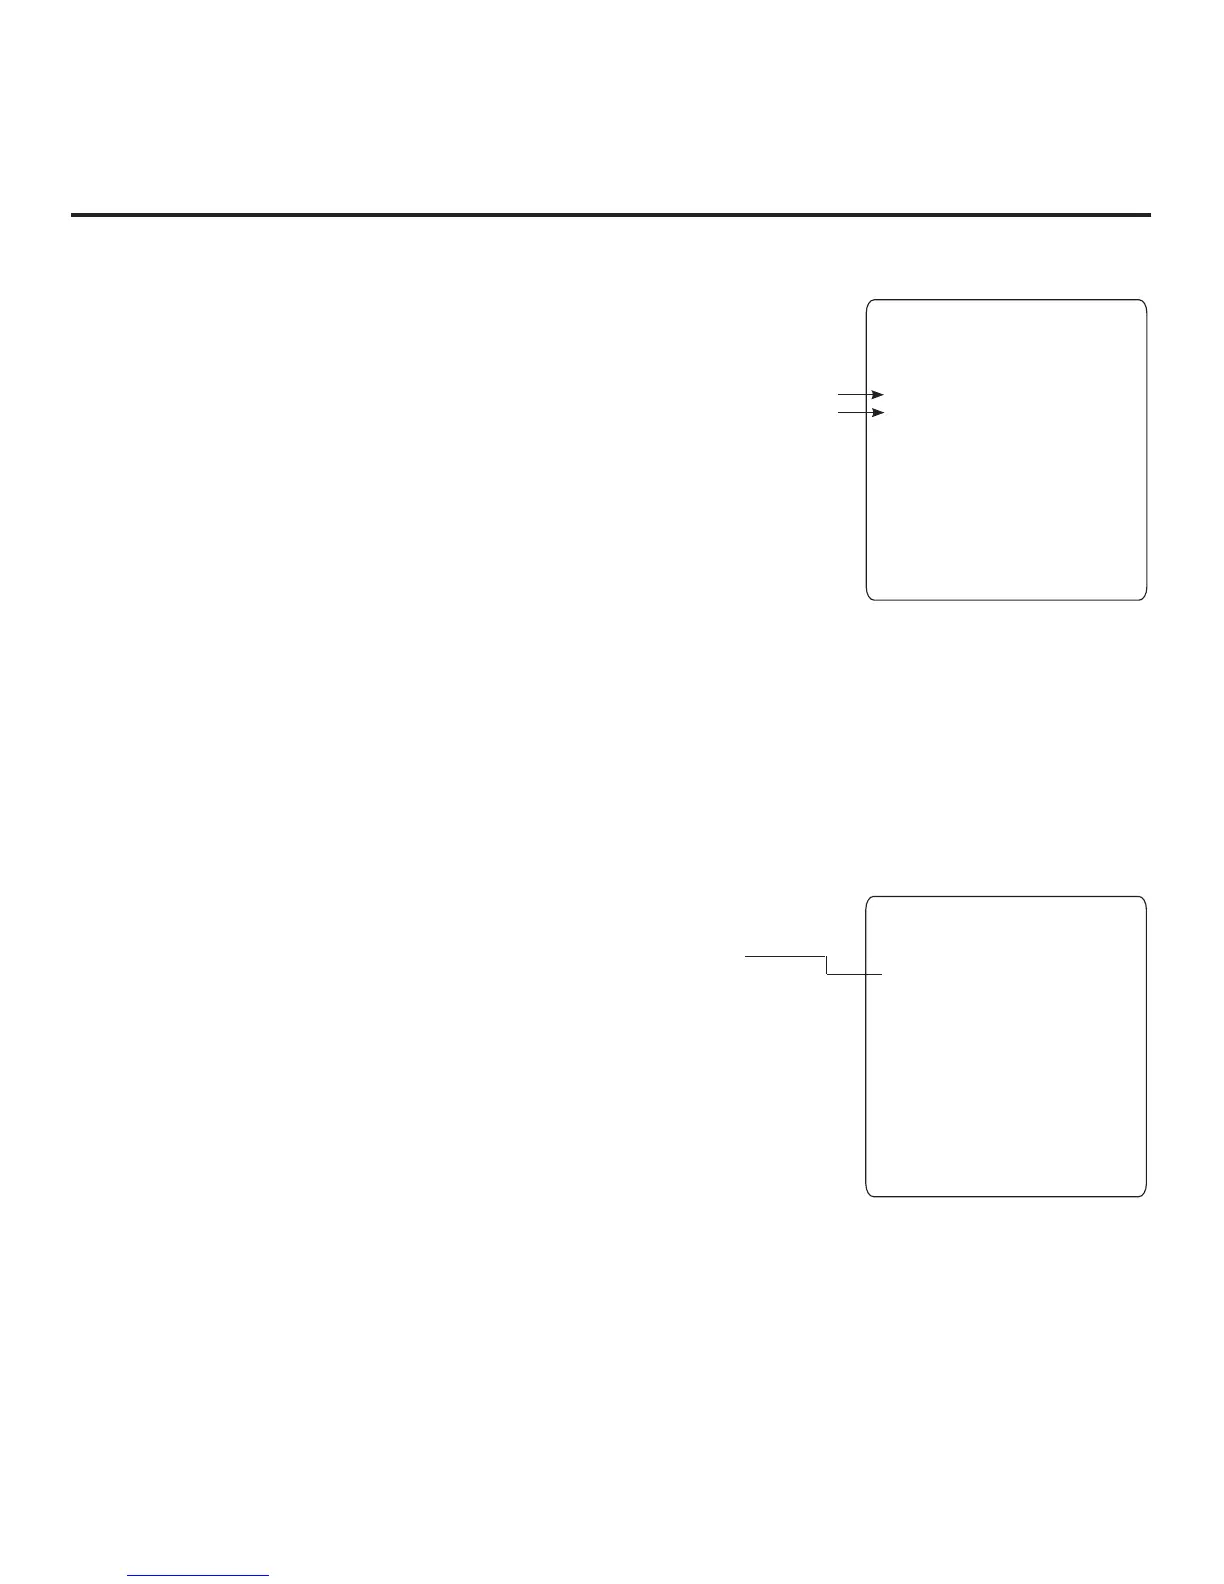
CLONE SELECTION MENU
Selected Bank: CBankX Saved
(1) LEARN FROM TV
(2) TEACH TO TV
(3) SET CLONE CLOCK FROM TV
(4) SET TV CLOCK FROM CLONE
(5) DISPLAY TV SETUP
(6) DISPLAY CLONE SETUP
CLONE CLOCK = XX:XX
TV CLOCK = XX:XX
THE CLONE IS VERSION VX.X.X
-
-
To change menu items, press
channel keys or digits.
To execute item, press Enter.
Cloning Procedures (Cont.)
Learning / Teaching a Master TV Setup using a TLL-1100A Clone Programmer (Cont.)
CLONE SELECTION MENU
Selected Bank: CBankX Saved
(1) LEARN FROM TV
(2) TEACH TO TV
(3) SET CLONE CLOCK FROM TV
(4) SET TV CLOCK FROM CLONE
(5) DISPLAY TV SETUP
(6) DISPLAY CLONE SETUP
CLONE CLOCK = XX:XX
TV CLOCK = XX:XX
THE CLONE IS VERSION VX.X.X
-
-
To change menu items, press
channel keys or digits.
To execute item, press Enter.

 Loading...