Service Manual 33
Disassembly
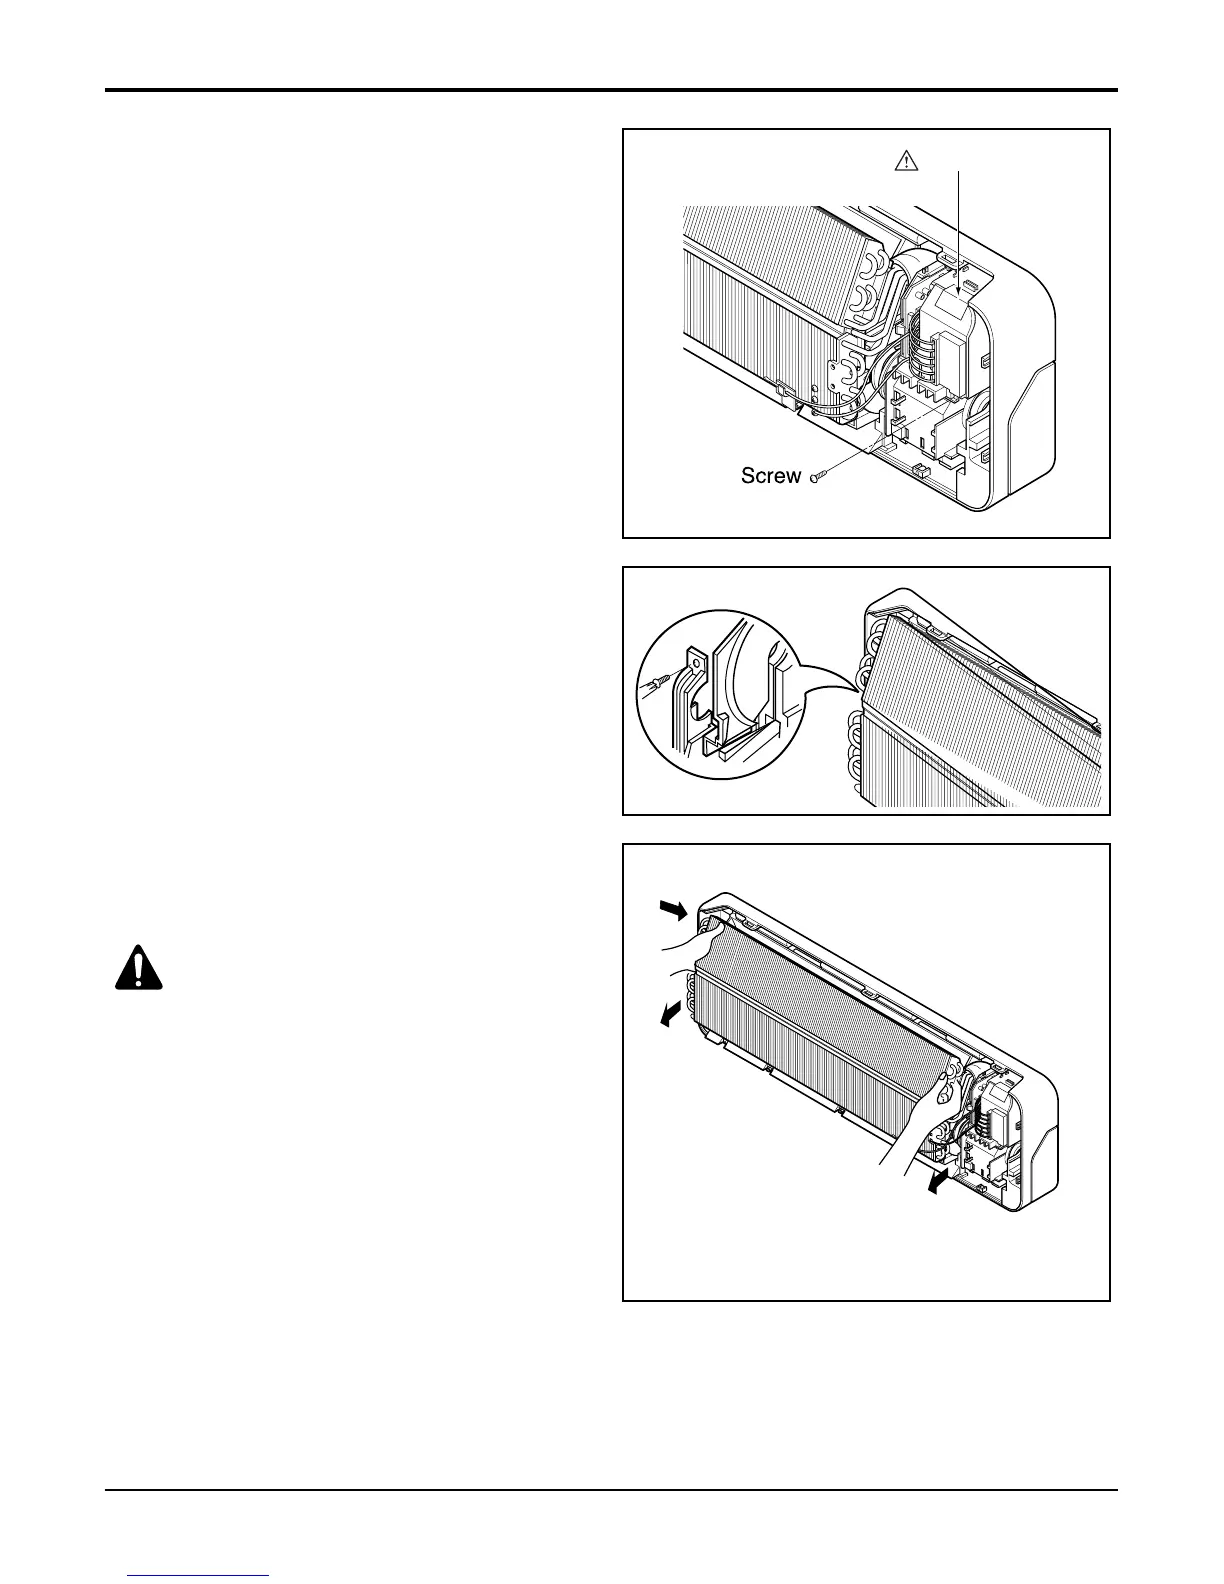
2. To remove the Control Box.
• Remove securing screws.
• Pull the control box out from the chassis
carefully.
3. To remove the Discharge Grille.
• Unhook the discharge grille and pull the
discharge grille out from the chassis carefully.
4. To remove the Evaporator.
• Remove 3 screws securing the evaporator(at the
left 2EA in the Eva Holder, at the right 1EA).
 Loading...