Copyright © LG Electronics. Inc. All rights reserved.
Only for training and service purposes
ADJUSTMENT INSTRUCTION
1. Application Object
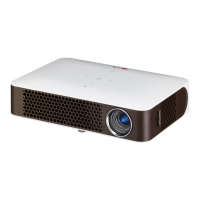
This instruction is for the application to the DLP Projector
(Chassis: FM51A).
2. Notes
(1) The power source insulation of this DLP Projector is not
charging type and you may not use the transformer for
insulation. It is advised to use an insulation transform
between the power supply cable and power input of the set
to protect the test equipment.
(2) The adjustment must be performed under the correct
sequence. But, it can be changed within the error
boundary of performance, considering the mass
productivity.
(3) The adjustment must be performed in the circumstance of
25 °C ± 5 °C of temperature and 65 % ± 10 % of relative
humidity.
(4) For the adjustment, the receptor's input voltage shall be
maintained at 220 V, 60 Hz.
(5) The set must be on for 5 minutes prior to any adjustment.
After receiving possible 100 % White Pattern, it is ready for
adjustment. If it is inevitable, it can be regardless of the
signal.
3. Composition of Adjustment Mode
(1) Adjustment mode can be entered by pressing ADJ key of
the adjustment remote controller, and may exit by pressing
EXIT key after the adjustment.
(2) Preparation for adjustment.
1) Connect power to the Set, and make it Power On state.
2) Heat Run for at least 5 min. before the adjustment.
(3) Adjustment specification
1) Composition of adjustment mode
A. Turn on the power of the set with Power on key.
B. When the set is turned on, press the Power only key
to enter the power-only mode.
C. Select Default mode for input source.
D. Adjustment mode can be entered by pressing ADJ
key of the adjustment remote controller, and may exit
by pressing EXIT key after the adjustment.
E. Preparation for adjustment.
F. Connect power to the Set, and make it Power On
state.
G. Heat Run for at least 3 min. before the adjustment.
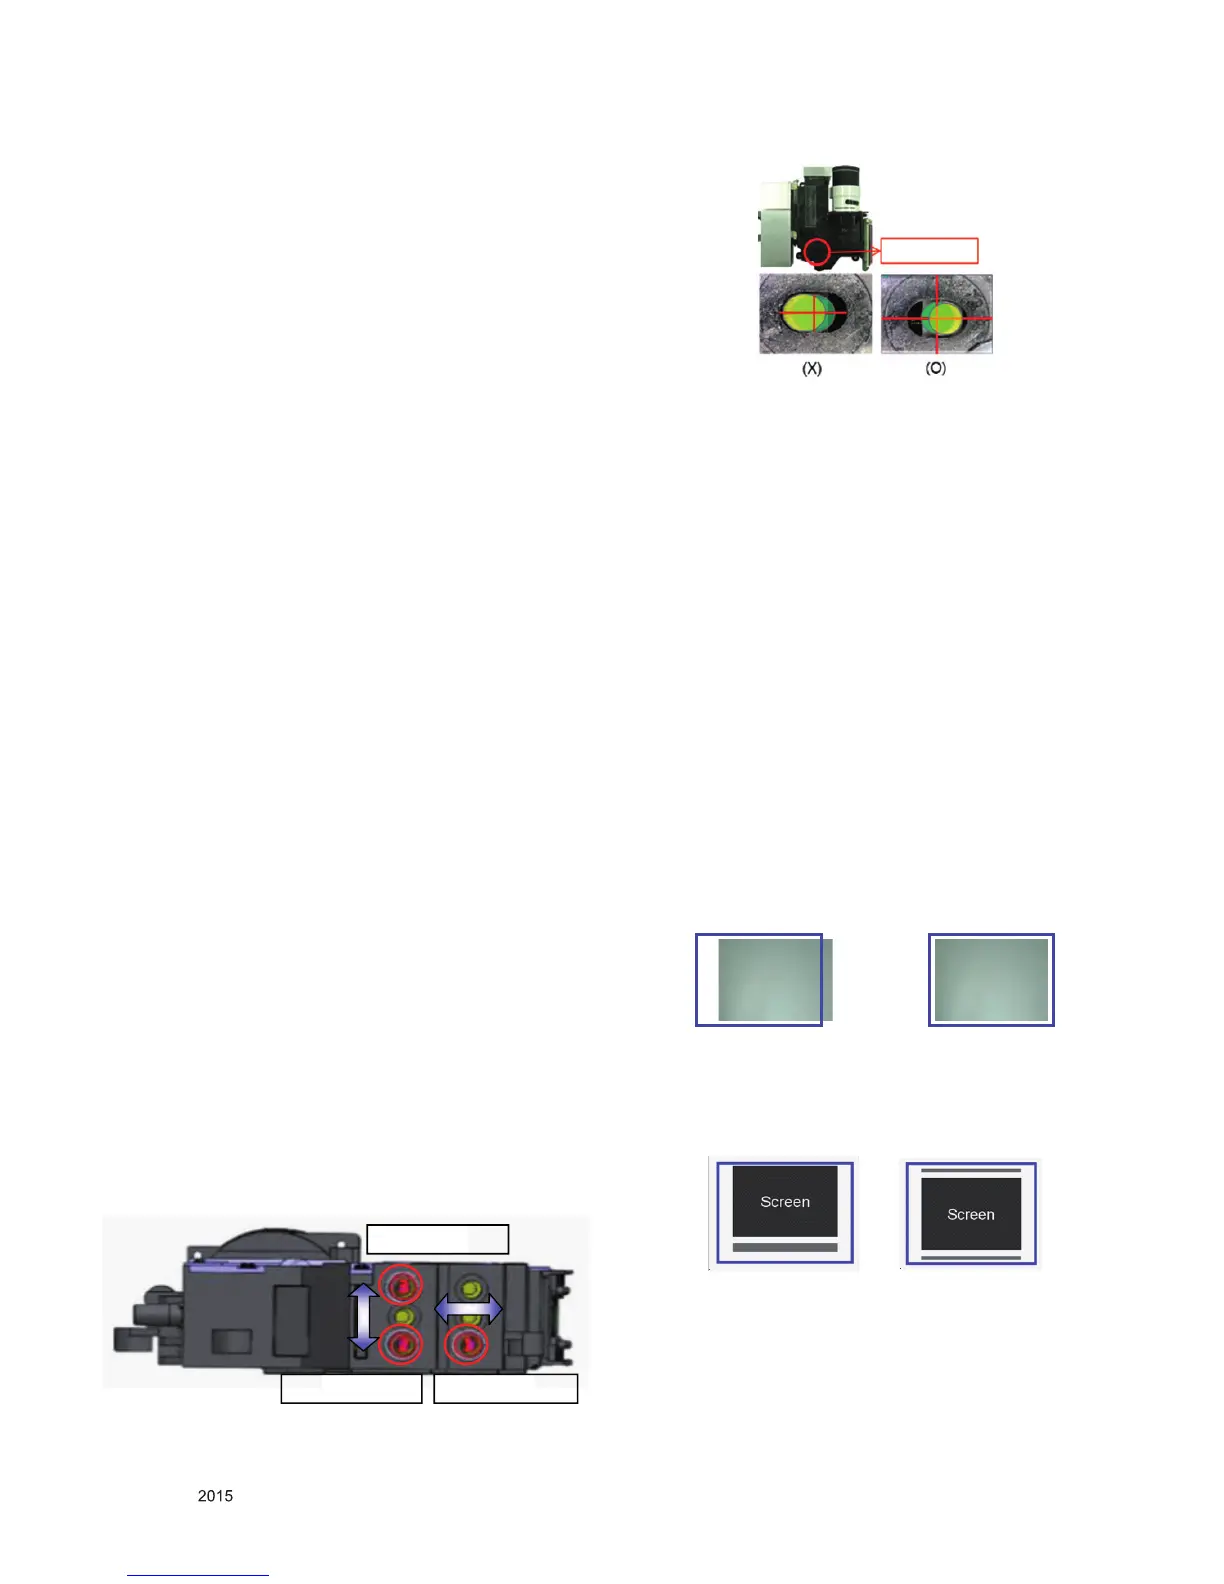
4. Folding Mirror Adjustment
(1) When the lighting system should be readjusted.
1) Check the position of the guide in the back of the engine
and move the guide boss to the appropriate position. (Fig.
4-2, yellow zone)
- As shown in (Fig. 4-1), turn the three adjustment screws
clockwise to tighten them, so they are secure.
- As shown in (Fig. 4-1), turn the three adjustment screws
counterclockwise three times to loosen them. Unscrew
them in the order of (a), (b), and (c).
2) Make sure the optical engine is mounted correctly in
accordance with the reference position of the jig.
(2) When the lighting system does not need to be readjusted.
1) If the position of the guide is appropriate as shown in
(Fig. 4-2), make sure the optical engine is mounted
correctly in accordance with the reference position of the
jig.
4.1. Lighting System Adjustment Procedure
(1) After adjusting the screen size, using 40 inches as a
reference size, project a full white screen and then adjust
the focus.
(2) Turn the three adjustment screws, illustrated in (Fig. 4-1-1),
clockwise (tightening) until they are fastened securely.
(3) Rotate the three screws twice each in a counterclockwise
(loosening) direction in order from A to C.
(4) Fine-tune screw B (within 0.5 turns) to adjust the left/right
margins.
(5) Adjust the up/down margins by fine-tuning the A and C
screws in order (within 0.5 turns).
(6) Project a full black screen and look for any red bars (light
leakage).
(7) When you see vertical red bars (light leakage) with the
naked eye, turn the three screws from A to C, in order,
within 0.5 turns clockwise (tightening) until you no longer
see any red bars and then adjust the margins. (Red Bar
Spec: Red Bars / Center Brightness Ratio: Adjust to below
50%.)
 Loading...