REFRIGERANT (FOR R32 ONLY)
10
INSTALLATION
Drainage (Optional)
The base-pan may overflow due to high humidity.
To drain the excess water, remove the drain cap
from the base pan of the unit and secure the
drain pipe.
1
Measure the space for installation to
assure a good fit. The air conditioner must
be installed firmly into place to prevent
vibration and noise.
2
Avoid exposure to direct sunlight.
3
Remove all obstacles from the rear of the
unit. There must be at least 50 cm (20 in.)
of cleared space around the rear of the
unit. Obstacles restricting the airflow may
reduce the cooling efficiency of the unit.
4
The unit should be installed with a slight tilt
towards the outside to allow condensed
water to drain. (About 10~15 mm or 1/4
bubble with Level)
1
Remove the rubber cap from the hole
under the base-pan.
3
Connect the drain hose to the outlet
located on the bottom of the drain pipe.
(You can purchase the drain hose or tubing
locally to satisfy your particular needs.
Drain hose is not supplied)
CAUTION
• Take care when inserting the drain pipe.
Push away from the sharp edge to avoid
slipping and injuring yourself.
!
2
1
2
Press the drain pipe into the hole by
hanging and pushing.
Foam
Awning
Heat
radiation
Fence
Over 50 cm
Cooled air
10~15 mm
1/4 Bubble
Level
How to Install the Unit
CAUTION
• The external grille must be exposed outside for
air discharge.
• As the minimum installation height is 70cm.
Please be aware of some old buildings may not
meet this requirement of installation height.
!
(Minimum
70-150cm
height is 70cm)
installation
2
目目
TABLE OF CONTENTS
3 SAFETY INSTRUCTIONS
4 IMPORTANT SAFETY INSTRUCTIONS
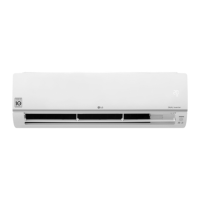
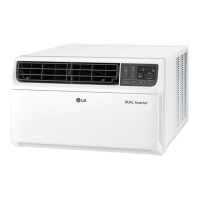
8 PRODUCT OVERVIEW
8 Exterior Parts
8 Interior Parts
9 INSTALLATION
9 Circuit Breaker Installation
9 Installation Overview
10 How to Install the Unit
10 Drainage (Optional)
11 Installation of the Unit
11 Space for Outside Air Flow
12 OPERATION
12 Control Panel and Remote Control
13 Using the Light Off Function
13 Using the Auto Clean Function
14 Wireless Remote Control
15 Air Direction
15 Slinger Fan
16 SMART FUNCTIONS
16 Using LG ThinQ Application
18 MAINTENANCE
18 Air Filter
19 TROUBLESHOOTING
19 Before Calling for Service
19 Normal Sounds You May Hear
TABLE OF CONTENTS
 Loading...