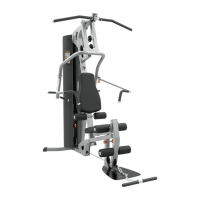
Do you have a question about the Life Fitness Smith Machine PL06 and is the answer not in the manual?
| Brand | Life Fitness |
|---|---|
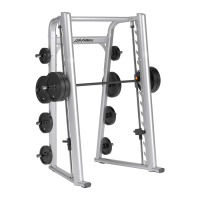
| Model | Smith Machine PL06 |
| Category | Home Gym |
| Language | English |
Remove the outer protective wrapper from the machine components.
Take out all parts except the main sides, starting with bar carriages.
Remove the top board securing the machine structure.
Detach the bottom cross brace securing the machine frame.
Remove the boards from the machine feet.
Position the machine's left and right sides four feet apart.
Connect the front brace to the machine sides using bolts.
Secure the back brace to the machine sides with bolts.
Fully tighten the bolts securing the front brace.
Place end caps over bolts and nuts for a finished look.
Detach the right bar carriage from its mounting.
Mount the bar into the right side carriage.
Mount the bar into the left side carriage.
Attach and tighten the machine's cables to the carriages.
Securely tighten all bolts on the bar carriages.