Do you have a question about the Life Fitness GYM SYSTEM G5 CABLE MOTION and is the answer not in the manual?
| Brand | Life Fitness |
|---|---|
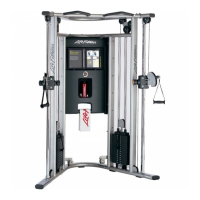
| Model | GYM SYSTEM G5 CABLE MOTION |
| Category | Home Gym |
| Language | English |
Key safety guidelines for using the gym equipment and minimizing risk.
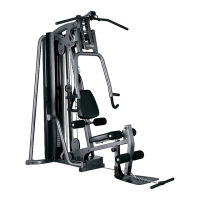
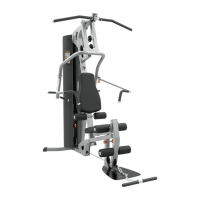
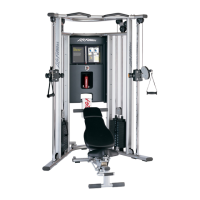
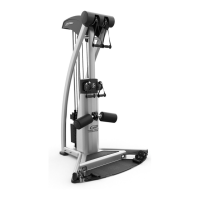
Detailed list of all parts included with the gym system.
List of screws, washers, and nuts required for assembly.
Tools necessary for assembling and maintaining the gym equipment.
Instructions for assembling the right upright and related components.
Instructions for attaching the footplate to the support legs.
Guide for assembling the weight stack, guide rods, and top plate.
Steps for routing the upper long cables through pulleys and assemblies.
Procedure for assembling and attaching quick connect mechanisms for handles.
Instructions for mounting bottom plates and attaching front shroud.
Steps for routing the lower short cables through pulleys and footplate.
Attaching thigh hold clamp and roller pad assembly to the main upright.
Instructions for attaching top front and back covers.
Process for inserting and securing guide cables to floating pulley assemblies.
Assembling mounting bracket and attaching top side covers.
Attaching various handles and the foot strap to cable ends.
Warranty terms for the product's frame and welds.
Warranty terms for defective materials or workmanship in parts.
Warranty coverage for coated cables and upholstery.
Steps to follow when service is required under warranty.