Do you have a question about the LifeFitness Club Series and is the answer not in the manual?
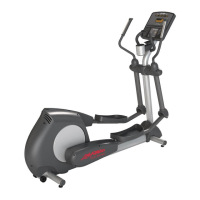
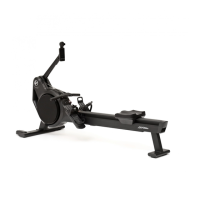
| Type | Treadmill |
|---|---|
| Incline Range | 0-15% |
| Heart Rate Monitoring | Contact; Wireless Compatible |
| Available Cardio Equipment | Treadmill |
| Maximum User Weight | 400 lbs |
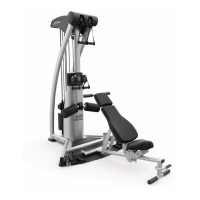
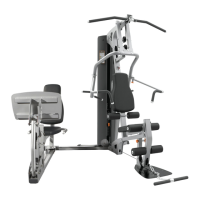
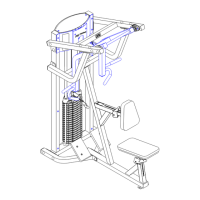
Assemble swivel pulleys onto front uprights using spring pins.
Securely assemble front uprights to the tower using specified hardware.
Securely assemble the rear cross support to the base of the towers.
Securely assemble the top cross support to the top of the towers.
Route cable through guide rod support and attach pulleys to towers.
Route cable over pulleys and secure them to the towers.
Route cable through the left tower and over a pulley.
Route cable around pulley and secure pulley to the tower.
Screw cable end into swivel pulleys and snugly tighten jam nut.
Install guide rods, weight stack cushions, plates, head plate, collars, and supports.
Securely assemble guide rod supports to towers and attach components.
Attach pulleys to the head plates using specified hardware.
Assemble pulleys to swivel pulleys using specified hardware.
Apply weight stack labels and insert weight stack pin.
Assemble handles to cable ends and attach placard labels to shrouds.
Essential safety rules for equipment usage to minimize risk.
Details the warranty periods for different components of the equipment.
Schedule for cleaning, inspecting, and lubricating equipment parts.