Quick Start Guide Pairing your Lifesize
®
Icon
™
to Lifesize
®
Cloud
2
Your network’s IP information is
automatically entered. If you want
to change it, you can do so now or
later. Click Next.
3
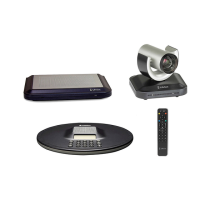
Plug in your Lifesize Icon.
1
Here is what you need to get started…
Lifesize Cloud
User Account
Computer or
Mobile Device
Use the Quick Reference Card included with your
video conferencing system.
Pairing your Lifesize Icon to Lifesize Cloud provides
an unparalleled meeting room experience. Lifesize
Icon comes with the Lifesize Cloud software
preloaded so it works right out of the box.
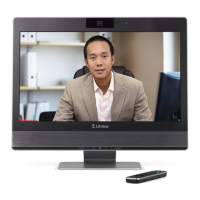
Display
Lifesize Icon Video
Conferencing System
Select your time zone.
Click Next.
4
When asked to join the Lifesize
Cloud service, click Yes.
5
Activate Lifesize Cloud by QR code if using a
mobile device or URL if using a computer.
6
Enter
URL
https://manage.lifesizecloud.com/activate
Using the Lifesize Icon remote,
set your preferred language.
Click Next.
Initial Configuration
English
Español
Français
Italiano
Norsk
polski
Deutsh
Português-Brasil
Select a language.
Next
Initial Configuration
Configure your network.
NextPrevious
DHCP
IP Address
Netmask
Default Gateway
Static DNS Server
On
10.10.44.72
255.255.254.0
10.10.44.1
Test network…
Select to change
Link Status Connected Test: Passed
Initial Configuration
Select a time zone.
NextPrevious
Montevideo, Uruguay
Ponta Delgada, Azores
Greenwich Mean Time
Dublin, Ireland
Lisbon, Portugal
London, England
Reykjavik, Iceland
Mon Dec 7 7:23 pm
Initial Configuration
Do you want to join the Lifesize Cloud service?
Previous
Yes
No
Initial Configuration
Activating Lifesize Cloud
Previous
Scan the code to activate.
Browse to https://manage.lifesizecloud.com/activate
Sign in to enter your code: 974115