10
TOOLS AND HARDWARE REQUIRED / HERRAMIENTAS Y ACCESORIOS REQUERIDOS / OUTILS ET ACCESSOIRES REQUIS
SECTION 1 (CONTINUED) / SECCIÓN 1 (CONTINUACIÓN) / SECTION 1 (SUITE)
1.13
1.14
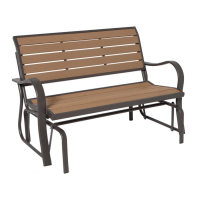
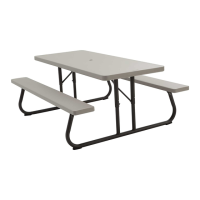
• Push in the buttons, and extend the Legs.
• Oprime los botones, y extiende las Patas.
• Appuyez in les Boutons, et rallongez les Pieds.
(x5)
• Repeat steps 1.10–1.13 for the other Bench.
• Repita los pasos 1.10–1.13 para el otro Banco.
• Répétez les étapes 1.10 – 1.13 pour l’autre Banc.
1.15
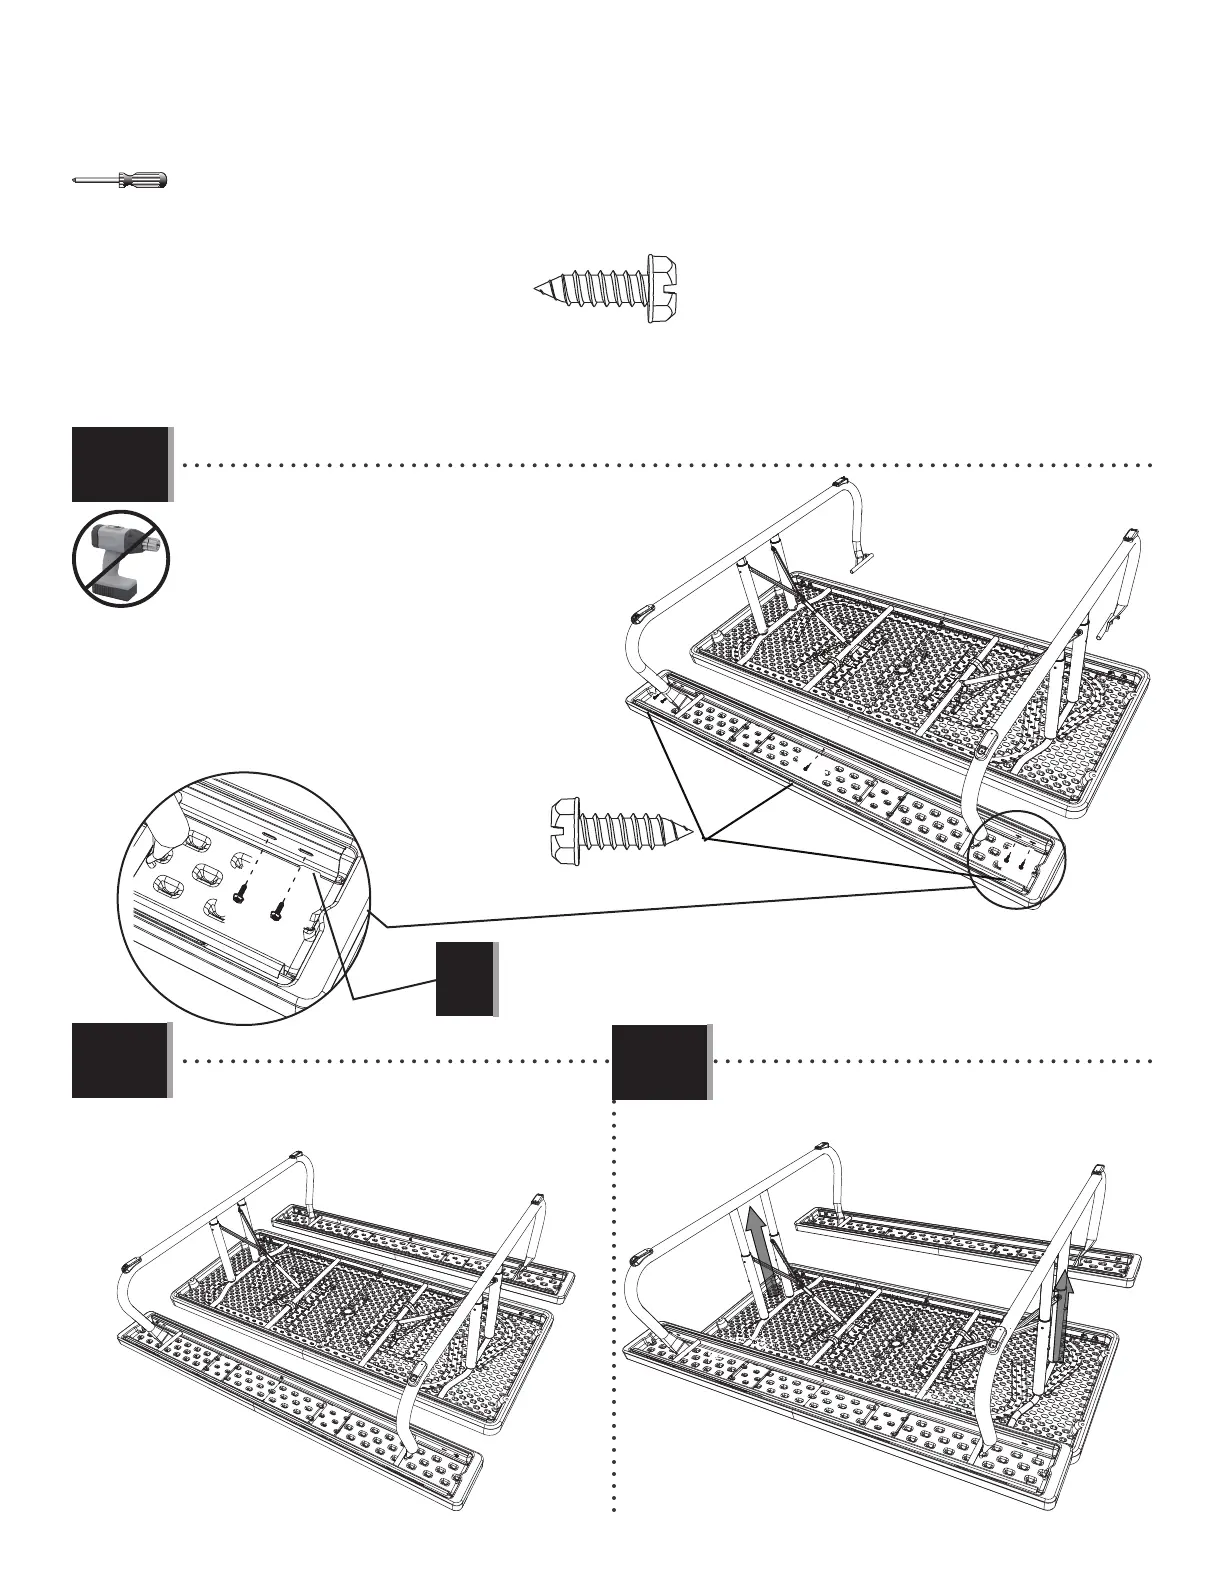
• Slide the J-Channel, still connected to th Bench, over the Legs, and
reconnect the fi rst J-Channel to the Bench using the hardware
you removed in step 1.10.
• Deslice el Canal en forma de «J», que está todavía
conectado al Banco, sobre las Patas, y sujete de
nuevo el primer Canal en forma de «J» al Banco
usando los Tornillos que retiró en paso 1.10.
• Glissez le Canal en forme de « J », qui est encore
connecté au Banc, sur les Pieds, et atttachez de
nouveau le premier Canal en forme de « J » au
Banc à l’aide des Vis que vous avez retiré dans
l’étape 1.10.
(x5)
Note: Ensure the J-Channel goes under these tabs.
Nota: Asegúrese que el Canal en «J» se encaja debajo estas lengüetas.
Note : Assurez-vous que le Canal en « J » va sous ces languettes.
!
 Loading...