58
TOOLS AND HARDWARE REQUIRED / OUTILS ET QUINCAILLERIE REQUIS / INSTRUMENTAL Y HERRAJE REQUERIDOS
X SECTION 10 (CONTINUED) / SECTION 10 (SUITE) / SECCIÓN 10 (CONTINUACIÓN)
10.2
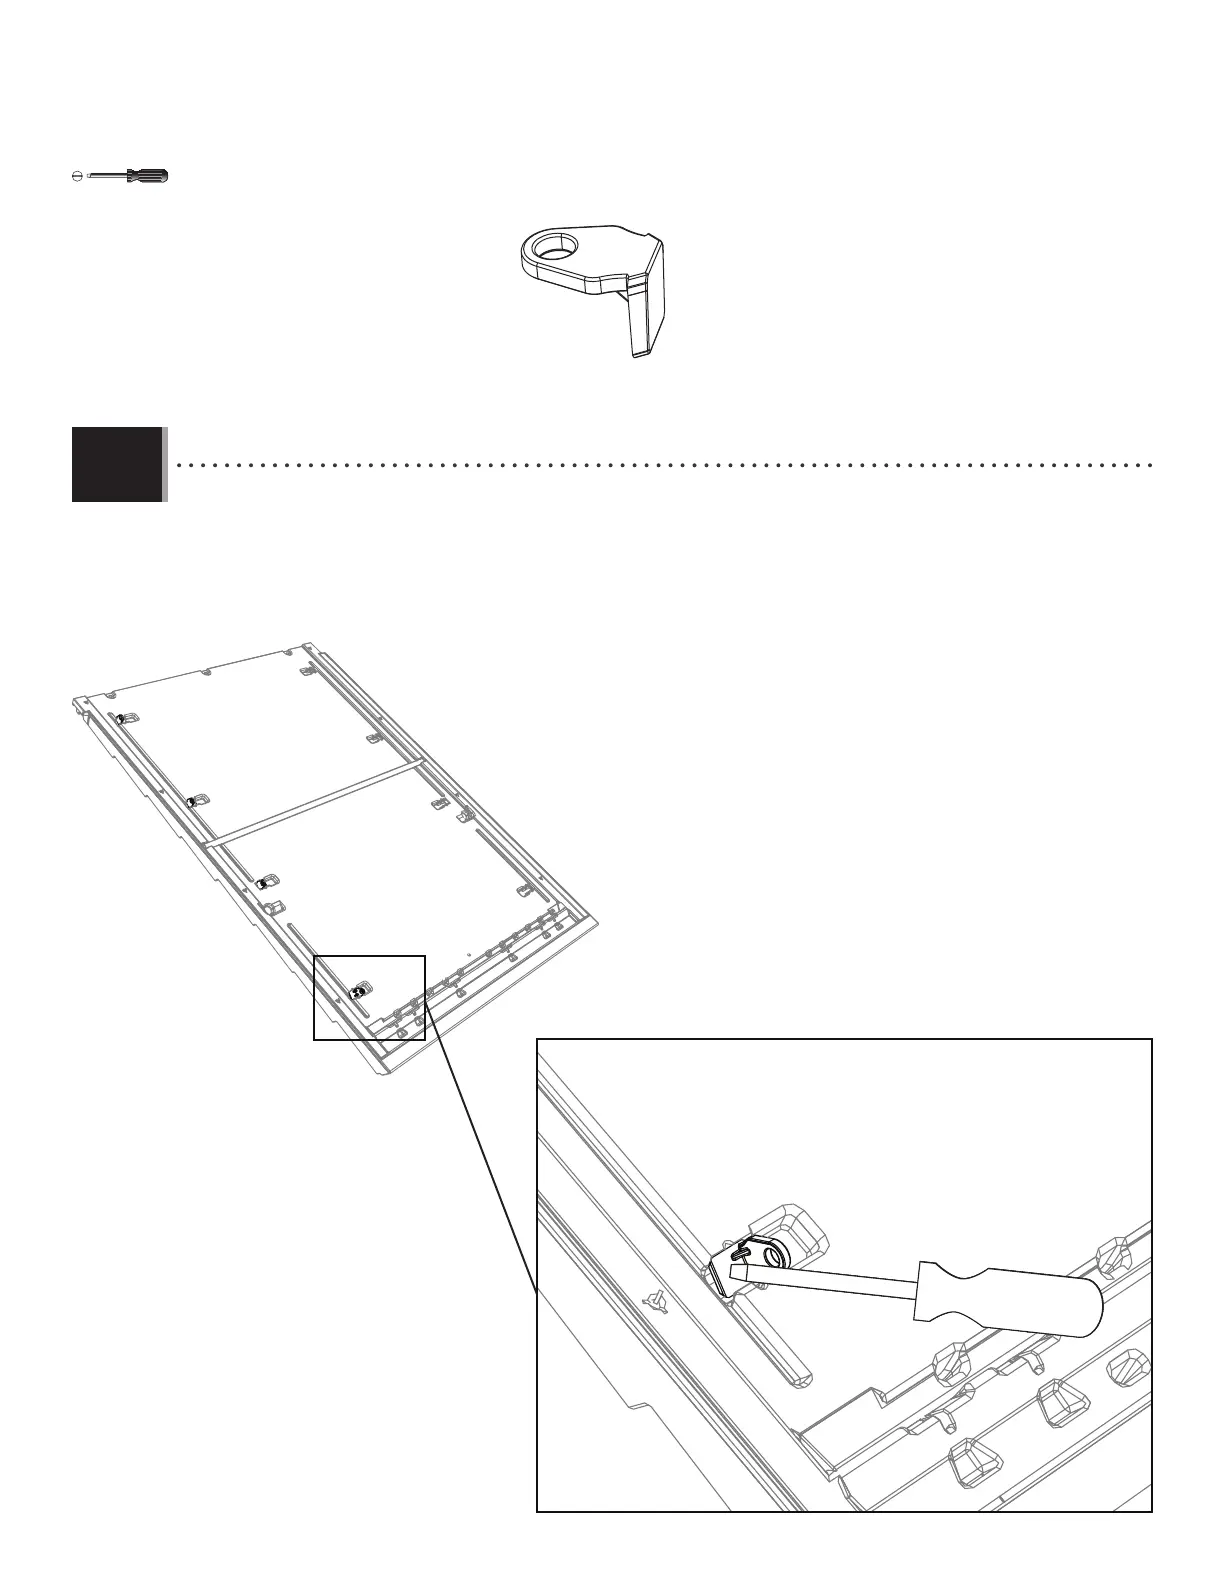
BYT (x1)
• Lay a Roof Panel upside down as shown. Orient a Gable Clip (BYT) as shown, and insert it at an angle into the
bottom-most clip slot. Use a screwdriver to press down fi rmly to snap the Clip into place.
• Mettre un panneau de toit comme indiqué. Orienter un clip de pignon (BYT) comme indiqué, et l’insérer à un angle
dans la fente la plus inférieure. Employer un tournevis afi n de bien pousser le clip en place.
• Colocar un panel de techo como se muestra. Orientar un clip de fachada (BYT) como se muestra, e insertarlo a un
ángulo en la ranura la más inferior. Usar un destornillador para presionar bien el clip en su lugar.