27
TOOLS AND HARDWARE REQUIRED / OUTILS ET QUINCAILLERIE REQUIS / INSTRUMENTAL Y HERRAJE REQUERIDOS
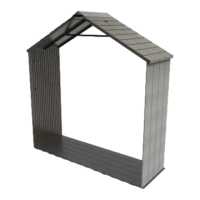
SECTION 5 (CONTINUED) / SECTION 5 (SUITE) / SECCIÓN 5 (CONTINUACIÓN)
• Flush with the Right Door
• À ras de la porte droite
• A ras de la puerta derecha
• Using an 1/8" (6,4 mm) Drill Bit (ARA), drill through the Door and into the Square Tube. Do not drill all the way through
the Door—just into the Tube.
• En utilisant un foret de 6,4 mm (1/8") (ARA), percer la porte et le tube carré. Ne percer pas complètement à travers la
porte — juste dans le tube.
• Usando una broca de 6,4 mm (1/8") (ARA), taladrar la puerta y el tubo cuadrado. No taladrar por la puerta entera—
sólo al tubo.
• Insert an End Cap (BBH) into the end of the Square Tube (CHI). Gently, fi nish inserting the Tube until it’s fl ush with the bottom of
the Door.
• Insérer un capuchon (BBH) dans l’extrémité du tube carré (CHI). Insérer gentiment le tube jusqu’à ce qu’il soit aligné avec le
fond de la porte.
• Insertar un tapón (BBH) en el extremo del tubo cuadrado (CHI). Insertar ligeramente el tubo hasta que esté alineado con el
fondo de la puerta.
5.3
5.4
BBH
BBH (x1)
ARA (x1)