7
NO TOOLS AND HARDWARE REQUIRED / AUCUN OUTIL OU QUINCAILLERIE REQUIS / NINGÚN INSTRUMENTAL O HERRAJE REQUERIDO
X SECTION 1 (CONTINUED) / SECTION 1 (SUITE) / SECCIÓN 1 (CONTINUACIÓN)
1.1
BWM
J-Channel
Canal en « J »
Canal en «J»
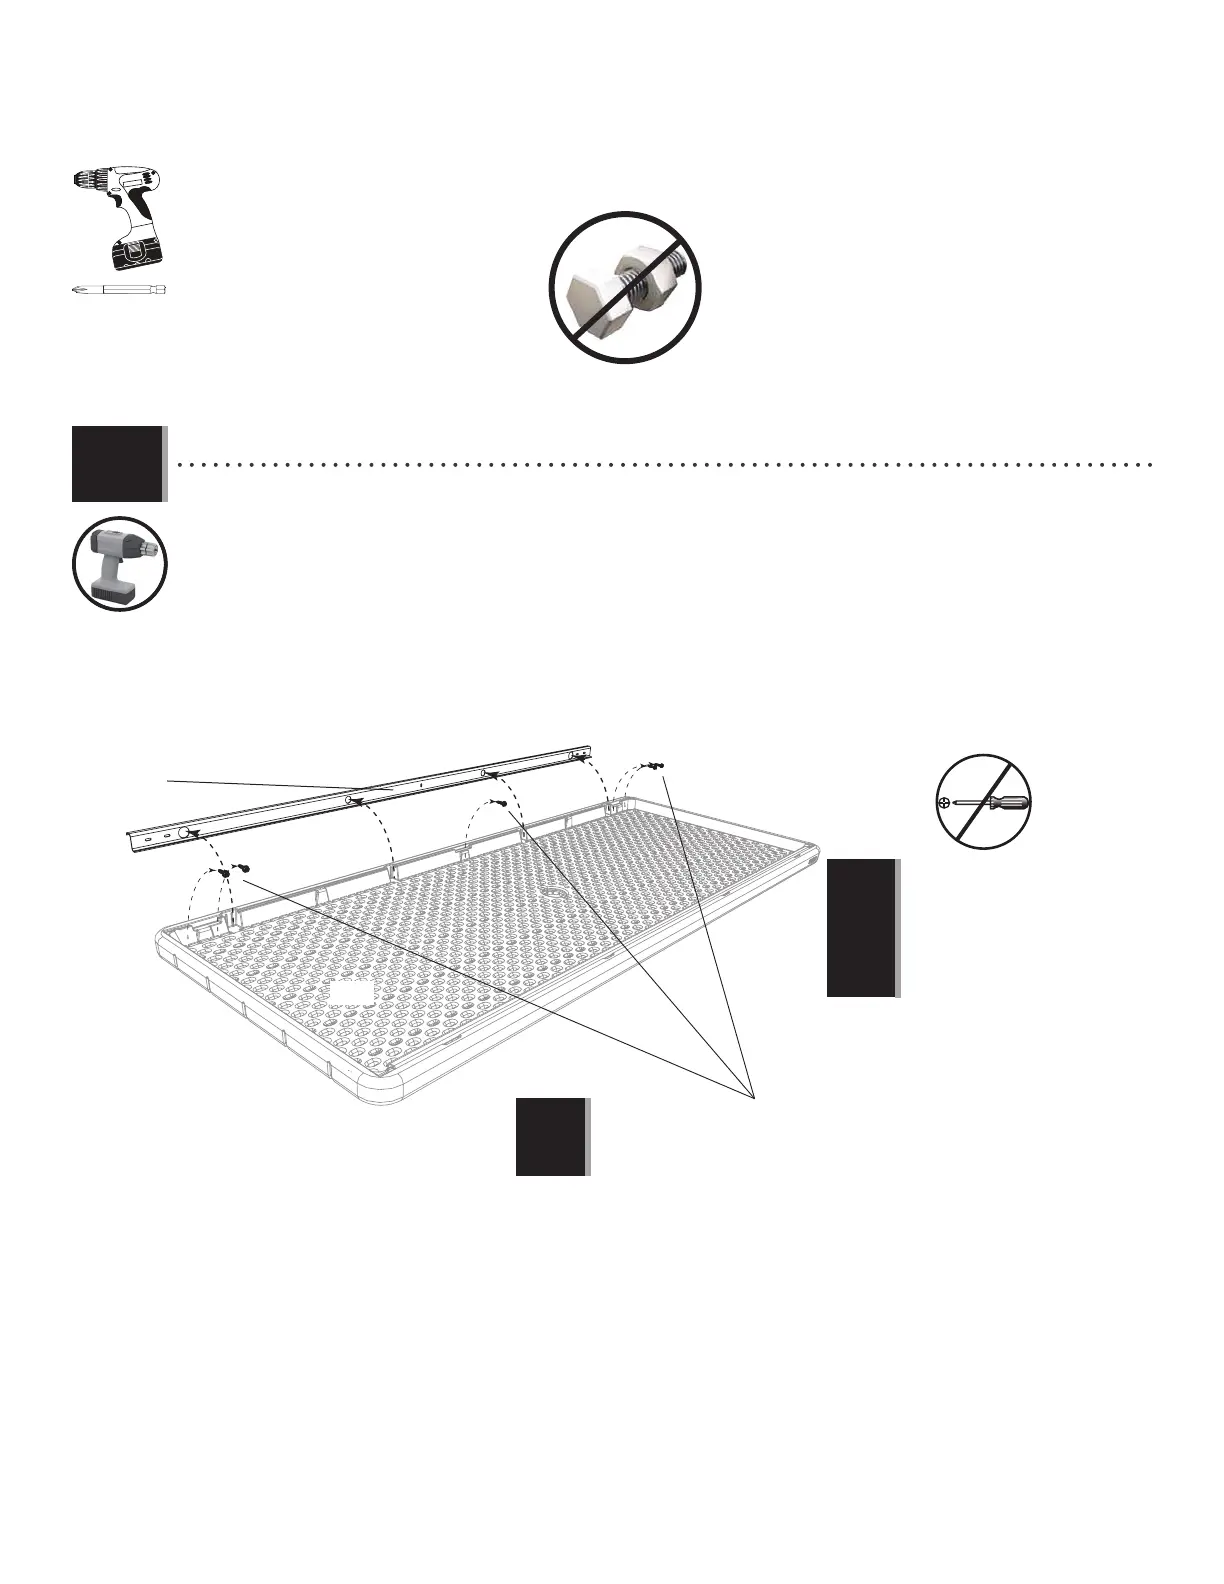
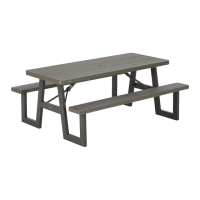
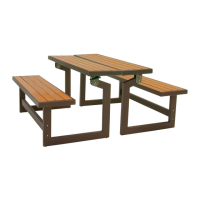
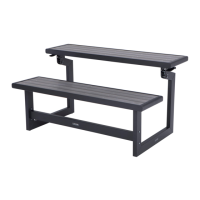
• Lay the table top (BWM) upside down on the ground. Use a drill or electric screwdriver to remove the fi ve (5) screws
connecting one of the j-channels to the table top, and remove the channel from the table top. Save screws for later in the
assembly.
• Tourner à l’envers et étendre par terre le dessus de table (BWM). Utiliser une perceuse ou visseuse électrique pour
enlever les cinq (5) vis qui attachent un canal en « J » au dessus de table, et enlever le canal. Les mettre de côté jusqu’à
plus tard.
• Extender el tablero (BWM) al revés en el suelo. Usar un taladro o atornillador eléctrico para quitar los cinco (5)
tornillos sujetando uno de los canales en «J» al tablero, y quitar el canal. Dejarlos a un lado hasta más tarde.
• Remove all screws connecting the J-channel to the table top.
• Enlever tous les cinq vis qui attachent le canal en « J » au dessus de table.
• Quitar todos los tornillos sujetando el canal en «J» al tablero.
• Do not use a hand screwdriver for
this step.
• Ne pas utiliser de tournevis manuel
dans cette étape.
• No utilizar un destornillador manuel
en este paso.
!
!