16
TOOLS AND HARDWARE REQUIRED / OUTILS ET QUINCAILLERIE REQUIS / INSTRUMENTAL Y HERRAJE REQUERIDOS
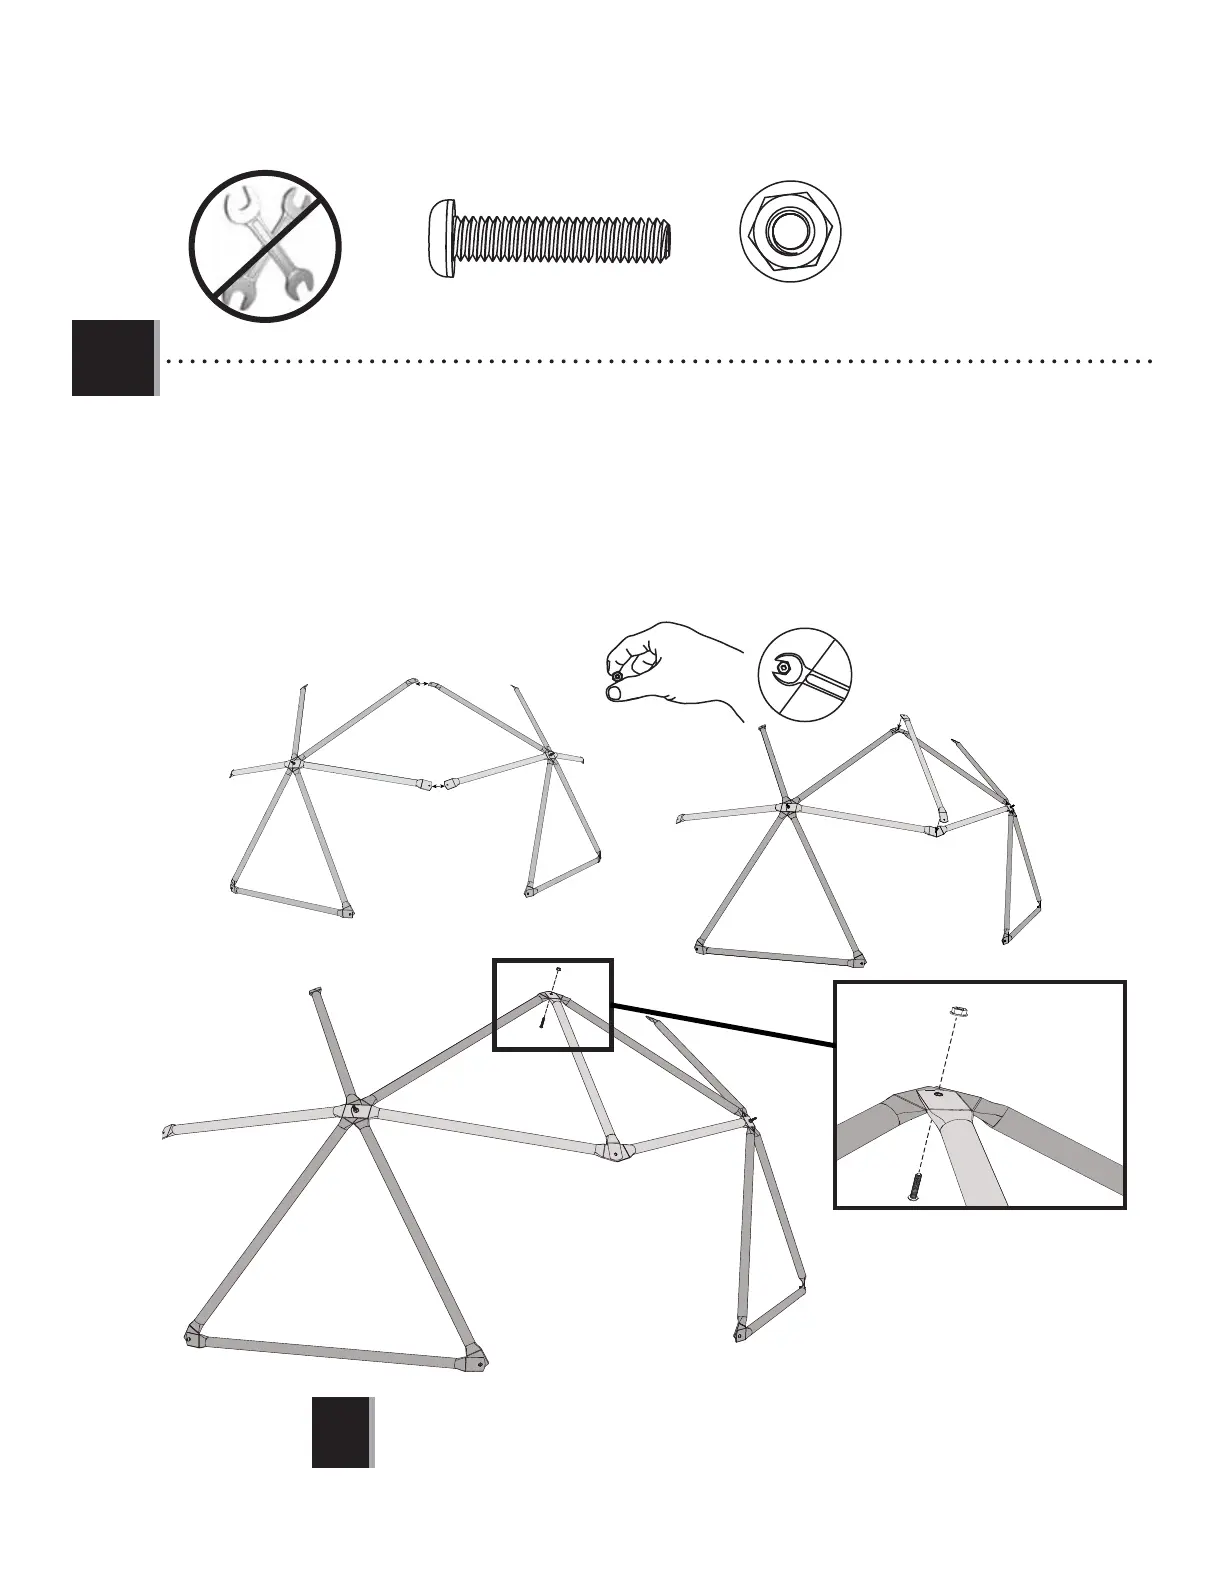
X SECTION 1 (CONTINUED) / SECTION 1 (SUITE) / SECCIÓN 1 (CONTINUACIÓN)
6
1.3
• Bring the assemblies completed in steps 1.1 and 1.2 together as shown. Place a green tube (CPC) over the
brown tubes (CPD) and secure the green and brown tubes together at the top joint as shown below by using the
hardware indicated. Finger-tighten the fl ange nut (GAW) for removal later.
• Réunissez les assemblages réalisés aux étapes 1.1 et 1.2 comme indiqué. Placez un tube vert (CPC) sur les tubes
marron (CPD) et fi xez les tubes vertes et marron ensemble à l’assemblage supérieur, comme indiqué ci-dessous,
en utilisant la quincaillerie indiquée. Serrez à la main l'écrou à bride (GAW) pour le retirer plus tard.
• Junte los ensamblados terminados en los pasos 1.1 y 1.2 como se muestra. Coloque un tubo verde (CPC)
sobre los tubos cafés (CPD) y fi je los tubos verdes juntándolos en la unión de la parte superior como se muestra
a continuación usando los elementos indicados. Apriete con los dedos la tuerca de brida (GAW) para retirarla
posteriormente.
GAU
GAW
CPC
CPC
CPD
!
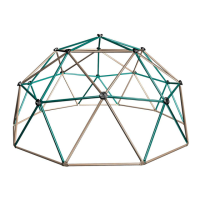
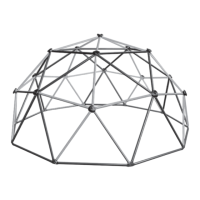
• The climbing dome should be stood upright to complete this step and the rest of the assembly.
• Le dôme d'escalade devrait être placé bien droit afi n de terminer cette étape et le restant de l’assemblage.
• El domo de escalada debe estar colocado verticalmente para terminar este paso y el resto del ensamblado.
CPD
GAW (x1)
GAU (x1)
 Loading...