“Riviera” LightHeaded™ Bed
Assembly Instructions
www.LightHeadedBeds.com
Model #20197 Full size, Cheshire Cherry
Model #20327 Full size, Black
Model #20330 Full size, White
9/17/2015
1168346 B
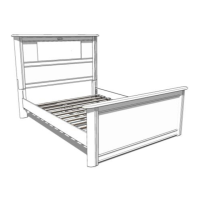
Step 3
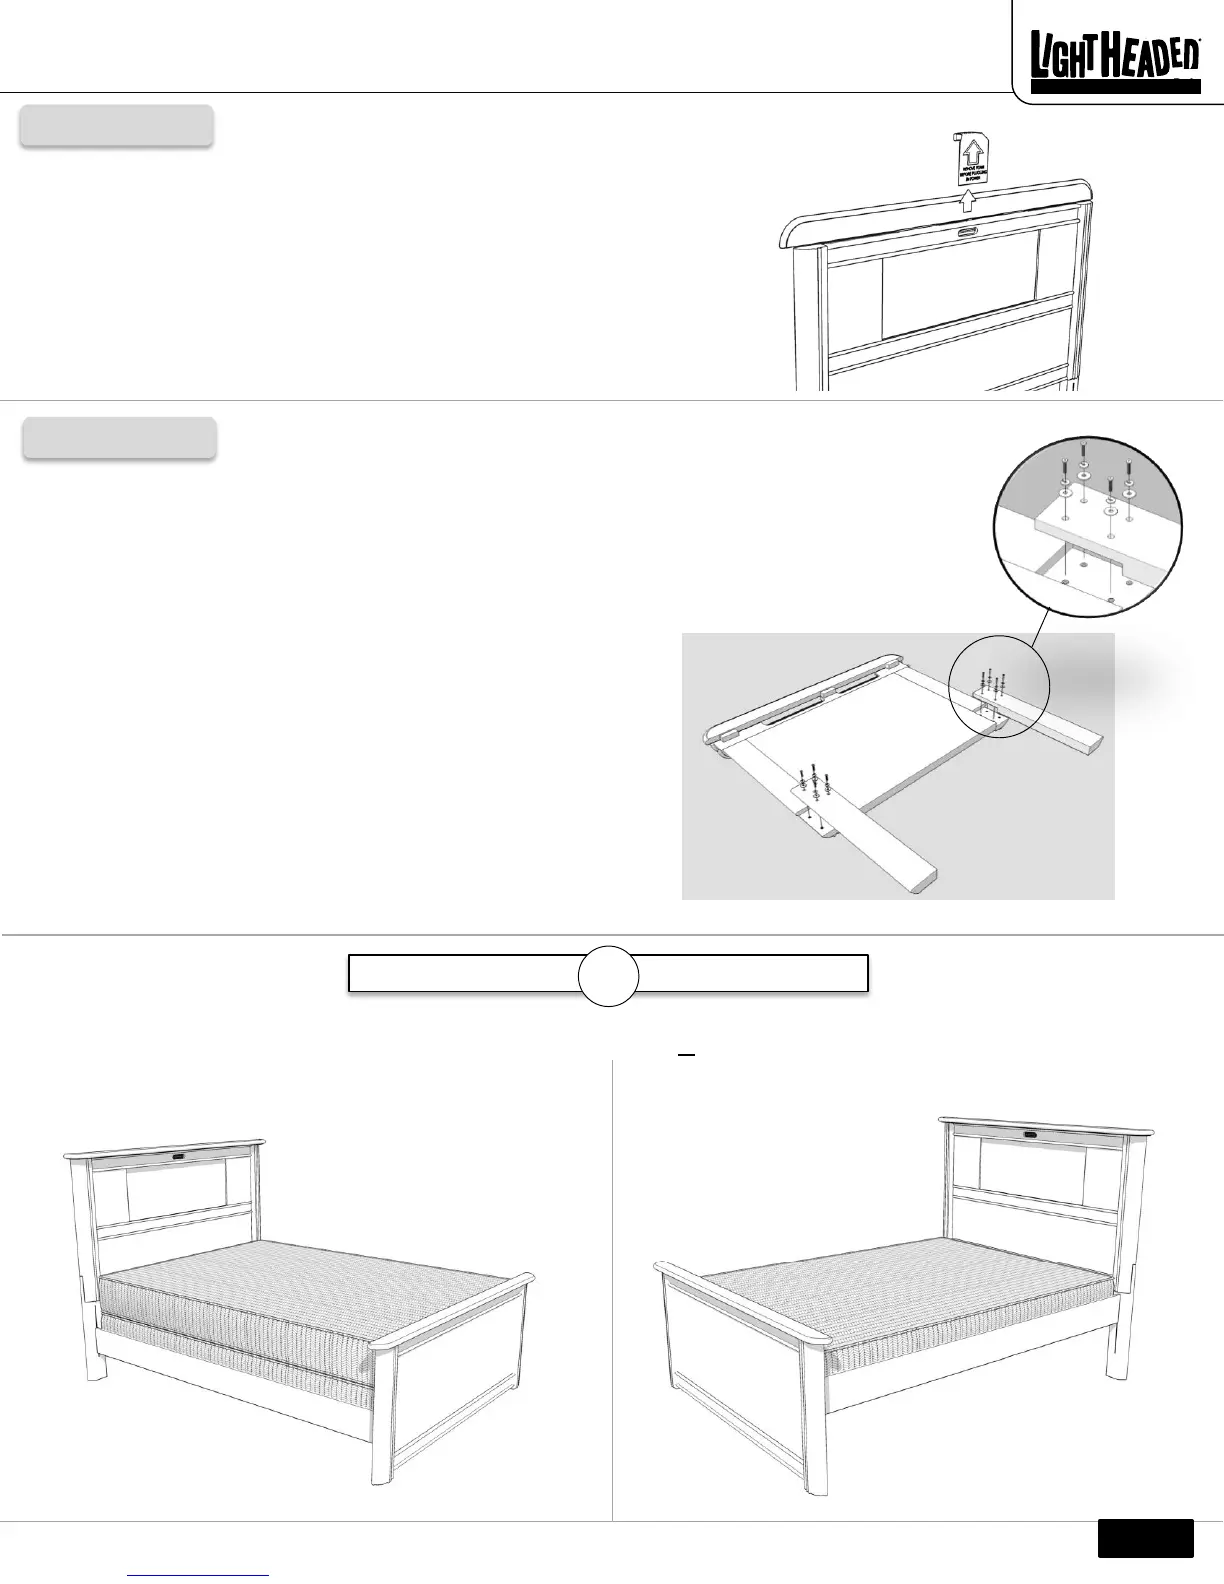
Step 4
1. Open the caprail, and remove the protective foam insert and attached paper and
discard.
2. Your LightHeaded™ light component is pre-assembled in the headboard and ready
to use. Please refer to your LightHeaded™ Lighting Assembly Instructions in the
TechBox for information on how to connect power to your light, insert
LightHeaded™ Images, general use, and troubleshooting if necessary.
1. With the help of your assistant, gently lay your LightHeaded™
headboard panel face down on a soft surface with the hinged top in
the open position.
2. Align left leg (EPP) with the left side headboard (EPN).
3. Align the cutout in the top of the leg with the corresponding cutout in
the bottom of the headboard post. The 4 holes in the leg will align
with the 4 threaded inserts in the back of your headboard panel.
4. Select 4 metal washers (EPJ), 4 metal lock washers (EPK), and 4
machine screws (EPL). Using the Allen wrench supplied (CWT), tighten
screws into legs through the lock washer then washer.
5. Repeat these steps for the right leg (EPO).
Mattress only
Box Spring & Mattress
or
Page 3
It’s your choice!
Your LightHeaded™ bed can be assembled to use a box spring and mattress set or a mattress only. Don’t worry, you can change it at any time
with a couple simple steps and no tools.
EPP
EPO
EPN
 Loading...