Pressing on each band will show the Antenna currently set for that band. If
you want to change the Antenna just press the appropriate Antenna A,B,or C
as required. Settings are saved immediately.
Note this screen also serves as a manual band change screen allowing you to
manually select the band you require (so, for instance, if you change bands
on the transceiver and want to listen on another antenna without having
actually transmitted you can do so manually from here).
When set-up is complete pressing the return button returns you to the main
screen.
Once you start to tx then the amplifier will immediately change band
automatically if the transceiver is on a different band to the amplifier. (Note tx
is inhibited whilst you are in anything other than the main operating screen)
When the amplifier is turned off completely at the front panel power switch or
disconnected from the mains then Antenna A is selected as default. The
amplifier will allow up to 200W straight through operation (BUT remember to
reset your drive level before you use the amplifier again!)
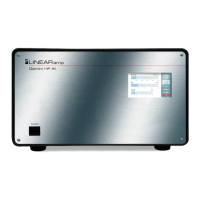
Operation
Grounding the PTT line will put the amplifier into transmit. TX will be shown
highlighted in red on the display. Note the nature of the solid state output
switching circuit in the Gemini HF-1K is such that there is NO noise
associated with going to tx. The only time you will hear relays click is during
band change or antanna change.
Applying RF from the transceiver will result in RF output from the amplifier.
The display shows RF power out, Ipa (PA current) and VSWR as well as
Band, Antenna and temperature. Both peak and average RFout and Ipa are
shown. Numerically the peak value is shown.
 Loading...