SELECTING A CODE
Before placing your transmitter into service, we urge you
to set your code in order not to interfere with neighboring
systems and to provide security for your own system. We
strongly urge that several coding schemes be avoided: ALL
ON; ALL OFF; 2, 4, 6, 8, 10 ON; 1, 3, 5, 7, 9 ON. These
positions are similar to our or other manufacturer’s test
positions, or are frequently used.
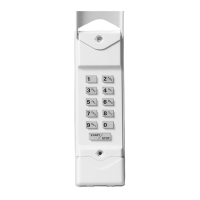
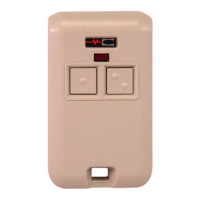
You will note that the model 3083 transmitter has two, ten
position code switches (Note: the switches are in the “on”
position when the switch is depressed toward the number,
see diagram #2). In order to simplify coding of your
transmitter as much as possible, observe the following:
12
3
4
5
6
7
89
1
0
ON
OFF
CODE SWITCH
SV
9A
DIAGRAM #2
If you have two single channel receivers: Set your
transmitter so that code switch #1 will match receiver #1.
Set code switch #2 on the transmitter to match receiver #2
(see Diagram #1).
If you have a MULTI-CODE 3021 or 3028 two channel
receiver: Set the receiver and both transmitter code
switch positions 1-9 to match. The tenth position on your
transmitter code switches are used for channel selection.
Channel 1 on the receiver is selected by moving the tenth
position of code switch #1 on the transmitter to the off
(open) position.
Channel 2 on the receiver is selected by moving the tenth
position of code switch #2 on the transmitter to the on
(closed) position. Once the codes have been set, check
the operation and reassemble the transmitter case.
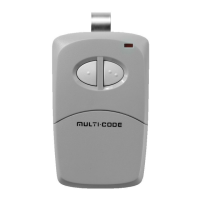
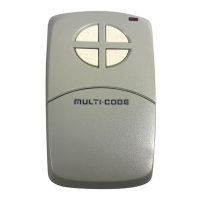
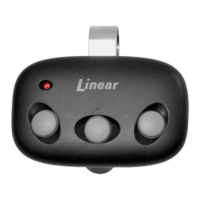
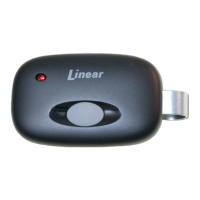
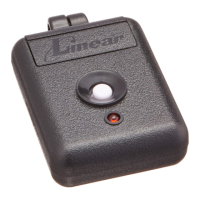
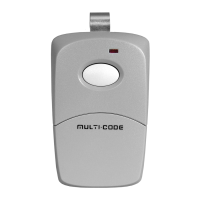
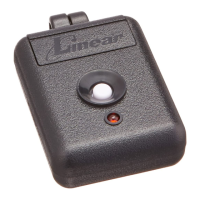
MINI-TRANSMITTER INSTALLATION
This transmitter is completely self contained, including
battery and can be operated while held in hand or while
mounted in the car. It is supplied with “hook and loop”
fabric for easy mounting or it may be added to your
keychain using the slot provided.
TRANSMITTER BATTERY REPLACEMENT
Replacement battery - 12 volt alkaline lighter battery
(Eveready A23 or equivalent).
The transmitter battery can be checked or changed by
removing the phillips head screw located on the back
of the case and carefully separating the case halves to
expose the circuit board and battery. Simply slide out the
old battery and slide in the new, remembering to observe
the battery polarity molded on the case in the bottom of
the battery compartment. Note that if the red LED on your
transmitter fails to light you most likely have a weak or
dead battery and it should be replaced (see diagram #1).
OPERATIONAL CHECK
To check operation, move back a reasonable distance
(about 50 ft.) and press the transmitter button. Operation
should be reliable at this distance but environment and
location of both the transmitter and receiver will affect the
range. If the transmitter is stowed well out of sight, it may
be necessary to remove it from its mounting and hold near
the windshield. Try different locations and positions.
If operation is still unsatisfactory, the problem may be
isolated by:
1. Checking the door operator. If the door will not open
when the wall button is pressed, the problem is likely
to be the operator. If the door will open by pressing
the wall button, but not when the radio control button
is pressed, the problem is probably in the radios.
2. Replacing the transmitter battery. If, after performing
the above operational checks, the controls still do not
function, they should be returned to your dealer for
repair or replacement.
WARRANTY
All MULTI-CODE door related products carry an eighteen (18) month
warranty against defects in workmanship or material. This warranty
begins at the date of manufacture, for eighteen months. Nortek Security
& Control warrantees our product only to our authorized dealers and
distributors and not to the end customer. If you have any questions about
our warranty, please ask your dealer to determine the nature and scope
of his warranty. Nortek Security & Control does not assume, and is not
responsible for, any real or consequential damages from claims against
the performance of our product, nor is it liable for any costs related to
loss of life, property, or revenue. Further, Nortek Security & Control is in no
way responsible for installation of our product, and will assume no costs
related to reinstallation or removal. Nortek Security & Control’s Warranty
is in lieu of all other warrantees, expressed or implied.
432
214944 Rev-C
Copyright © 2020 Nortek Security & Control LLC
 Loading...