1.1 IMPORTANT INFORMATION
PREPARATION FOR REMOVAL PROCEDURES
1. Remove all dirt, mud, dust and foreign material before removal and disassembly.
2. Use proper tools and cleaning equipment.
3. When disassembling the machine, always keep mated parts together. This includes gears and
other parts that have been ”mated ”through normal wear. Mated part must always be reused or
replaced as an assembly.
4. During machine disassembly, clean all parts and place them in trays in the order of disassembly.
This will speed up assembly and allow for the correct installation of all parts.
5. Keep all parts away from any source of fire.
REPLACEMENT PARTS
Use only genuine parts for all replacements. Use recommended oil and grease for all lubrication
jobs. Other brands may be similar in function and appearance, but inferior in quality.
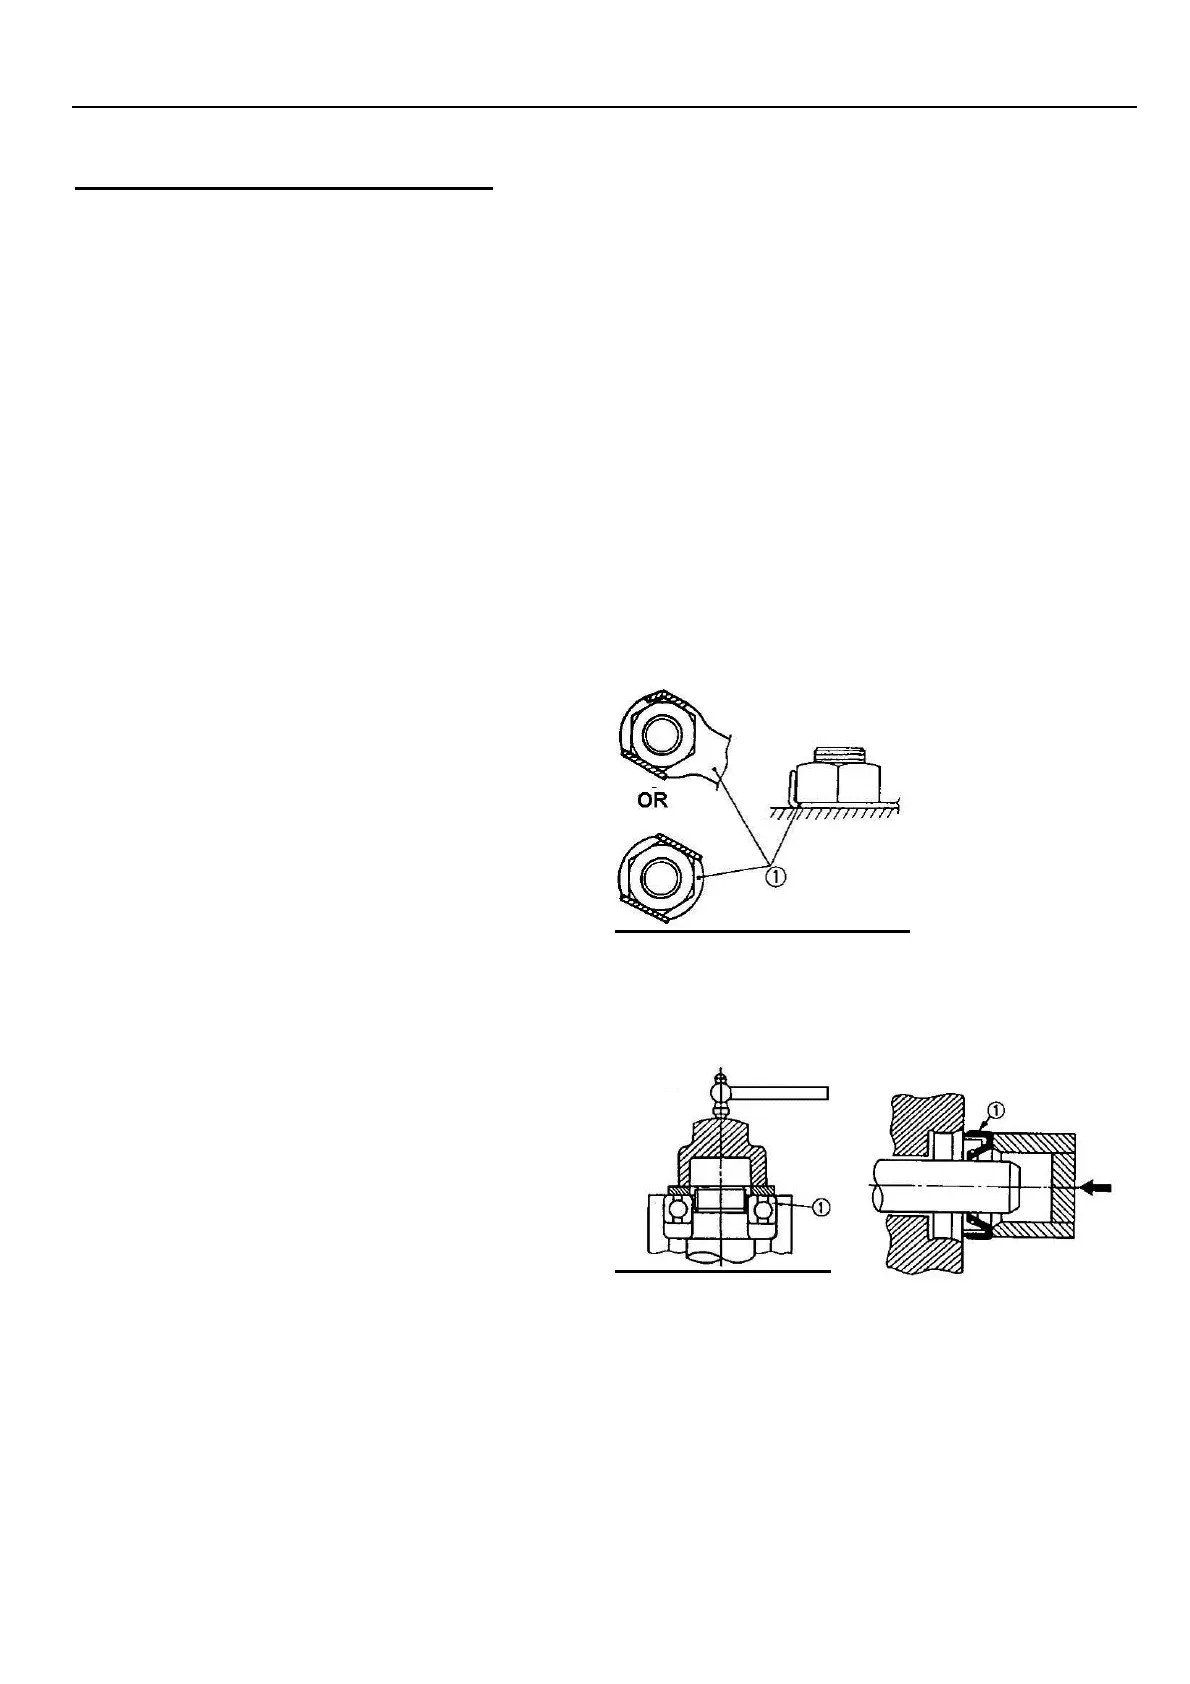
Replace all lock washers/plates and cotter pins
after removal. Bend lock tabs along the bolt or
nut flats after the bolt or nut has been tightened
to specification.
BEARINGS AND OIL SEALS
Install bearings and oil seals so that the
manufacturer’s marks or numbers are visible.
When installing oil seals, apply a light coating of
lightweight lithium base grease to the seal lips.
Oil bearings liberally when installing, if
appropriate.
① oil seal
CAUTION:
Do not use compressed air to spin the bearings
dry. This will damage the bearing surfaces.
① Bearing
CIRCLIPS
1. Check all circlips carefully before reassembly.
Always replace piston pin clips after one use.
Replace distorted circlips. When installing a
circlip ① , make sure that the sharp-edged
corner ② is positioned opposite the thrust
③ it receives. See sectional view.
④Shaft
 Loading...