Linksys PAP2 Manual Configuration
Copyright © 1999-2006 Go2Call.com, Inc. and/or its suppliers. All rights reserved. “Go2Call” and all associated logos are trademarks, registered as applicable, of Go2Call.com, Inc., and may not be reproduced without Go2Call’s permission. Other product
and company names herein may be the trademarks of their owners. This document is provided “as-is” by Go2Call.com, Inc. for the user’s internal and non-commercial use. Go2Call.com, Inc. does not promise that the information herein is accurate or
complete and all use of such information is solely at the user’s risk. All warranties disclaimed.
page 1 of 7
This file provides instructions for setting up the Linksys PAP2 to work with Go2Call Broadband
Phone Service.
Before you begin to configure your device:
A. Set your device to factory default:
1. Pick up the phone attached to your Linksys.
2. Dial ****73738#
3. Press 1 to confirm.
4. Hang up the phone.
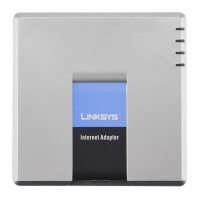
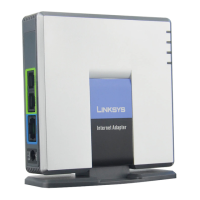
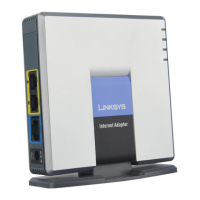
STEP 1 Connect the Linksys PAP2 to your broadband connection. Use the following pictures of the
back of the PAP2 to aid you.
A. Plug your analog telephone cord into the port labeled “Phone 1.”
B.
Plug your Ethernet cable into the “Ethernet Port” of your PAP2 to connect it to your router or Internet connection.
C. Connect your power cord into the PAP2.
5/19/06