Linksys ATA Installation & Provisioning Guide
Minimum Requirements
• High speed Internet connection
• Internet enabled network equipment with a free port
• Alarm panel or digital communicator
• Suitable length network cable (RJ45)
• Suitable length telephone cable (RJ11)
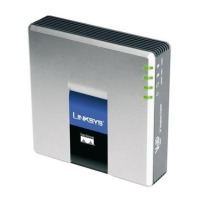
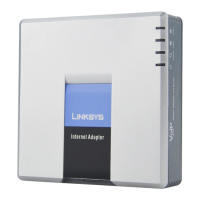
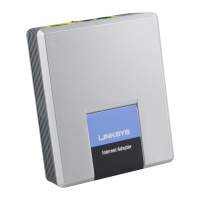
Installation for adapters WITHOUT a built-in router
e.g. SPA1xxx, SPA3000, PAP2Tx & others
1. Connect a network cable from the ETHERNET port (blue) into a spare port on your
modem/router or other Internet enabled network equipment.
2. Connect the mains adapter to the Linksys device and then plug it into an electrical
power socket or UPS and switch on the power.
Alternatively, arrange a power source that
comes from the alarm panel or other 12v backup power supply
.
3. For initial setup, plug a telephone handset into the PHONE port (sometimes labelled
PHONE 1 on a two line ATA).
After initial setup is complete, you will connect your alarm
panel to this port
.
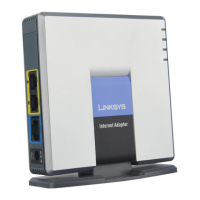
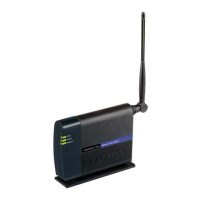
Installation for adapters WITH a built-in router
e.g. SPA3102, SPA2102 & others
1. If you have an existing router, connect a network cable from the INTERNET port (blue)
to a spare port on your router.