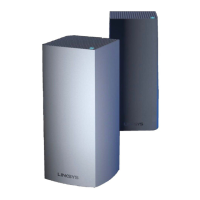
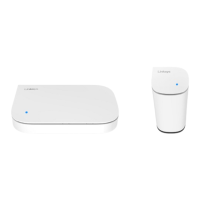
After completing Linksys Velop login, it’s time to complete its configuration process. You
need to follow the steps which are given below to begin the Linksys Velop setup.
• Go to ‘setup a new product’ and under it tap on ‘setup a new Velop system’ option.
• A page of terms and conditions will appear. Read the page and click on ‘I Agree’ option.
• Now, setup will search for nearby devices and choose a Linksys Velop system from
the list.
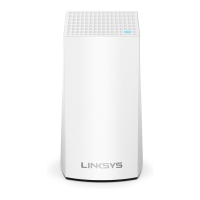
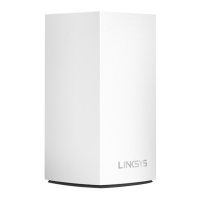
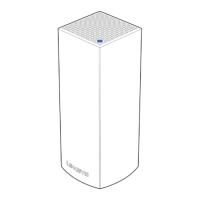
• Plug in a ‘Node’ and click on the ‘Next ‘option.
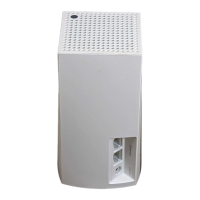
• Now, you need to connect the Velop node to the modem.
• Follow the on-screen prompts to enter your username and password and tap on ‘Create
Account’ to finish the creating account.
• Create a ‘Wireless name’ and ‘network key’ for your Linksys Velop system.
• Enter the name for your Velop node and click ‘Ok’.
• The Velop node is successfully added. You need to click ‘Add another node’ if you want
to add more.
With the the Linksys Velop setup instructions, the configuration is now completed.
In conclusion, we hope this blog solved your query about how to install Linksys Velop.
If you are looking for some more Linksys Velop troubleshooting tips, you can get
connected with us through our toll-free number or by doing a live chat with our
professional team.

 Loading...
