Page 4 of 7 FA69384–2 English
Jun 2013
7
How To Use Advanced Editing
Linx 5900 & 7900
2.3 Orientation
You can set the orientation of fields within a message. The printer allows you to print a
message field in a different direction with a horizontal or vertical flip. You can rotate the
field or rotate the characters within the field in steps of 90 degrees.
You can set the orientation when you create a field in a new message, or edit a field in an
existing message.
The following examples show you how to set the orientation of a new text field and an
existing text field. You can use the same method to set the orientation for other fields (for
example date and time or sequential number fields).
NOTE: 7900 only. Logo orientation is set in the Logo Editor. Refer to How to Create Logos for
more information about logo orientation.
2.3.1 New text field
To set the orientation when you create a new text field:
1 At the Print Monitor page, press the Message Store key to open the Message Store
page.
2 At the Message Store page, press the New key to create a new message.
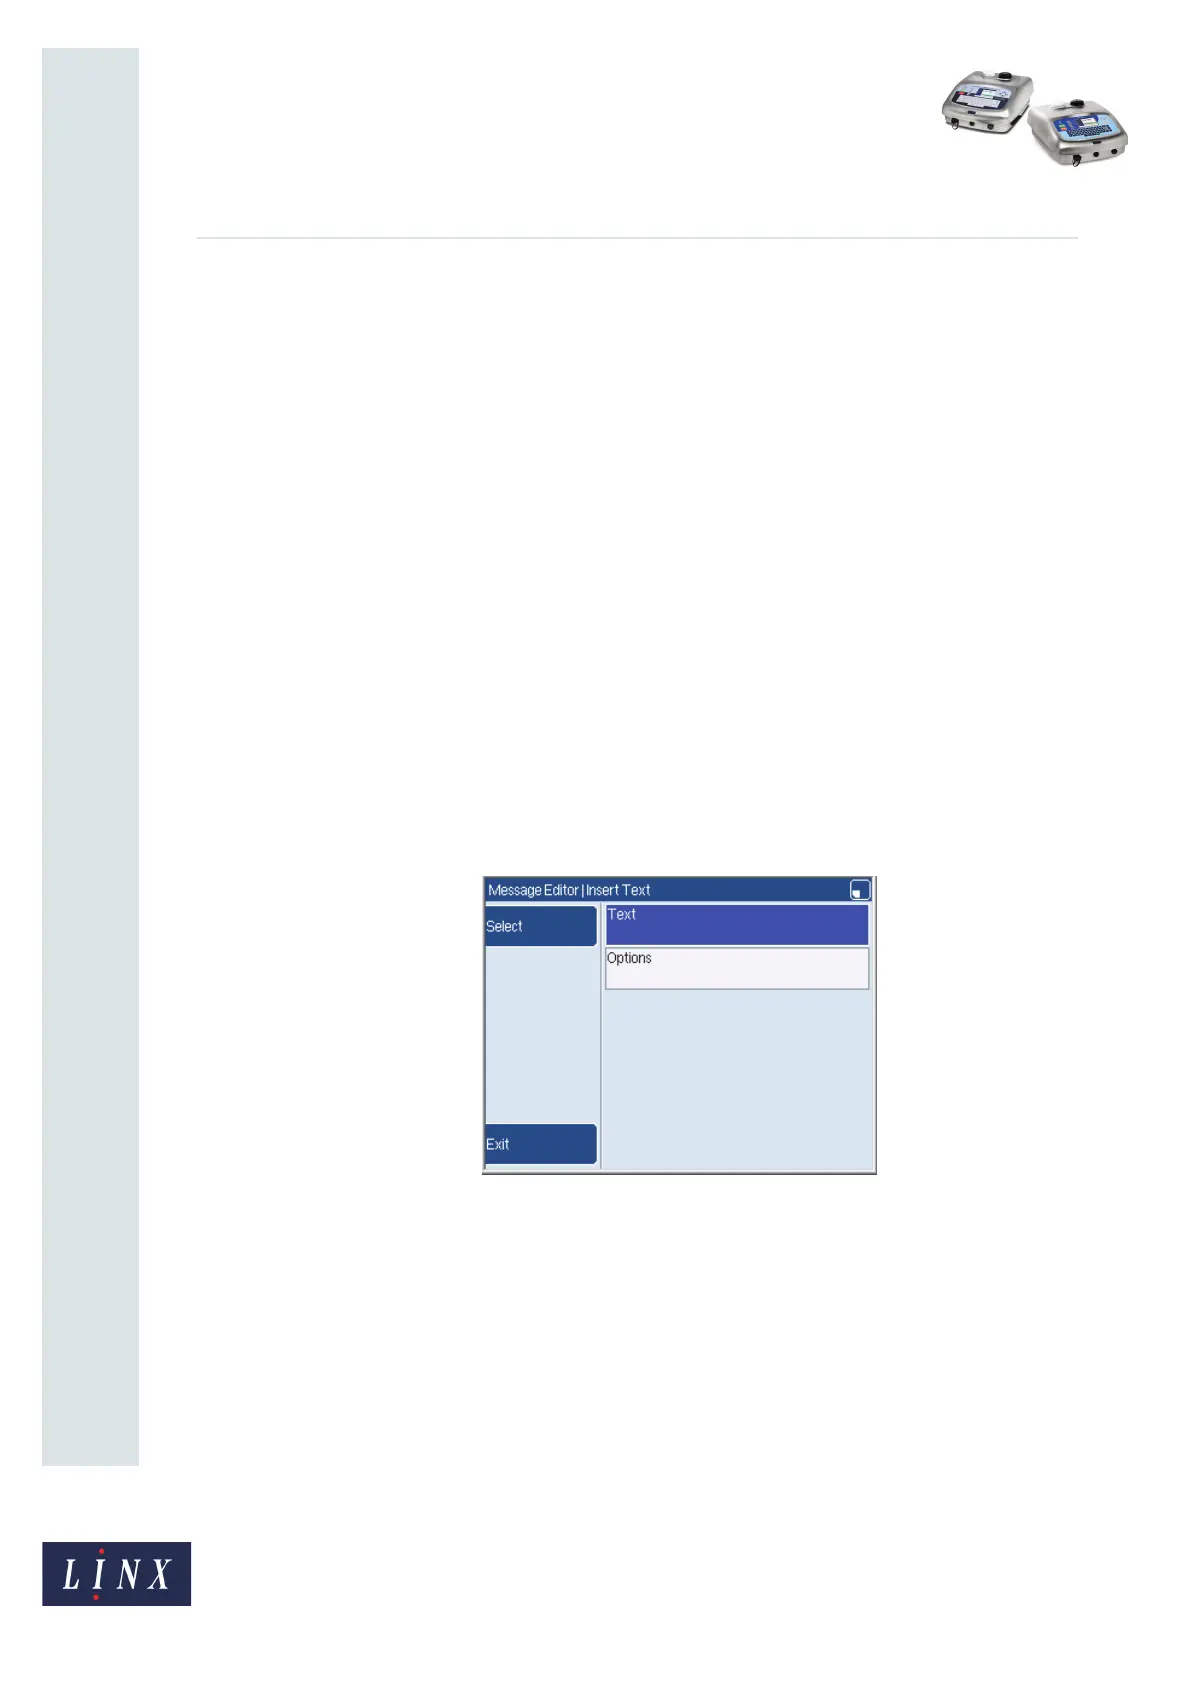
3 Move the cursor to where you require the text field to start and press the Text key to
open the Insert Text page.
Figure 2. Insert Text page
4 Select the Text option to open the Text page. Enter the text for the new field (for
example ‘TEST’) and press the OK key to return to the Insert Text page.