‑ 14 ‑EN
2. Place the buon baery in the tray (1, g. F), and then place the whole in
the remote control (2, g. F).
3. Close the baery compartment. A click will signal a proper closure.
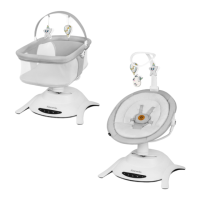
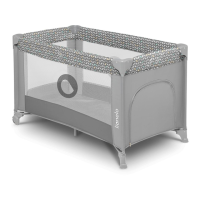
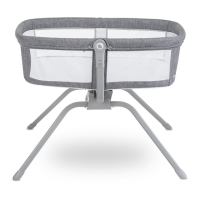
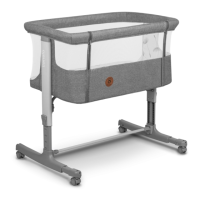
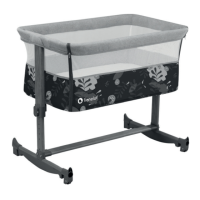
Assembly and disassembly of the rocker
1. Place the rocker supports on the base (g. 1). The correct installaon will
be signalled by the click of the release buons (B, g. 1).
2. Connect the front and rear parts of the frame (g. 2). Noce the labelling
of the pipes (1, g. 2) and connect the pipes marked with the same leer.
The correct installaon will signal a click.
3. Make sure the metal tabs are in the correct holes (2, g. 2).
4.
Place the cover over the frame of the rocker (g. 3). Make sure that the
cover is correctly placed (2,3 g. 3) and the zipper is fully fastened (g. 4,5).
Do not use the rocker if the zipper is not completely fastened (A,B, g. 5).
5. To remove the rocker from the base, press the release buons (4, g. A)
located on both sides of the mounng element (3, g. A).
Seat belts
1. Unbuckle the belts by pressing the buon located in the buckle (2, g. 6).
2. Insert the belts into the appropriate holes in the cover, adjusng them to
the height of the child (g. 7). Insert the belts into the buckles, located on
the back of the seat, and ghten (1,2,3, g. 7).
3. Aer placing the baby in the rocker, fasten the belts by inserng the latch
parts into the buckle (1, 2, g. 8), and then fasten the hook-and-loop
fastener of the cover (3, g. 8).
4. The correct fastening will signal a click. Do not use the rocker if the belts
are not properly fastened (g. 9).
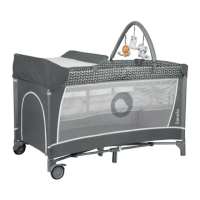
Toy headband
Note! Do not carry the product while holding it by the headband.
1. Insert the toy headband into the mounng piece located on the frame of
the rocker (g. 10). The correct installaon will signal a click. The headband
can be adjusted to ve posions (g. 11).
2. To remove the headband from the frame of the rocker, press the release
buon (12, g. B).