4
lci1.com 574-537-8900 Rev: 02.25.20
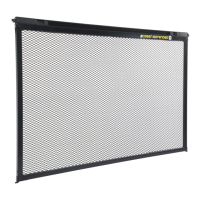
Screen Defender
Installation and Owner’s Manual
(For Aftermarket Applications)
CCD-0003487
Resources Required
• Tape measure (If needed to install extrusions.)
Installation
1. Completely open the RV entry and screen doors and
place them ush against the unit.
NOTE: Use the provided door catch to hold the door in
place. If a door catch is not available, place protective
material between the door and the unit to prevent
scratches to the exterior.
2. Hold the Screen Defender against the inside of the
screen door to determine if the extrusions will be needed to
ll a gap beneath the bottom of the screen.
3. If extrusions are not needed, continue to step 4. If
extrusions are needed to ll a gap, proceed to Install
Extrusions and Screen Defender section.
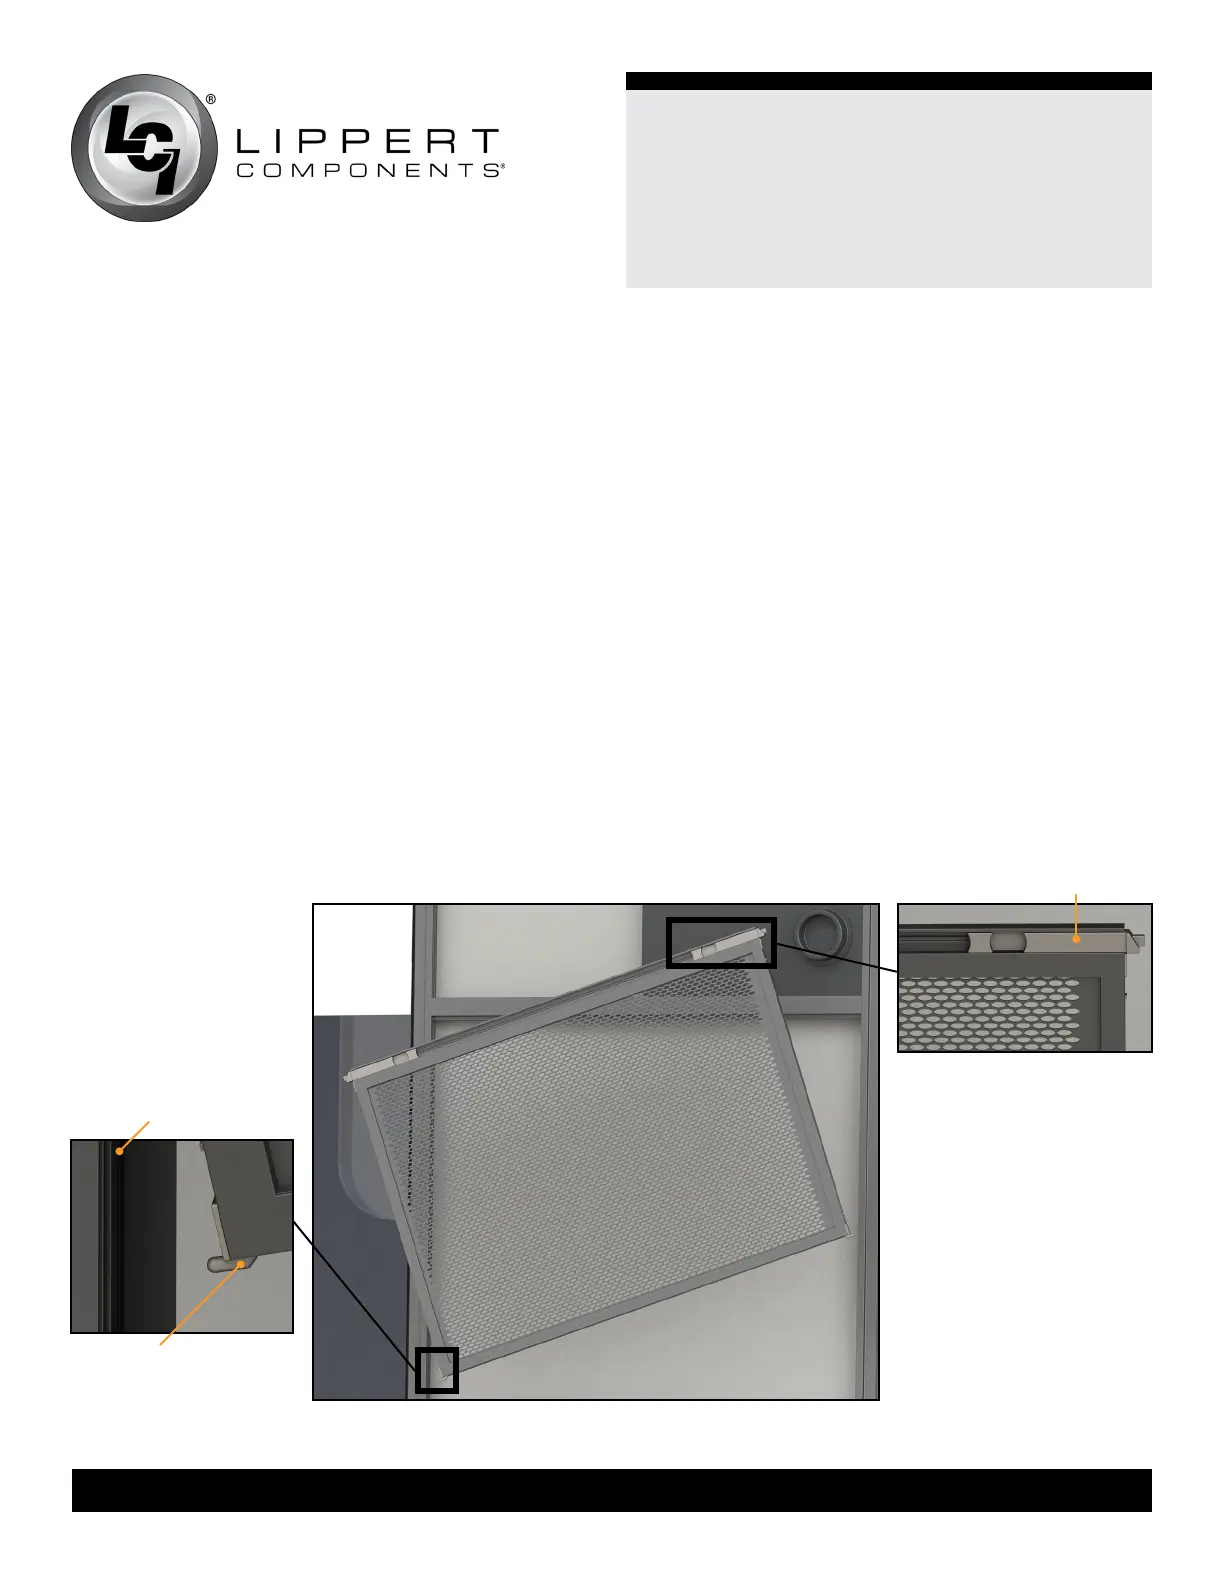
4. Tilt the Screen Defender and direct one side of the
Screen Defender toward the back channel of the screen
door (Fig.2).
5. Insert the channel guide at the bottom of the Screen
Defender into the back channel of the screen door.
6. Insert the channel guide on the other end of the Screen
Defender into the back channel of the screen door.
7. Squeeze the two retractable latches at the top of the
Screen Defender.
8. Push the Screen Defender into the channel of the screen
door and then push down until it is seated on the bottom of
the screen door channel.
9. Release the Screen Defender latches. The Screen
Defender is installed.
Fig.2
channel guide
back channel
retractable latch