4
lci1.com 574-537-8900 Rev: 08.01.19
SolidStep
®
Entry
Assist Handrail
Installation and Owner’s Manual
(For Aftermarket Applications)
CCD-0002520
1. Make sure that the trailer is on level ground.
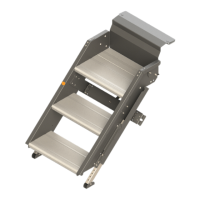
2. Extend the steps in the down position (Fig.1).
3. On the side of the step that the Entry Assist Handrail will
be installed, remove the hardware from the latch bracket
(Fig.4A). Remove the four buttonhead hex socket bolts
(Fig.4B), using a ⁄” hex key. Remove the washers and four
#10-24 nylon locking nuts holding the latch bracket to the
step with a ⁄” socket bit or wrench.
4. Discard the old hardware after installation, new
hardware is provided.
Fig.4
B
A
Resources Required
• Cordless or electric drill or screw gun
• ⁄” (.203”) drill bit
• ⁄” socket bit or wrench
• ⁄ ” socket bit or wrench
• ⁄” Hex key
• Center punch (optional)
• Clamps (optional)
• Non-permanent method of marking
Installation
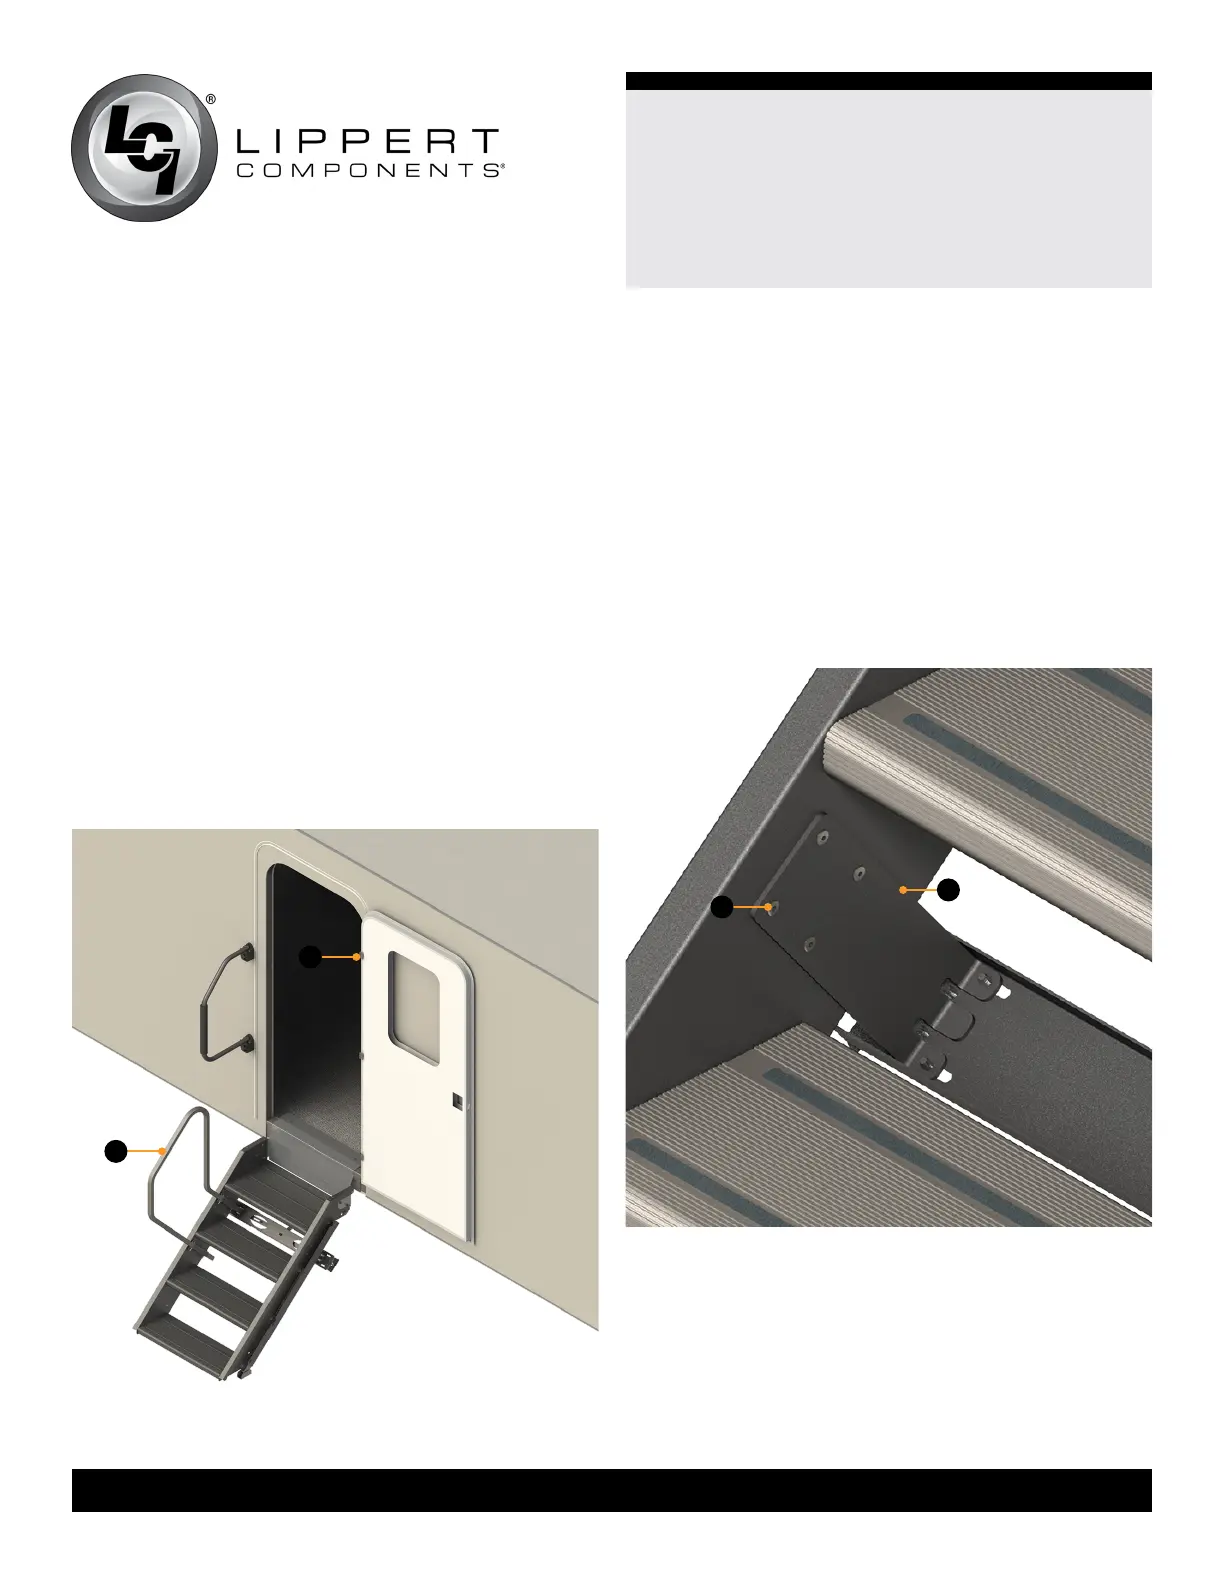
If the trailer has a right-hand hinged door (Fig.3A), install the
Solidstep Entry Assist Handrail on the left side of the steps
(Fig.3B). If the trailer has a left-hand hinged door, install
the Solidstep Entry Assist Handrail on the right side of the
steps.
Fig.3
A
B