4
www.loc8tor.co.uk www.loc8tor.com
Your Loc8tor could not be easier to setup or use. Follow these steps and
you’ll be able to start tracking down your tagged pet in no time at all.
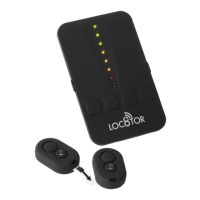
1. ACTIVATE BATTERIES
Pull out the strip on the back of the Loc8tor to activate battery.
It will beep and all the lights will ash – It is now ON.*
* After approx. 45 seconds left idle your Loc8tor will turn itself off.
2. REGISTER A TAG
• Pull out the strip on the Tag to activate batteries.
• Tag beeps twice and the red light ashes twice.
• Place Tag you wish to register next to Loc8tor making sure all
other Tags have been moved more than an arms length away.
• Make sure the Loc8tor pet is switched on (red status light will ash when ON).
• Select one of the buttons on the front of the Loc8tor to assign the Tag to.
Hold the button down for 3 seconds. The Loc8tor will beep.
• Release button – Loc8tor will beep to conrm start of registration
and status light will ash rapidly. Tag will complete registration process.
• Once registered Tag and Loc8tor will beep and ash once.
• Repeat process for up to 4 Tags, assigning each Tag to a different button.
Each of the four Tags when being located will beep differently to help identication.
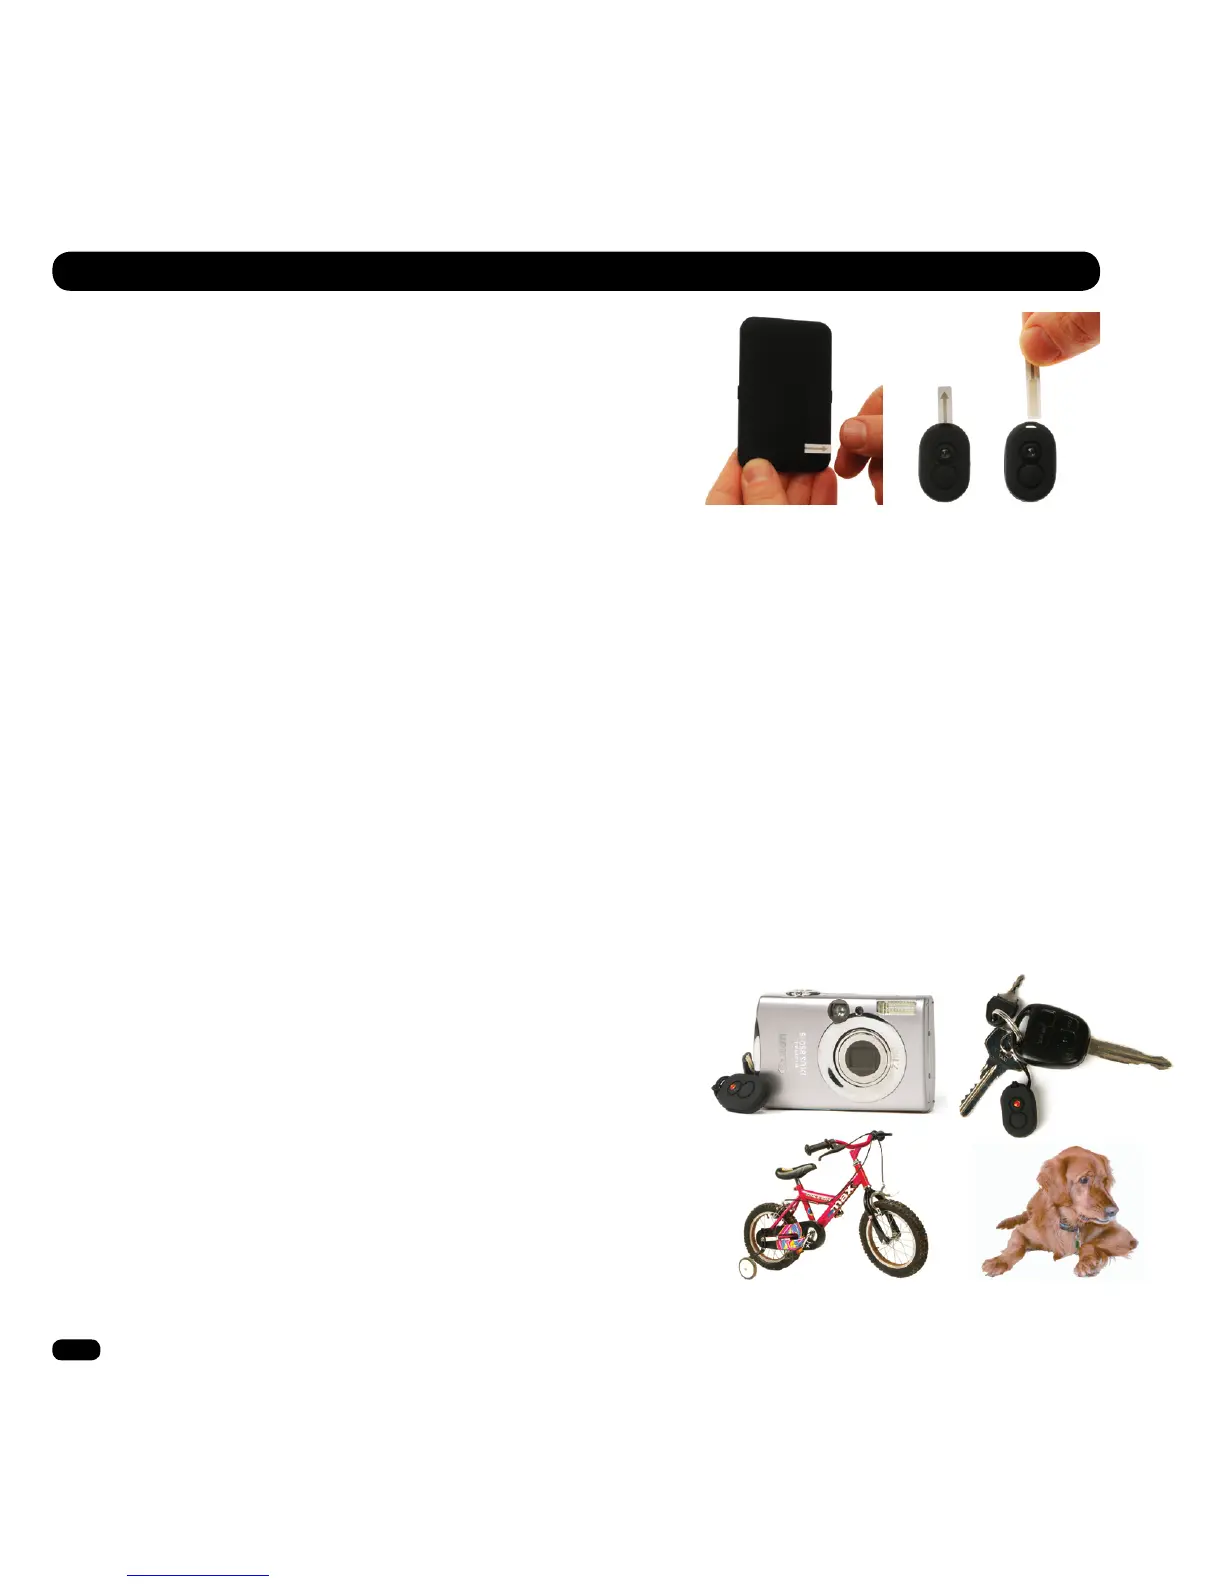
3. ATTACH TAG
Key ring loop: Use to attach Tag to items such as your pets collar,
key ring, bags, mobile phones etc. Push loop through the Tag hole
and then pull ring through the loop.
Splashproof Tag case: Insert the Tag in to the case then attach
directly onto your pets collar either using the Key ring loop provided
or by threading your pets collar through the wings on the PetSplash
case (ts collars up to 15mm / 0.6”).
GETTING STARTED