G (2X)
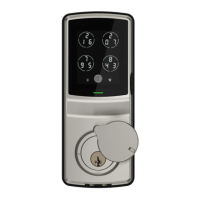
4.1: Check the mounting plate
alignment to your door hole before
you peel of the cover off the
adhesive strip.
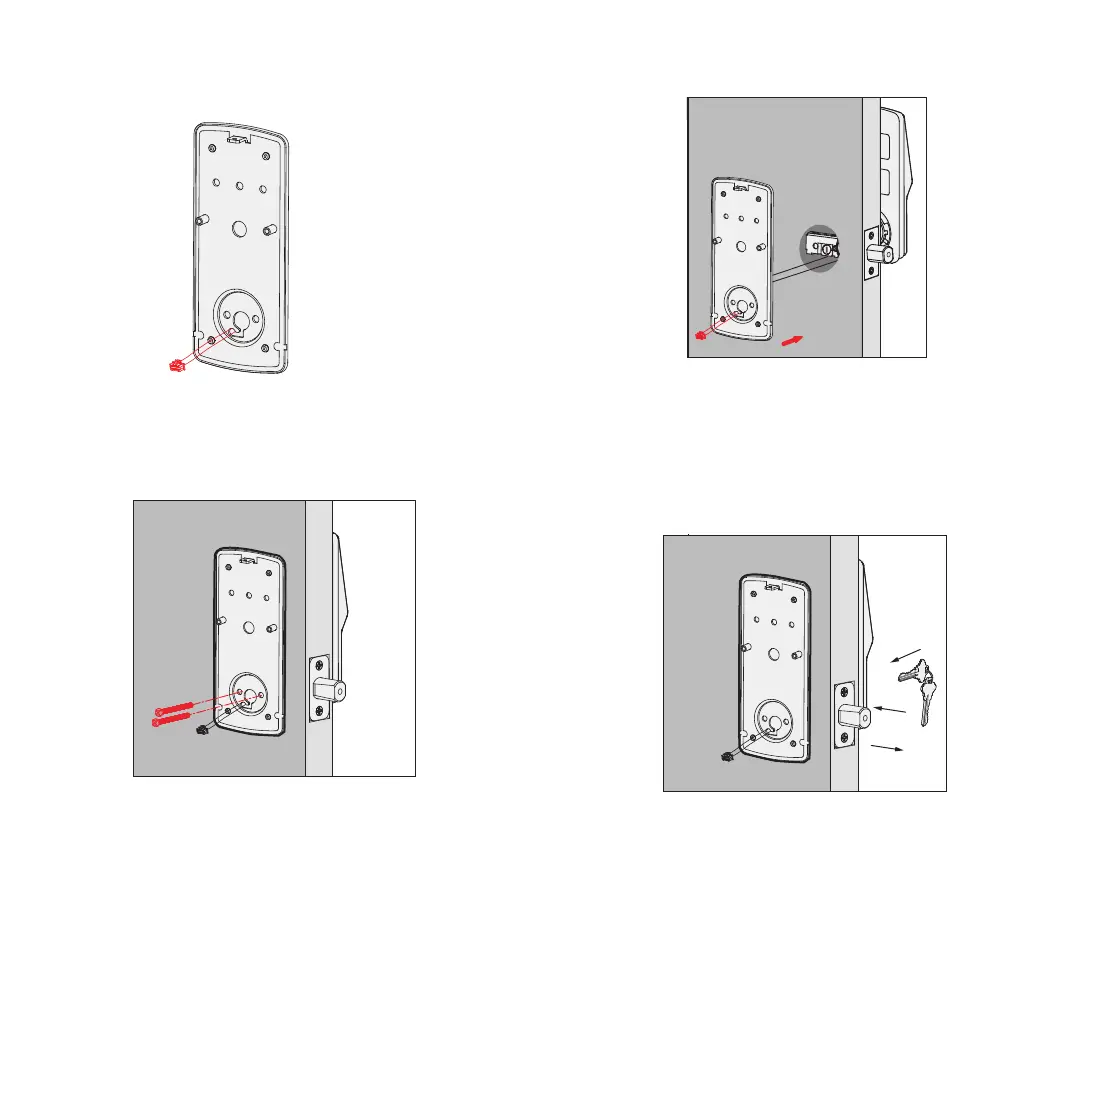
4.3: Without using any tools, insert 2
screws (G) on the side of the torque
blade. By using hand carefully, turn
the screws clockwise to catch the
thread, then counter clockwise to
make sure they are not cross threaded
and turns smoothly. Make five turns
before using a screw driver to tighten
the screws until the mounting plate is
securely placed to the door.
4.4: After securing the mounting
plate, use the physical key and try to
unlock/lock to check if the deadbolt
is moving and not stuck. Do not
forget to take out the key before
proceeding to next steps.
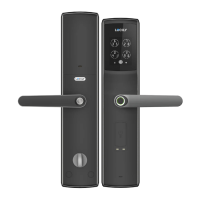
4.2: Place the mounting plate on the
interior side of the door. Guide the cable
to the opening ear on the side of mounting
plate and make sure the torque blade is at
the center of the mounting plate.
STEP 4. INSTALLING THE INTERIOR ASSEMBLY (F)

 Loading...