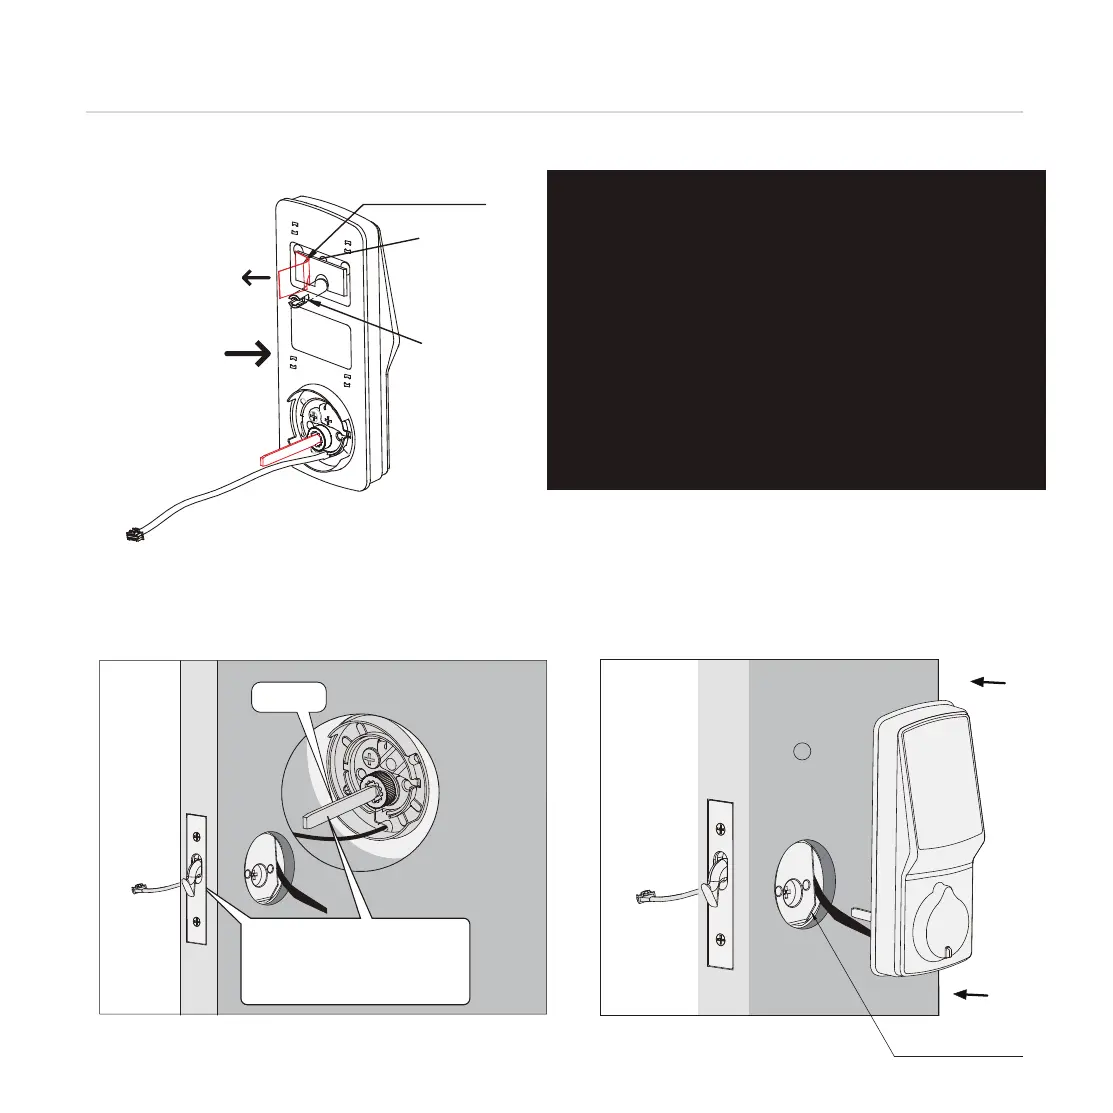
*This hole (O) is for the optional Slotted Barrel
Extension provided for stabilizing your lock. It
will require drilling extra hole on your door
(See template as provided). Alternatively,
you may use the double-sided adhesive
tape provided which serves the same
purpose if you do not want to drill a hole. If
you drilled a hole, securely tighten the post
with a flathead screwdriver by turning it
clockwise before mounting on your door.
M
O
B
Peel paper off the
Adhesive tape
3: Place the exterior assembly to door by
inserting the torque blade on a vertical
position to the lockset cross hole. Guide the
cable to the side of the lockset. Secure the
exterior assembly with adhesive strips.
2: Before placing the exterior assembly on
the door, make sure the torque blade is in
vertical position and the hook is extended.
1: To secure Exterior Assembly of lock, peel the cover off the adhesive strips
Vertical
Hook is extended
Torque blade in vertical position
Cable goes to the
side the lockset
5
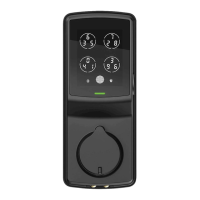
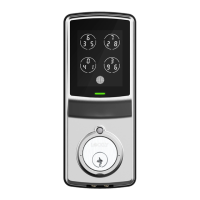
INSTALLING THE EXTERIOR ASSEMBLY(B)
Step 2