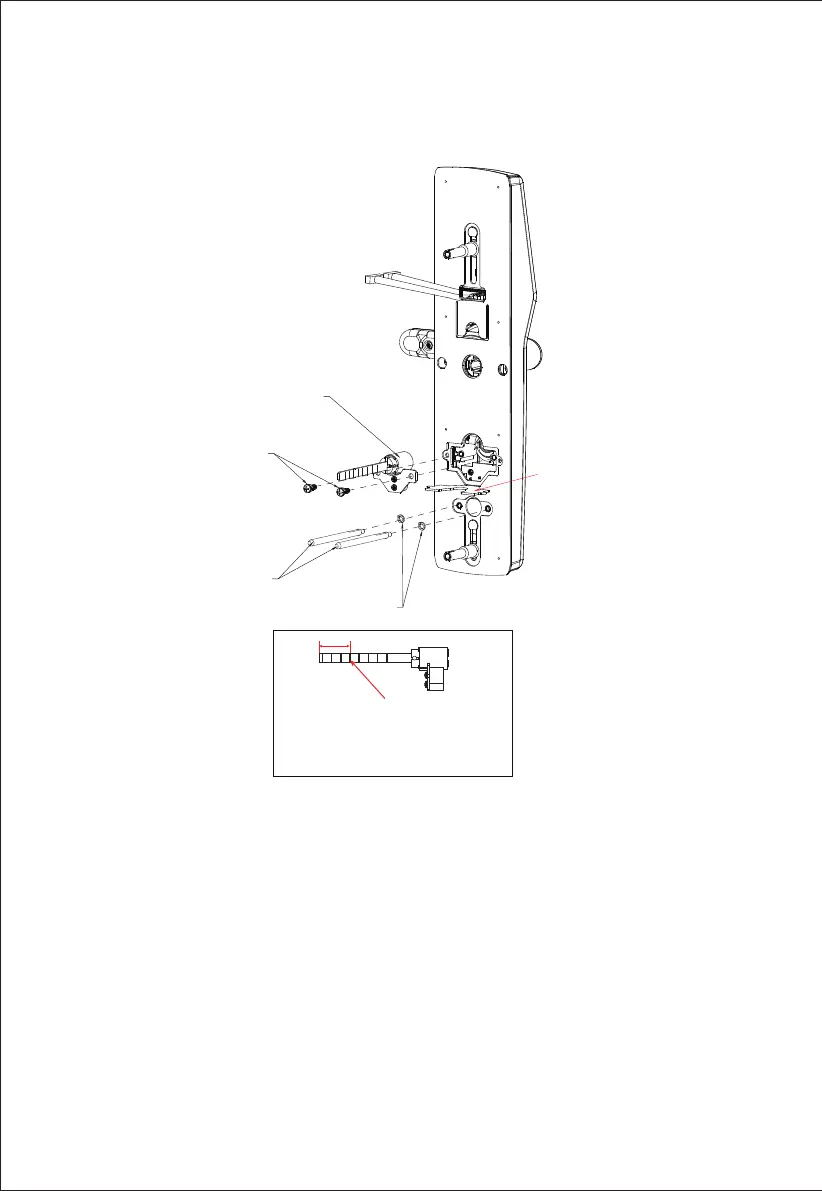
Make sure the lock cylinder is aligned with the door holes then fix it with 2 screws to
the exterior panel. Consequently fix the two spindles and the spindle pads as shown
with pliers.
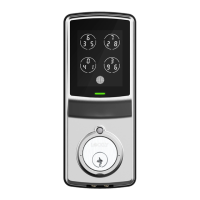
Lock Cylinder
Fixing Screws for
Lock Cylinder(X2)
Spindle(X2)
Spindle Pad(X2)
Remove this plastic
cover before installing
the lock cylinder.
23.5
1 2 3 4
STEP 3. INSTALLING THE LOCK
CYLINDER AND THE SPINDLE
Note: If the door thickness is less than
70mm cut screw for outer panel to
23.5mm, that is from the 4th scale
cut-off to the end.