3. Using a 3/32” Allen wrench, loosen the four button head screws that are on
the sides of the top cover.
4. Lift the cover straight up off of the chassis. This will allow access to the
bulb reflector assembly.
5. Unplug the lamp from the power supply (see photo #1)
Photo #1 Photo #2
6. Remove the bulb/reflector assembly by lifting the retainer clips off the reflector
holder
(See photo #2)
7. Lift the bulb/reflector assembly from nosepiece (see photo #3 & #4).
Photo #3 Photo #4
8. Replace the bulb/reflector assembly by remounting retaining clips to the assembly.
9. Plug the lamp into the power supply.
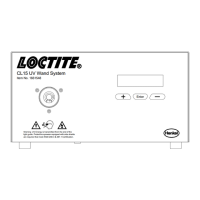
10. Re-attach cover and connect the power cord to the rear of the CL15 Wand System
11. Insert the light guide into the receptacle located on the left section of the front
control panel of the CL15 Wand System.
WARNING!
The UV lamp used in this unit contains a very small amount of mercury. Disposal of
lamps should be done in accordance with state and local regulations.
 Loading...