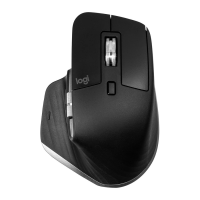
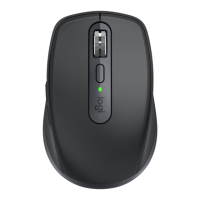
Getting Started - MX Master 3S
DETAILED SETUP
1. Make sure the mouse is turned on.
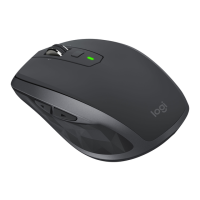
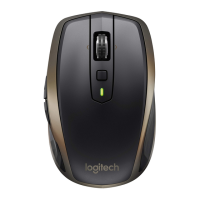
The number 1 LED under the mouse should be blinking fast.
NOTE: If the LED is not blinking fast, do a long press of 3 seconds.
2. Choose how you want to connect:
o Use the included LOGI BOLT wireless receiver:
Plug the receiver into a USB port on your computer
o Connect directly via Bluetooth:
Open the Bluetooth settings on your computer to complete the pairing.
Click here for more details on how to do this on your computer. If you experience issues
with Bluetooth, click here for Bluetooth troubleshooting.
3. Install Logitech Options+ Software.
Download the Logitech Options+ version to use all the possibilities this mouse has to offer. To
download and learn more about the possibilities, click here.
PAIR TO A SECOND COMPUTER WITH EASY-SWITCH
Your mouse can be paired with up to three different computers using the easy-switch button to change
the channel.
1. A short press on the Easy-Switch button will allow you to switch channels. Select the channel
you want and go to the next step.
2. Press and hold the Easy-Switch button for 3 seconds. This will put the mouse in discoverable
mode so that it can be seen by your computer. The LED will start blinking fast.
3. Choose between two ways to connect your keyboard to your computer:
o Bluetooth: Open the Bluetooth settings on your computer to complete the pairing. You
can find more details here.
o USB receiver: Plug the receiver to a USB port, open Logitech Options+, and select: Add
devices > Setup Logi Bolt device, and follow the instructions.
LEARN MORE ABOUT YOUR PRODUCT
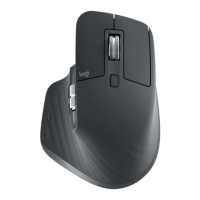
Product Overview
 Loading...
