Leave enough slack in the wiring to allow for motor
movement when adjusting belt tension. Some fractional
motors have to be removed in order to make the
connection with the terminal box at the end of the motor.
NOTICE! Follow the wiring diagram in the
disconnect switch and the wiring diagram
provided with the motor. Correctly label the
circuit on the main power box and always
identify a closed switch to promote safety (i.e.,
red tape over a closed switch).
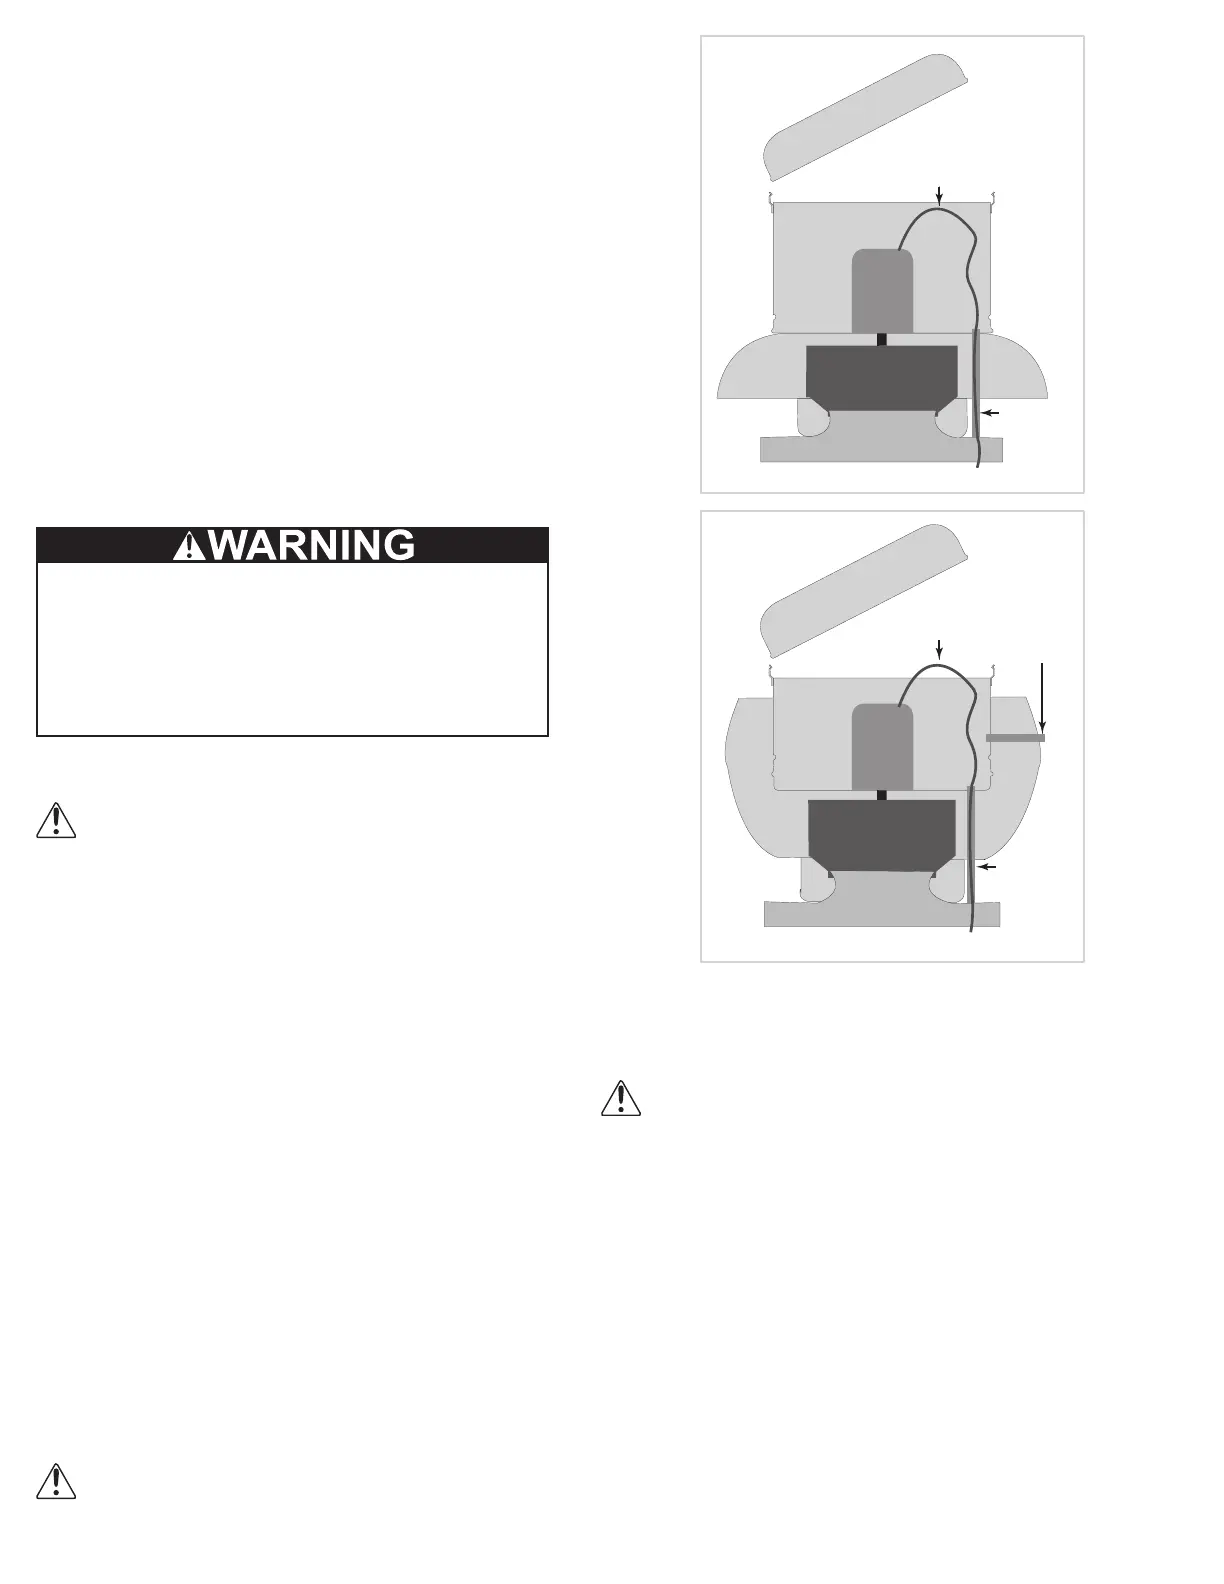
1. Remove the top cap which covers the motor assembly
by unlatching the snap clips.
2. For internal wiring, run the electrical wire and conduit
through the opening drilled in the damper shelf (refer
to Damper Installation), then through the wiring conduit
in the ventilator base to the motor compartment. For
external wiring, run the wires through the horizontal
conduit on upblast units, or under top cap in downblast
units.
3. Pull the wires through and complete the wiring.
2
If your fan is a wall exhauster with a round base, a
mounting template is shipped with the fan. Use the
template to locate the necessary lag screws or anchor
bolts on the wall. The fan can then be lifted and attached
easily. Secure with lag screws, anchor bolts, or other
suitable fasteners.
Dampers
If your fan is supplied with dampers, follow the
directions below.
• Place the damper inside the curb or inside the duct
work. Ensure the damper will open freely for the correct
direction of the airow.
• Secure to curb at the damper shelf.
• Drill hole in the curb shelf for conduit needed for motor
wiring.
• Operate the dampers manually to ensure the blades
move freely.
• Install fan over curb while aligning the conduit location
with the conduit hole in the curb.
Smoke control
:
Use of any backdraft dampers is not permitted. Fire
dampers and/or smoke dampers may be required
in a smoke control system. These dampers must
meet the requirements determined by the local code
authority.
Wiring
NOTICE! All wiring should be in accordance
with local ordinances and the National
Electrical Code, NFPA 70. Ensure the power
supply (voltage, frequency, and current
carrying capacity of wires) is in accordance
with the motor nameplate.
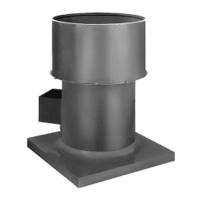
Upblast units have two wiring conduits. The vertical
conduit comes plugged. The horizontal conduit is directly
above the vertical conduit.
An approved metal eld wiring compartment must
be secured to the unit with two screws in order that
the box does not rotate. All wires must be protected
from abrasion where they enter and exit the wiring
compartment. The green ground wire from the motor
must be secured under the green ground screws
inside the eld wiring compartment using a closed loop
connector. Complete connections in accordance with the
wiring diagram on the motor.
For Units With A Junction Box: Pull wires through the
appropriate conduit. Protect wires from abrasion where
they enter the eld wiring compartment and complete
connections in accordance with the diagram on the
motor. Reinstall the junction box cover and ensure that
the gasket forms a complete seal.
Fan Without a Junction Box: A eld wiring compartment
must be installed for wire connections. Wire the motor by
pulling the electrical wire through the conduit.
For further information refer to the National
Electrical Code and the wiring diagram
provided on the motor.
Topcap
Downblast
Motor
Inlet
WheelBaffle
Wires
Conduit
Topcap
Upblast
Motor
Inlet
Wheel
Baffle
Wires
Conduit
junction
(used for
grease or
smoke
control)


 To Next Page
 Loading...