12
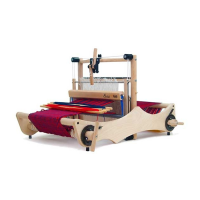
Place the assembly of uprights and lower reed
tray into the loom. First guide one hinge along
the side rail and then the other one. Put the
hinges into the openings in the base side
pieces.
Assemble the handle to the upper reed
holder
Slide a washer over the lag bolts and then put
them through the holes in the upper reed
holder.
Next slide another washer and a spacer
bushing over the lag bolts.
Hold the handle with the holes over the points
of the lag bolts and then tighten the bolts so far
that the spacer bushings are tightened slightly
into the handle.
Assemble the upper reed holder with carriage
bolts, washers and wing nuts. Insure that the
washers rest under the wing nuts and not
between upright and reed holder.
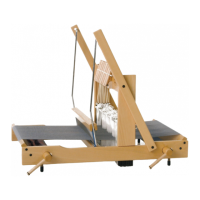
Fasten the wing nuts, while you keep the top
reed holder parallel to the lower one. You can
also do this by placing a reed in between. After
each tap on the bolt head you turn the wing nut
tight again until the square part of the head is
completely pressed into the wood.
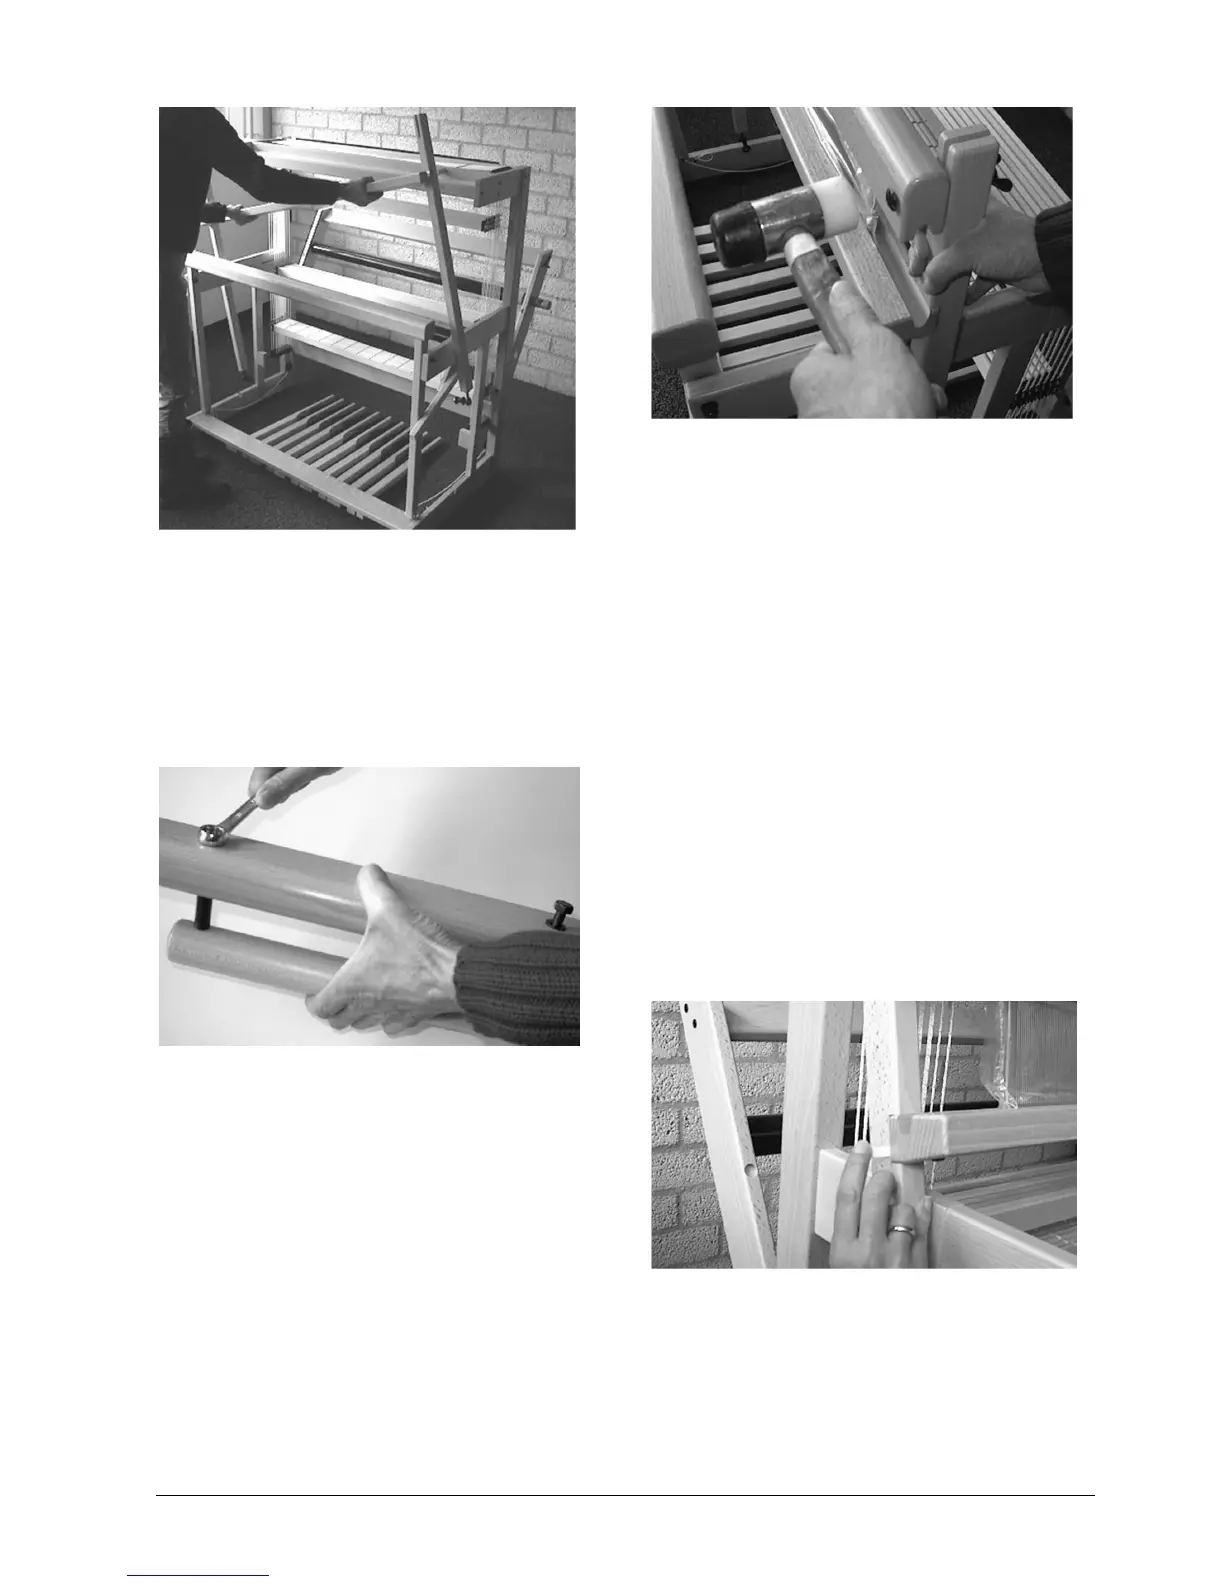
Move the beater backwards, so it rests against
the buffers at the sides of the loom.
Now we will check if the beater is even and
make a correction if necessary. First check if
the hinges protrude the same distance from the
bottom of the uprights. Take the beater by its
handle and pull it towards you, one or two
inches.
If the beater is even, both uprights will leave the
buffers at the same moment and also tough the
buffers at the same time when you let the
beater go back and rest against them.
If this is not the case, the beater is not even and
you will correct that with the small cardboard
strips from the hardware bag.
The upright that leaves the buffer latest when
you pull the beater, is the one that needs one or
more cardboard strips in its slit connection with
the lower reed holder.
Unscrew the M6 bolt several turns, so that
some play is created in this connection.
 Loading...