Figure 19.1
Figure 20.1
Figure 19.2
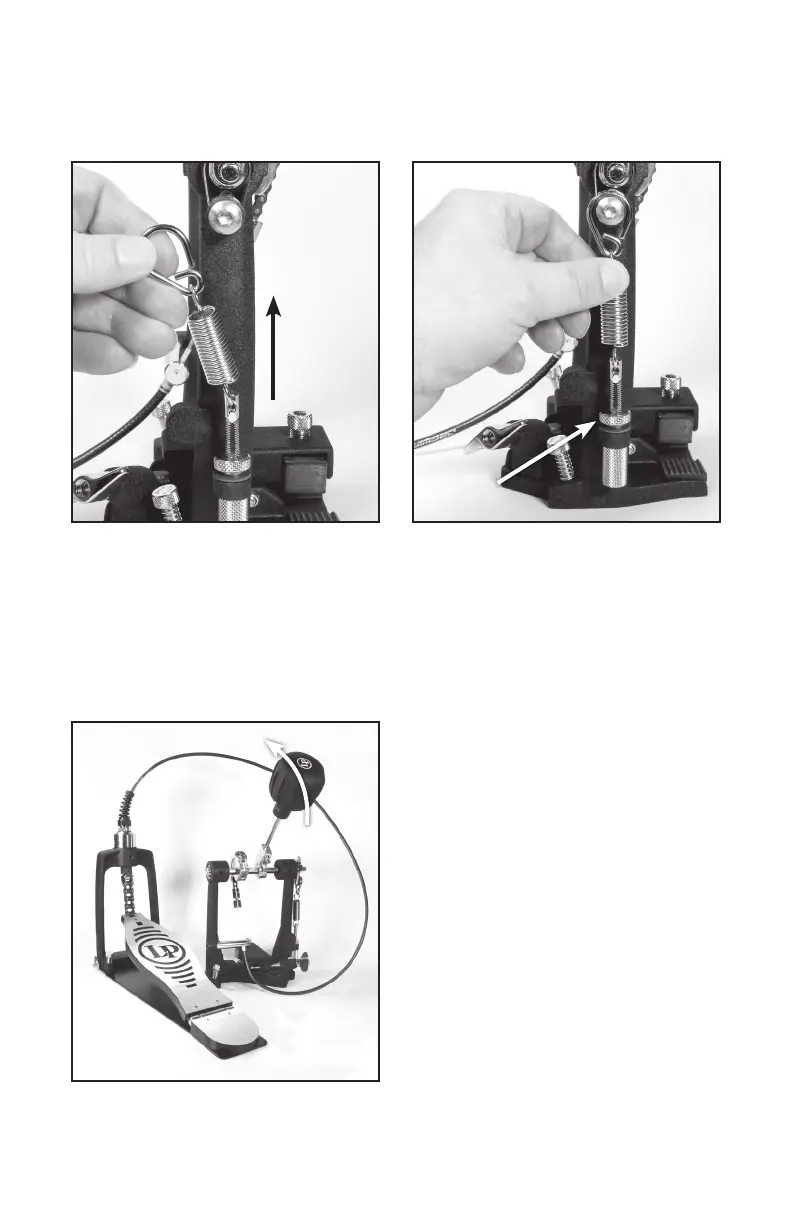
STEP 19
Grasp the attachment hanger on the beater tension spring. Pull upward on the spring and slide the
hanger back on to the black bearing ring, as shown in Figures 19.1 and 19.2. If you loosened the spring
tension adjuster in Step 1, you should now retighten it.
STEP 20
Your cajon pedal should now look similar to Figure 20.1. Push down on the footboard with your hand
to test the pedal. The footboard chain should pull downward on the cable, rocking the beater forward.
When you take your hand off the footboard, the beater should spring back to its original position. Your
pedal now has a sturdy and secure new cable and is ready for use.
16
Pull up
on spring
Tension
adjustment
Press down on
footboard to test
Beater motion
© 2022 Latin Percussion.
LP1501-CK