* Maximum Allowable Inc. / Hal. Wattage
No sides
removed
1 side removed 2 sides removed
600 W 500 W 400 W
Ground wire
(bare or green)
Ground wire
(bare or green)
Tag
IMPORTANT: Mark or tag the common
wire before removing the old switch.
QUESTIONS? See lutron.com/CLwiring
Insert
and twist
to tighten
Insert
and twist
to tighten
Use blue
connector
Green wireGreen wire
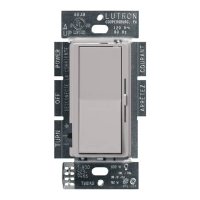
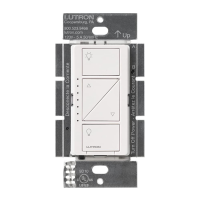
Single Pole 3-Way
AFTER INSTALLATION: Adjust dimming range for LEDs and CFLs
For lights switched from one location: For lights switched from two locations:
OR
LED
+
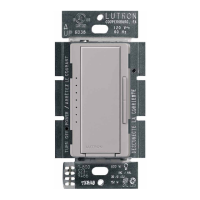
Dimmer 120 V~ 60 Hz Quick Install Guide
Install with
confidence
Use included diagrams
or visit our website for
step-by-step instructions.
P/N 0301917 REV A
WARNING: SHOCK HAZARD. May result in serious injury or death.
Turn off power at circuit breaker or fuse before installing.
1. CAUTION: Use only with permanently installed
fixtures with dimmable screw-in compact fluorescent,
dimmable screw-in LED, halogen, or incandescent
lamps. To avoid overheating and possible damage to
other equipment, do not use to control receptacles,
motor-driven appliances, or transformer-supplied
appliances.
2. Install in accordance with all national and local
electrical codes.
3. When no “grounding means” exists in wallbox, the
National Electrical Code (NEC®) allows a control to be
installed as a replacement when a plastic faceplate with
plastic fasteners is used, or the circuit is protected by a
ground fault circuit interrupter (GFCI). Lutron wallplates
meet this requirement. Cap or remove green wire before
screwing control into wallbox.
4. Protect the dimmer from dust and dirt when painting or
spackling the wall.
5. It is normal for the dimmer to feel warm to the touch
during operation.
6. Clean the dimmer with a soft damp cloth only. Do not
use any chemical cleaners.
7. For indoor use only.
NOTE: Only one dimmer can be used in a 3-way circuit.NOTE: Black and solid red wire on the dimmer are interchangeable.
1. Turn lights ON and move slider to bottom.
2. Adjust lever to improve dimming. NOTE: The Adjustment Lever on
your dimmer may be in a different location than shown.
3. Turn lights OFF and ON to verify proper operation.
For Troubleshooting, please visit www.lutron.com/support
Important Notes
Please read before installing
Ganging and Derating
Limited Warranty: www.lutron.com/TechnicalDocumentLibrary/369-119_Wallbox_Warranty.pdf ©2013–2019 Lutron Electronics Co., Inc.
Lutron and LED+ are trademarks or registered trademarks of Lutron Electronics Co., Inc., in the U.S. and other countries. The YouTube icon is a trademark of Google LLC.
OFF
English
Receive an Extended Warranty: www.lutron.com/CLregistration
Support: 1.844.LUTRON1 (USA / Canada)
+
1.888.235.2910 (Mexico)
Remove side sections if mounting
two or more devices side by side
(see chart for new wattage rating).
Bend back
and forth
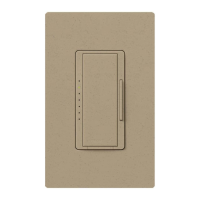
DVCL-153P, DVWCL-153P,
SCL-153P, DVSCCL-153P,
LECL-153P, CTCL-153P
DVCL-253P, DVSCCL-253P
150 W
LED / CFL
250 W
LED / CFL
600 W *
Incand. / Halogen
600 W *
Incand. / Halogen
Find the right LED
lutron.com/LEDfinder
How-to videos
lutron.com/CLwiring
INSTALL WITH CONFIDENCE
lutron.com/CLwiring
VIDEO & STEP-BY-STEP INSTRUCTIONSVIDEO & STEP-BY-STEP INSTRUCTIONS
A
d
j
u
s
t
m
e
n
t
L
e
v
e
r